Many homeowners underestimate the complexity of replacing their roof, especially when it comes to flat roofing materials like EPDM or TPO. Understanding the different types and their specific requirements is vital. As you assess your current roof’s condition and gather the necessary tools, safety must remain a top priority. This guide will provide you with the essential steps to ensure your roof replacement is successful and long-lasting. Let’s explore the process in detail.
Key Takeaways
- Assess the current roof condition thoroughly, documenting any damage to inform repair or replacement decisions.
- Gather essential tools and safety gear, including a roofing nailer, harness, and gloves, to ensure a safe working environment.
- Remove the old roof carefully, inspecting the deck for damage and cleaning the surface before installation of new materials.
- Install the new roofing material according to the manufacturer’s instructions, ensuring proper alignment and sealing techniques to prevent leaks.
- Conduct a final inspection to check for gaps, clear gutters, and establish a routine maintenance schedule for longevity.
Understanding Flat Roof Types
When considering a flat roof for your building, it’s essential to understand the various types available, as each offers distinct advantages and challenges. You’ll encounter several membrane types, including EPDM, TPO, and PVC, each with unique properties that suit different environments and budgets.
EPDM, for instance, is renowned for its durability and resistance to UV rays, while TPO stands out for its energy efficiency and cost-effectiveness.
When selecting insulation options, consider materials like polyisocyanurate or extruded polystyrene, which enhance thermal performance and energy savings. These insulation choices can greatly impact your building’s comfort and energy bills.
Ultimately, the right combination of membrane type and insulation will ensure that your flat roof meets your specific needs, enhancing both your building’s functionality and aesthetic appeal.
Assessing Your Current Roof Condition
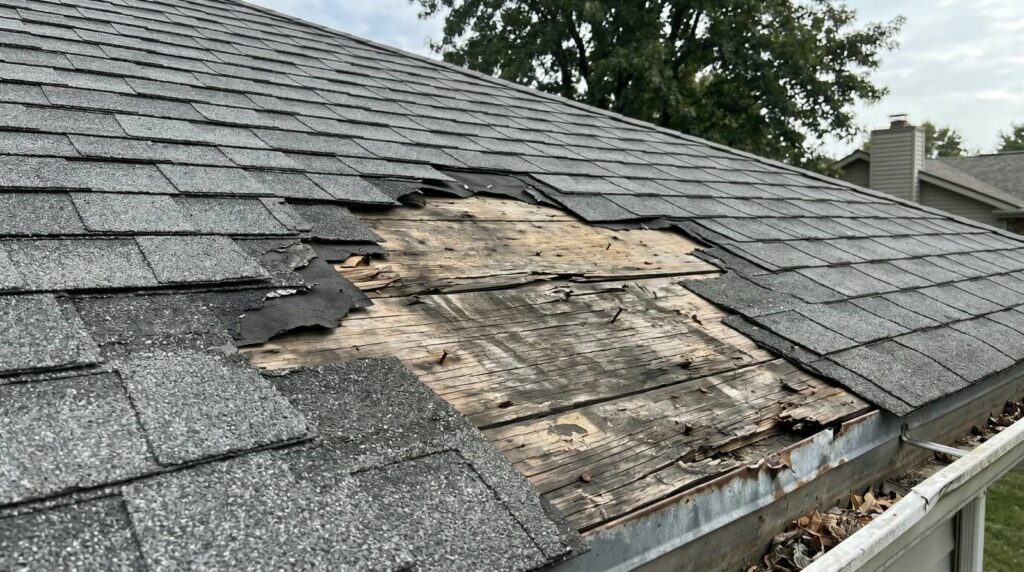
To assess your current roof condition, start with a thorough visual inspection to identify common issues such as leaks, cracks, or missing shingles.
Pay attention to the lifespan of the materials used, as different roofing types have varying durability and maintenance needs.
Understanding these factors will help you make informed decisions about necessary repairs or a complete replacement.
Visual Inspection Techniques
While evaluating your roof’s condition, employing effective visual inspection techniques is essential for identifying potential issues before they escalate.
Start by inspecting the roof from the ground, using binoculars to scan for any missing shingles, discoloration, or sagging areas.
Next, safely access your roof, if possible, to examine the flashings, gutters, and vents closely. Look for signs of wear, such as rust or cracks, that may indicate underlying problems.
During your roof assessment, take note of any debris accumulation, as this can trap moisture and lead to damage.
Document your findings thoroughly, as this information will guide you in making informed decisions about repairs or replacements.
Prioritize this visual inspection to ensure your roof remains in peak condition.
Identifying Common Issues
After completing your visual inspection, it’s important to identify common issues that may affect your roof’s integrity.
Look for signs of leaks, which can manifest as water stains on ceilings or walls, or damp spots on insulation. Pay attention to your roof age; older roofs are more susceptible to damage.
Here are some common issues to watch for:
- Curling or missing shingles
- Cracked flashing around vents and chimneys
- Moss or algae growth indicates moisture retention
- Deterioration of gutters and downspouts
Lifespan of Materials
Understanding the lifespan of roofing materials is essential for evaluating your current roof condition and planning for necessary repairs or replacements.
Different materials offer varying roofing material lifespans; for instance, asphalt shingles typically last 15-30 years, while metal roofs can endure 40-70 years.
When examining your roof, consider these lifespans to determine if it’s time for an upgrade. Comparing roofing options is vital; if your existing roof is nearing its expected lifespan, investing in more durable materials like slate or tile may be wise.
Regular inspections will help you gauge wear and tear, ensuring you’re prepared for any future expenses.
Ultimately, being proactive about your roof can save you time and money down the line.
Tools and Materials Needed for Replacement
To effectively replace your roof, you’ll need an extensive set of tools and materials.
Start by gathering essential tools such as a roofing nailer, safety harness, and pry bars, which will facilitate a smoother installation process.
Next, compile a checklist of roofing materials, including shingles, underlayment, and flashing, to make certain you’re fully prepared for the project.
Essential Tools Overview
When commencing a roof replacement project, having the right tools and materials is essential for ensuring a successful outcome.
Prioritizing roofing safety and efficient tool maintenance will make your job smoother and safer. Here’s a quick overview of the essential tools you’ll need:
- Roofing Nailer: Speeds up the installation of shingles.
- Ladder: A sturdy ladder is vital for accessing your roof safely.
- Utility Knife: For cutting shingles and underlayment with precision.
- Pry Bar: Useful for removing old shingles and flashing.
Make sure to keep your tools in good condition; regular maintenance will enhance their longevity and performance.
With the right gear, you’ll feel more confident tackling your roof replacement project.
Roofing Materials Checklist
Before diving into your roof replacement project, it’s vital to gather all the necessary materials to ensure a smooth and efficient process.
Start by choosing your roofing material options, such as asphalt shingles, metal panels, or eco-friendly choices like recycled rubber or solar tiles. You’ll also need underlayment, flashing, and roofing nails suited for your specific materials.
Don’t forget safety gear, like gloves and goggles, to protect yourself during installation. Additionally, a sturdy ladder and tarps for debris containment are essential.
Having a thorough roofing materials checklist will make sure you’re well-prepared, minimizing delays and maximizing your confidence as you tackle this significant home improvement project.
With the right materials in hand, you’ll feel ready to transform your roof effectively.
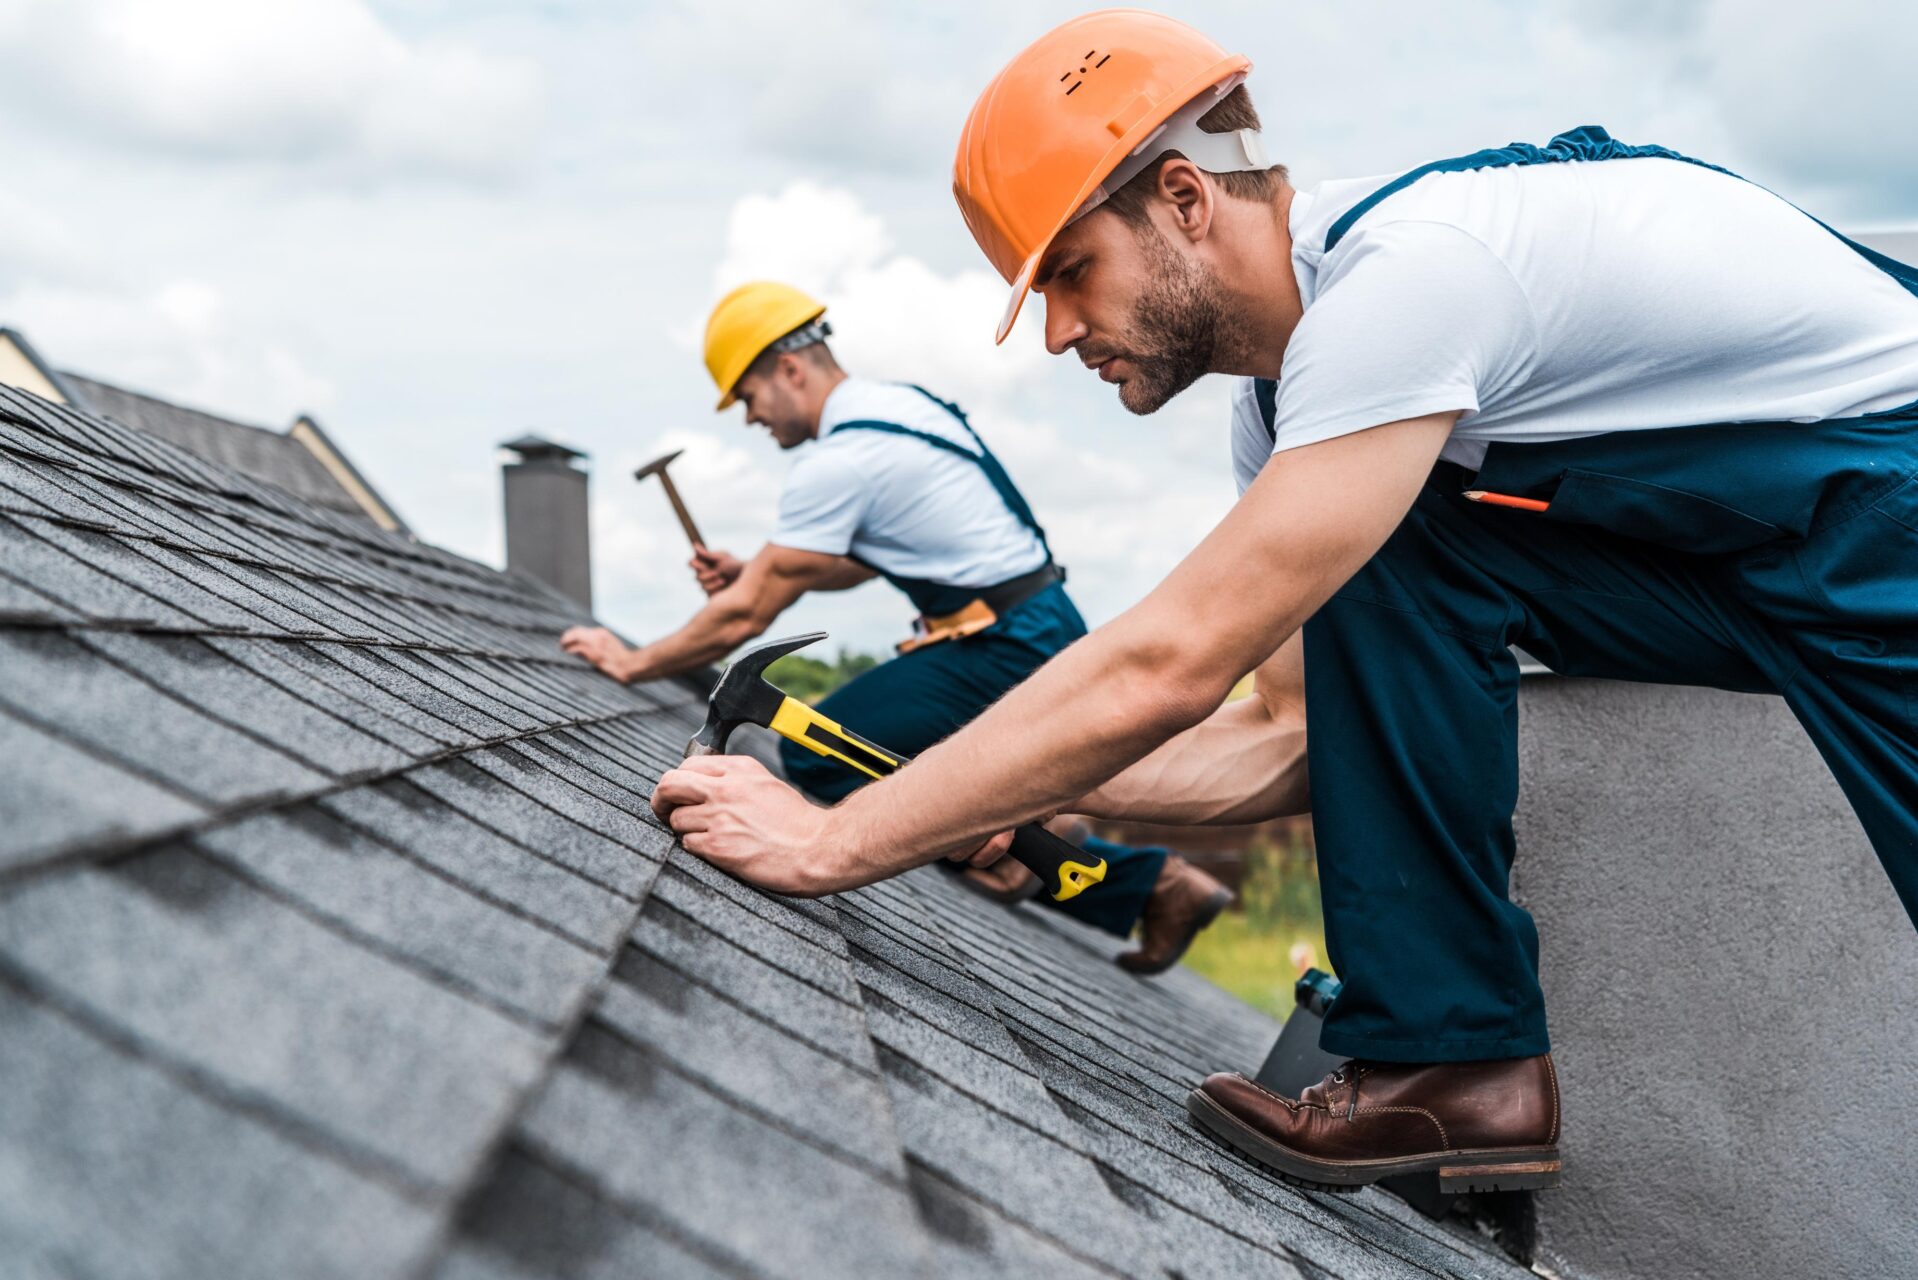
Safety Precautions During Roof Replacement
Although replacing your roof can be rewarding, safety must be your top priority throughout the process. Before you begin, conduct a thorough hazard assessment to identify potential risks, including slippery surfaces and overhead hazards.
Implementing fall protection measures is essential to ensure your safety while working at heights.
Here are some essential safety precautions to keep in mind:
- Wear appropriate personal protective equipment (PPE), such as helmets and non-slip footwear.
- Use scaffolding or ladders that meet safety standards to maintain stability.
- Ensure proper ventilation when using materials that emit fumes.
- Keep your workspace organized to minimize tripping hazards.
Step-by-Step Removal of the Old Roof
Before you start removing your old roof, it’s essential to prioritize safety precautions.
You’ll need specific tools to ensure an efficient and safe removal process.
Let’s walk through the step-by-step method to effectively take off your old roofing material.
Safety Precautions First
When you begin the process of removing your old roof, prioritizing safety precautions is essential to prevent accidents and injuries.
Ensuring roof safety protects you and fosters a sense of community and responsibility among those working with you.
Equip yourself with the right personal protective gear and follow these guidelines:
- Wear a hard hat to guard against falling debris.
- Use non-slip footwear to maintain grip on steep surfaces.
- Harness yourself to prevent falls from heights.
- Keep a first aid kit nearby for emergencies.
Tools Needed for Removal
To efficiently remove your old roof, you’ll need a specific set of tools designed for the task.
Start with a sturdy pry bar to lift shingles and a roofing hammer for nails. A utility knife will help you cut through roofing materials, while a roofing shovel facilitates the removal of old shingles.
Don’t forget a ladder for safe access to your roof and a heavy-duty trash bag for debris collection. Familiarize yourself with effective removal techniques to streamline the process.
Remember, proper tool maintenance is vital; clean and store your tools after use to ensure their longevity and reliability.
Equipped with these tools and knowledge, you’ll find the removal process much more manageable and efficient.
Step-by-Step Process
As you prepare to replace your roof, following a systematic step-by-step process ensures a thorough and effective removal. Start by evaluating your roof’s condition and determining a roof replacement timeline that aligns with your budget considerations.
Here’s a concise approach to the removal process:
Clear the area: Remove any obstacles around your home for safety.
Strip off the old shingles: Use a pry bar to lift and remove shingles carefully.
Inspect and repair: Check for damaged underlayment or decking; make necessary repairs before proceeding.
Dispose of debris: Verify proper disposal of old materials to keep your work area safe and organized.
Preparing the Roof Deck for New Installation
Before installing a new roof, it’s crucial to prepare the roof deck properly to ensure a solid foundation for your materials.
Start by inspecting the existing roof deck for any signs of damage, such as rot, mold, or sagging. Address any structural integrity issues immediately, as this will ensure your new roof performs effectively over time.
Remove old roofing materials, including shingles, underlayment, and flashing, to expose the deck. Clean the surface thoroughly to eliminate debris, dirt, or loose particles that could hinder adhesion.
Next, check for any protruding nails or fasteners and confirm the deck is level and secure. If you find damaged boards, replace them to maintain a strong and stable surface.
Completing this roof deck preparation step will set the stage for a successful installation and provide lasting protection for your home.
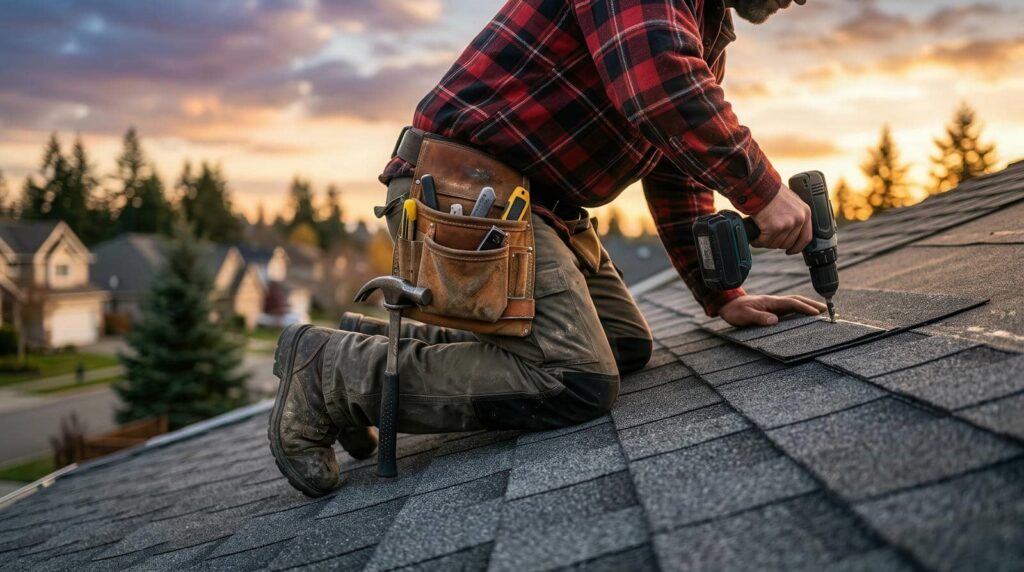
Installing the New Flat Roofing Material
Once you’ve prepared the roof deck, you’re ready to install your new flat roofing material. Choosing the right flat roofing options is essential for durability and performance. Depending on your preference, you can opt for materials like EPDM, TPO, or PVC. Each has specific installation techniques that enhance long-term effectiveness.
Here’s what you need to take into account during installation:
Safety gear: Always wear gloves and sturdy shoes to protect yourself.
Material layout: Unroll and position your roofing material in the correct orientation.
Seaming methods: Familiarize yourself with the seaming techniques specific to your chosen material.
Weather conditions: Confirm you’re working in favorable weather to avoid complications.
Proper Sealing and Waterproofing Techniques
After installing your new flat roofing material, ensuring proper sealing and waterproofing is essential for preventing leaks and extending the roof’s lifespan.
Start by applying high-quality waterproof membranes, which act as a barrier against moisture. These membranes should be installed seamlessly, overlapping edges to eliminate potential entry points for water.
Next, focus on effective sealing techniques. Use compatible sealants around joints, seams, and penetrations, ensuring a tight fit. It’s critical to choose sealants that are specifically formulated for your roofing material to maintain adhesion and flexibility.
Inspect the surface for any imperfections before application; even small gaps can lead to significant issues later.
Once you’ve applied the membranes and sealants, allow adequate curing time, following the manufacturer’s recommendations.
Final Inspection and Maintenance Tips
As you wrap up your roofing project, conducting a thorough final inspection is essential to verify that everything is up to standard and functions effectively.
This step ensures quality and sets you up for a successful maintenance schedule moving forward.
During your final inspection, focus on the following key areas:
Check for Gaps: Make sure there are no gaps in flashing or seams that could lead to leaks.
Examine Drainage: Confirm gutters and downspouts are clear and properly directed away from the foundation.
Inspect Shingles: Look for any damaged or misaligned shingles that could affect performance.
Review Ventilation: Verify that all vents are unobstructed, promoting ideal airflow.
Completing this final inspection will help you catch potential issues early and maintain your roof’s integrity for years to come.
Don’t forget to document your findings and establish a routine maintenance schedule for ongoing care.
Common Mistakes to Avoid During Replacement
Replacing a roof is a significant investment, and avoiding common pitfalls can save you time and money. One of the most essential mistakes to steer clear of is inadequate budget planning. Make sure you account for materials, labor, unexpected repairs, and permits.
A well-thought-out budget helps you avoid financial strain during the project.
Another common error is poor contractor selection. Don’t rush this process; research thoroughly. Look for licensed, insured professionals with solid reputations. Check reviews, ask for references, and obtain multiple quotes to compare.
This diligence ensures you choose a contractor who meets your quality standards and aligns with your vision.
Lastly, neglecting to communicate your expectations can lead to costly misunderstandings. Be clear about timelines, materials, and design preferences.
Review
So, after initiating this rooftop adventure, you’ve gone from novice to DIY guru. Just remember, if you find yourself contemplating the mysteries of roofing while perched precariously on a ladder, it might be time to reconsider your life choices—or at least invest in some sturdy scaffolding. With the right tools, materials, and a touch of common sense, you can transform your roof from a leaky disaster to a fortress against the elements. Happy roofing!