A roof usually warns you before it fails, but those signs are easy to miss. You need to know when repairs stop making sense, what replacement involves, and how material choice affects cost and lifespan. You’ll also want a contractor who communicates clearly and a plan for protecting your new roof after install. The details matter, and the right next step isn’t always obvious.
Key Takeaways
- Watch for missing shingles, leaks, sagging, granules in gutters, and rising energy bills as signs your roof may need replacement.
- Expect roof replacement to include tear-off, decking inspection, underlayment, flashing, and new shingles or panels.
- Typical residential roof replacement costs range from $5,000 to $20,000, depending on size, pitch, materials, and hidden damage.
- Compare roofing materials by durability, weight, maintenance, climate performance, and lifespan before choosing asphalt, metal, tile, or slate.
- Hire a licensed, insured roofer, get at least three written estimates, and confirm warranty terms, schedule, and cleanup responsibilities.
How Do You Know If You Need a New Roof?
You may need a new roof if you notice missing or curling shingles, frequent leaks, sagging areas, or excessive granules in gutters.
You should also check for daylight in the attic, damaged flashing, and shingles that crack when handled. These signs often mean your roof can’t protect your home’s structure or insulation the way it should.
If you’re seeing higher energy bills, interior stains, or recurring repairs, a residential roof replacement may be the smarter long-term choice.
Don’t ignore localized wear if your roof is nearing the end of its service life, especially after hail, wind, or heavy storms.
A qualified roofer can assess the condition, confirm whether repairs still make sense, and help you protect your home with confidence.
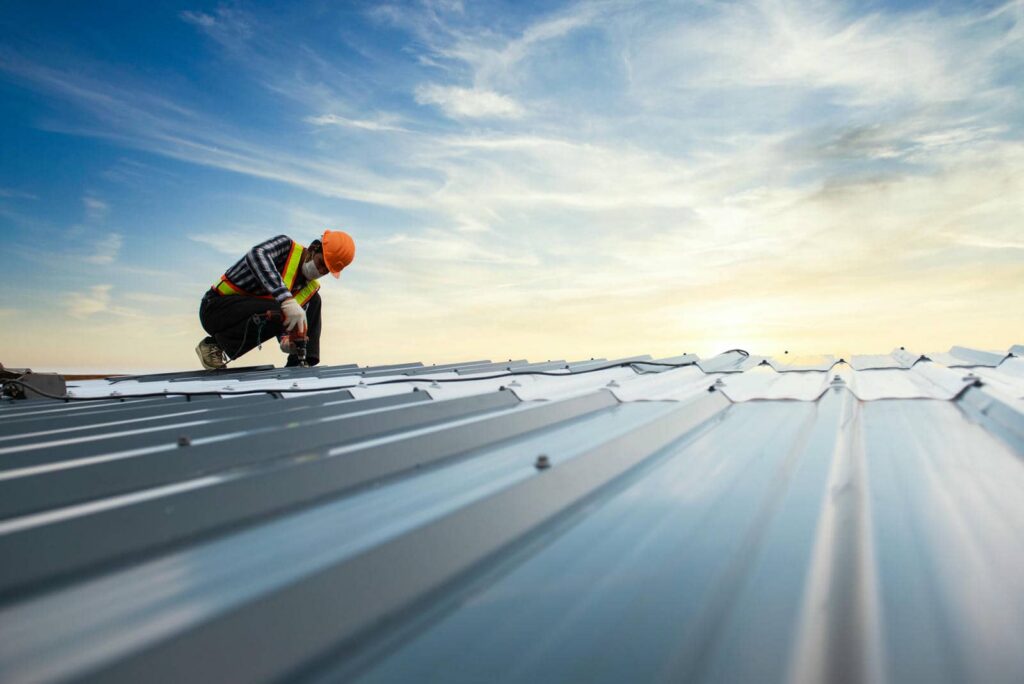
What Happens During Roof Replacement?
A residential roof replacement usually starts with protecting landscaping and exterior surfaces. Then, removing the old roofing material down to the deck allows the crew to inspect for rot, soft spots, or structural damage.
You’ll then see any damaged sheathing replaced, because a solid deck supports the whole system. Next, the crew installs underlayment, ice and water shield in vulnerable areas, and drip edge along eaves and rakes.
After that, they lay starter strips and fasten new shingles or panels in straight courses, sealing each layer for weather resistance. Flashing goes around chimneys, vents, valleys, and walls to manage runoff.
Finally, the team installs ridge venting, cleans the site, and checks for secure fasteners and a uniform finish, so your home looks ready and protected.
How Much Does Roof Replacement Cost?
Roof replacement costs typically range from about $5,000 to $20,000 for a standard residential project, though price can move well above that for larger homes, steep slopes, complex rooflines, or premium materials.
You’ll usually see estimates built from labor, tear-off, disposal, underlayment, and flashing work.
To compare bids well, check:
- Square footage and pitch
- Tear-off and cleanup fees
- Deck repairs or hidden damage
- Local labor rates and permit costs
You belong in the driver’s seat when you ask for itemized quotes and written timelines.
A lower bid isn’t always a better deal if it skips critical prep or includes vague allowances.
Keep your budget flexible, and set aside a reserve for surprises uncovered once the old roof comes off.
How to Choose Roofing Materials
You should compare roofing material types by durability, weight, maintenance, and fire resistance so you can match performance to your home’s needs.
Factor in your climate because heat, wind, snow, and moisture can shorten or extend a roof’s service life.
Balance your budget against expected lifespan so you’re paying for the right long-term value, not just the lowest upfront cost.
Material Types Comparison
Choosing the right roofing material starts with matching performance to your home’s climate, structure, budget, and maintenance goals. You’ll usually compare four core options:
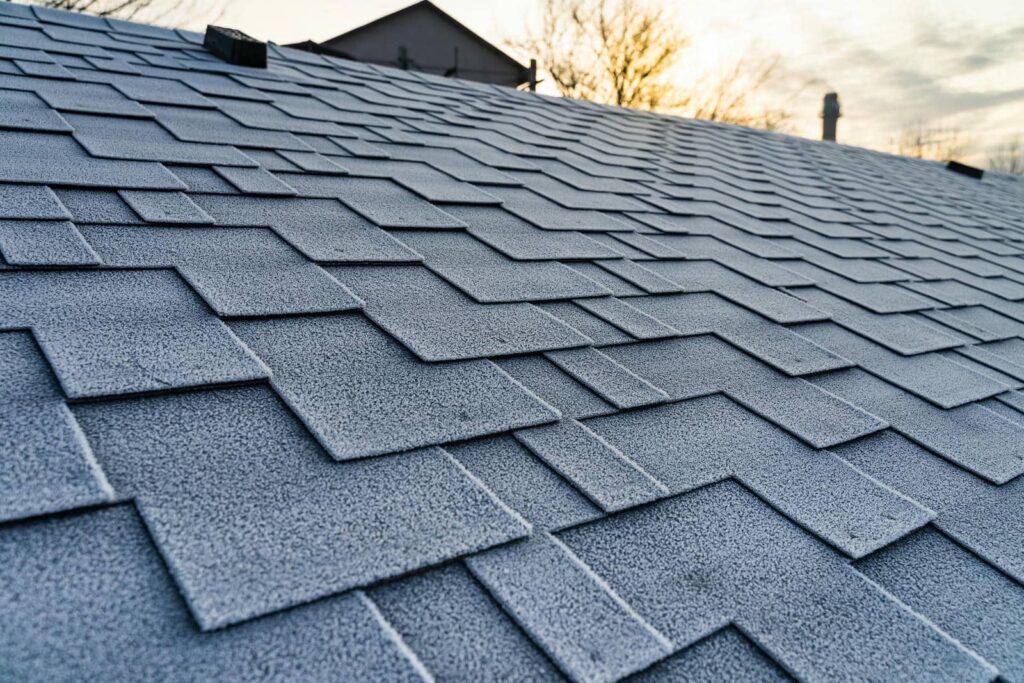
Asphalt shingles: affordable, easy to install, and simple to replace.
Metal panels: lightweight, durable, and low maintenance.
Clay or concrete tile: long lasting, heavy, and premium in appearance.
Slate: exceptionally durable, costly, and structurally demanding.
You should weigh fire resistance, lifespan, repair complexity, and curb appeal before you decide.
Asphalt fits many budgets; metal helps you join a low-maintenance group of owners; tile and slate suit homes built for higher loads.
Ask for sample boards, compare warranties, and verify that your roof deck can support the material you choose.
Climate Considerations
Climate shapes how well a roofing material performs, so match your choice to heat, humidity, snow load, wind exposure, and wildfire risk.
In hot climates, you’ll want reflective surfaces and solid attic ventilation to cut heat gain.
In humid regions, choose materials and underlayments that resist algae, rot, and trapped moisture.
If you face heavy snow, prioritize steep slopes, strong framing support, and surfaces that shed ice and load cleanly.
In high-wind zones, look for rated fastening systems and interlocking profiles.
For wildfire-prone areas, select Class A assemblies and noncombustible components.
Check local code requirements and ask your roofer how each option handles your neighborhood’s weather patterns.
Your roof should protect your home and fit your community’s climate realities.
Budget And Lifespan
Roofing material choice usually comes down to balancing upfront cost against service life, maintenance needs, and replacement timing.
You’ll want to compare total value, not just the purchase price, so your roof works for your budget and your neighborhood.
- Asphalt shingles: lowest initial cost, 15–30 years.
- Architectural shingles: moderate cost, 25–40 years, better impact resistance.
- Metal roofing: higher cost, 40–70 years, low maintenance.
- Tile or slate: premium cost, 50+ years, heavy, durable, and long-lived.
Match the material to how long you plan to stay, your cash flow, and your tolerance for future repairs.
When you choose well, you join homeowners who spend less over time and avoid premature replacement.
How to Choose a Roofer You Can Trust
Then compare at least three written estimates so you can check scope, materials, labor, and warranty terms side by side.
This process helps you filter out unqualified contractors and spot pricing or contract issues before work starts.
Verify Licensing And Insurance
Before you hire a roofer, verify both licensing and insurance so you know they’re qualified and you’re protected if something goes wrong.
Ask for the contractor’s license number, then check it with your state or local authority. Confirm the name matches the company bidding the job.
Next, request proof of current general liability and workers’ compensation coverage. These policies help cover property damage and on-site injuries, so you’re not left carrying the risk.
- Check the license status online.
- Confirm insurance dates and limits.
- Ask for a certificate sent directly from the insurer.
- Keep copies with your project records.
When you verify these details, you’re choosing a crew that respects your home, your budget, and your peace of mind.
Compare Written Estimates
Once you’ve narrowed your list, compare at least three written estimates so you can spot gaps, hidden costs, and inconsistent scopes of work.
Check that each bid lists the same roof area, materials, underlayment, flashing, ventilation, tear-off, disposal, and cleanup. You want apples-to-apples pricing, not vague totals.
If one quote is much lower, ask what it excludes; cheap bids often hide change orders, thinner materials, or fewer labor hours.
Confirm warranty terms, payment schedule, start date, permit handling, and who supervises the crew. A trusted roofer explains every line item and answers your questions clearly.
When estimates align, you can choose with confidence, knowing you’re joining a well-run project instead of gambling on surprises.
Compare scope, not just price, and protect your home.
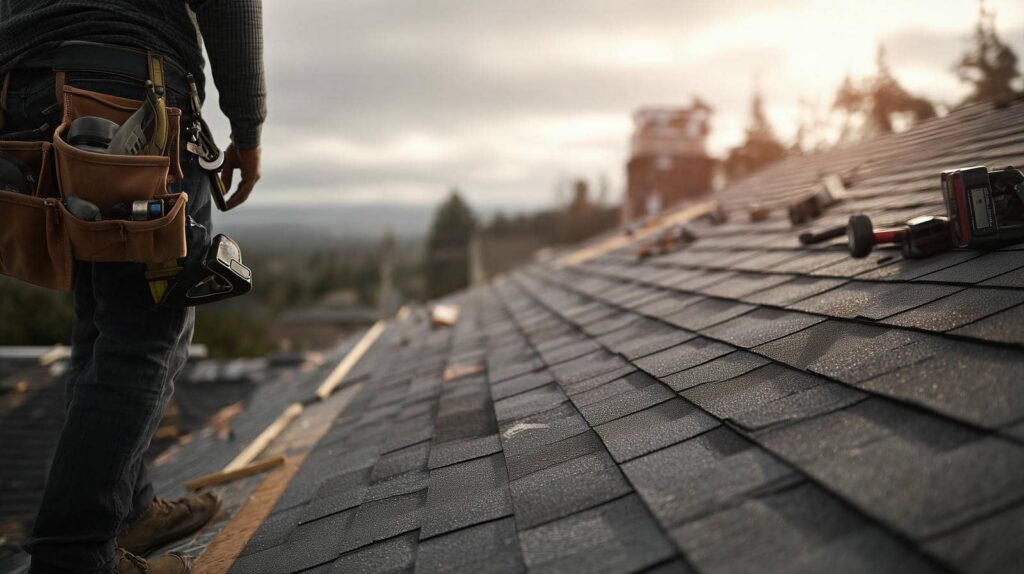
What to Expect on Installation Day
On installation day, your roofing crew will arrive early, set up safety equipment, protect landscaping and entry points, and begin removing the old roof.
You’ll hear steady noise, see debris handled in sections, and notice tarps, magnets, and bins keeping the site organized.
Stay reachable for quick decisions and keep kids, pets, and vehicles clear of the work zone.
To stay in the loop, expect:
- A brief arrival check-in and jobsite review
- Tear-off and decking inspection for hidden damage
- Underlayment, flashing, and ventilation preparation
- Final cleanup, nail sweep, and walk-through with you
If weather shifts or the crew finds a problem, they’ll explain the fix before moving ahead.
You’re part of the process, and clear communication helps the team finish safely and professionally.
How Long Does Roof Replacement Take?
How long a roof replacement takes depends on your roof’s size, pitch, material, and any hidden damage, but most residential projects finish in one to three days.
If you’ve got a simple, low-slope roof, crews can often strip and reinstall quickly. Steeper slopes, multiple valleys, chimneys, skylights, or layered tear-offs add time because they demand more cutting, flashing, and safety setup.
Weather can also slow progress, since installers need dry conditions and stable temperatures for proper sealing.
Your crew should give you a clear schedule before work starts and update you if deck repairs or structural issues appear. That way, you can plan around noise, access limits, and delivery timing, and feel confident you’re part of a well-run project.
How to Protect Your New Roof for Years
After your roof replacement wraps up, the next step is keeping that new system performing well for as long as possible. You can extend service life by treating maintenance like routine protection, not an afterthought.
Stay consistent with inspections, especially after storms, so you catch loose flashing, lifted shingles, or clogged drainage early. Join the homeowners who keep roofs healthy with simple habits:
- Inspect your attic for moisture, staining, and heat buildup.
- Clean gutters and downspouts each season.
- Trim branches so debris and abrasion stay low.
- Schedule professional checks every year.
You should also document repairs and preserve manufacturer records.
When you act quickly, you reduce wear, protect warranties, and keep your home safer, drier, and more comfortable for years ahead.
Conclusion
You now know how to spot roof failure, plan replacement, and budget without surprises. Choose materials that fit your climate, hire a roofer with proof of licensing and references, and keep communication clear from start to finish. On installation day, expect noise, debris, and timeline checks. After the work’s done, save your warranty, inspect the roof regularly, and handle small issues quickly. That simple discipline can save you from a real sword of Damocles overhead.