Many homeowners underestimate the potential for storm damage to a metal roof, thinking it’s impervious to harsh weather. However, even metal roofs can sustain significant harm from high winds and debris. It’s essential to act quickly to mitigate further issues. By following a few key emergency tips, you can effectively manage the situation and protect your property. Let’s explore the steps you should take immediately after a storm.
Key Takeaways
- Conduct a thorough visual inspection of the roof for visible damage, focusing on seams, flashings, and loose panels.
- Document all findings with clear photos and detailed notes for insurance claims and repairs.
- Secure any loose panels and replace missing fasteners to prevent further damage from wind or rain.
- Use tarps to temporarily cover damaged areas, ensuring they are securely fastened to avoid flapping in the wind.
- Stay informed about weather forecasts and have an emergency repair kit ready for quick responses during storms.
Assess the Damage Immediately
As soon as the storm passes, it’s essential to assess the damage to your metal roof. Begin with a thorough visual inspection from the ground, looking for any visible signs of dents, rust, or loose panels.
If it’s safe, consider using a ladder to get a closer look, checking for punctures or warping. Your immediate response can prevent further complications, including leaks or structural issues.
Pay attention to flashings and seams, as these areas are particularly vulnerable. Don’t overlook the gutters and downspouts, as debris can obstruct water flow and lead to additional damage.
Document any findings, making a note of the most significant issues, and prioritize repairs accordingly. By performing a meticulous damage assessment right after the storm, you’ll protect your home and foster a sense of community by sharing insights with neighbors facing similar challenges.
Document the Damage for Insurance
After evaluating the damage, you need to document everything for your insurance claim.
Take clear photos of any visible issues, ensuring they capture the extent of the damage.
Additionally, keep all repair receipts, as these will support your claim and help expedite the process.
Take Clear Photos
Taking clear photos of storm damage is essential for your insurance claim. These images serve as vital photographic evidence, helping both you and your insurer assess the extent of the damage.
Start by capturing wide-angle shots of your entire roof to provide context, then zoom in on specific areas where you notice dents, leaks, or missing panels. Make certain to document different angles and lighting conditions for a thorough damage assessment.
Use a high-resolution camera to ensure clarity. If possible, include timestamps or geotags to authenticate the date and location of the damage.
Keep Repair Receipts
Once you’ve documented the storm damage with clear photos, the next step is to keep all repair receipts.
This repair documentation is essential for your insurance claim process. Every receipt serves as proof of your expenses and helps ensure you receive the compensation you’re entitled to.
Organize these documents systematically for easy access, which aids in effective expense tracking. Consider creating a dedicated folder—digital or physical—to store all related invoices, estimates, and receipts.
This way, you’ll have everything in one place when it’s time to file your claim. Remember, thorough documentation supports your case and reinforces your commitment to maintaining your property.
Don’t underestimate the power of keeping accurate records during this challenging time.
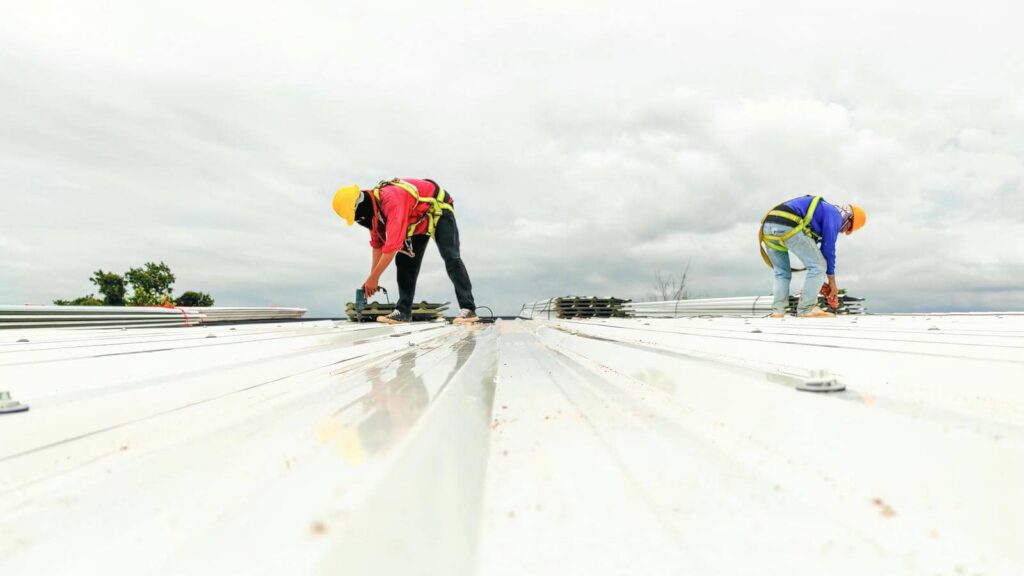
Secure Loose Panels
To secure loose panels on your metal roof, start by inspecting the entire surface for any signs of movement or detachment. Identifying these issues early is essential for storm preparedness.
Once you’ve located any loose panels, take the following steps to ensure effective panel fastening:
Tighten existing fasteners: Use a power drill or screwdriver to tighten any loose screws or bolts.
Replace missing fasteners: If you find any fasteners missing, replace them with the same type and size for proper functionality.
Add additional fasteners: For extra security, consider adding more fasteners to high-risk areas, especially around seams and edges.
Inspect seals and caulking: Check for any damaged seals or caulking that could allow moisture entry.
Clear Debris From the Roof
Clearing debris from your metal roof is essential for maintaining its integrity and preventing further damage during a storm. Start by inspecting the roof for any leaves, branches, or other materials that could trap moisture or create additional weight.
Use a sturdy ladder and wear appropriate safety gear to reach the roof safely.
Once on the roof, gently brush away debris using a soft broom or a leaf blower, being careful not to scratch the metal surface.
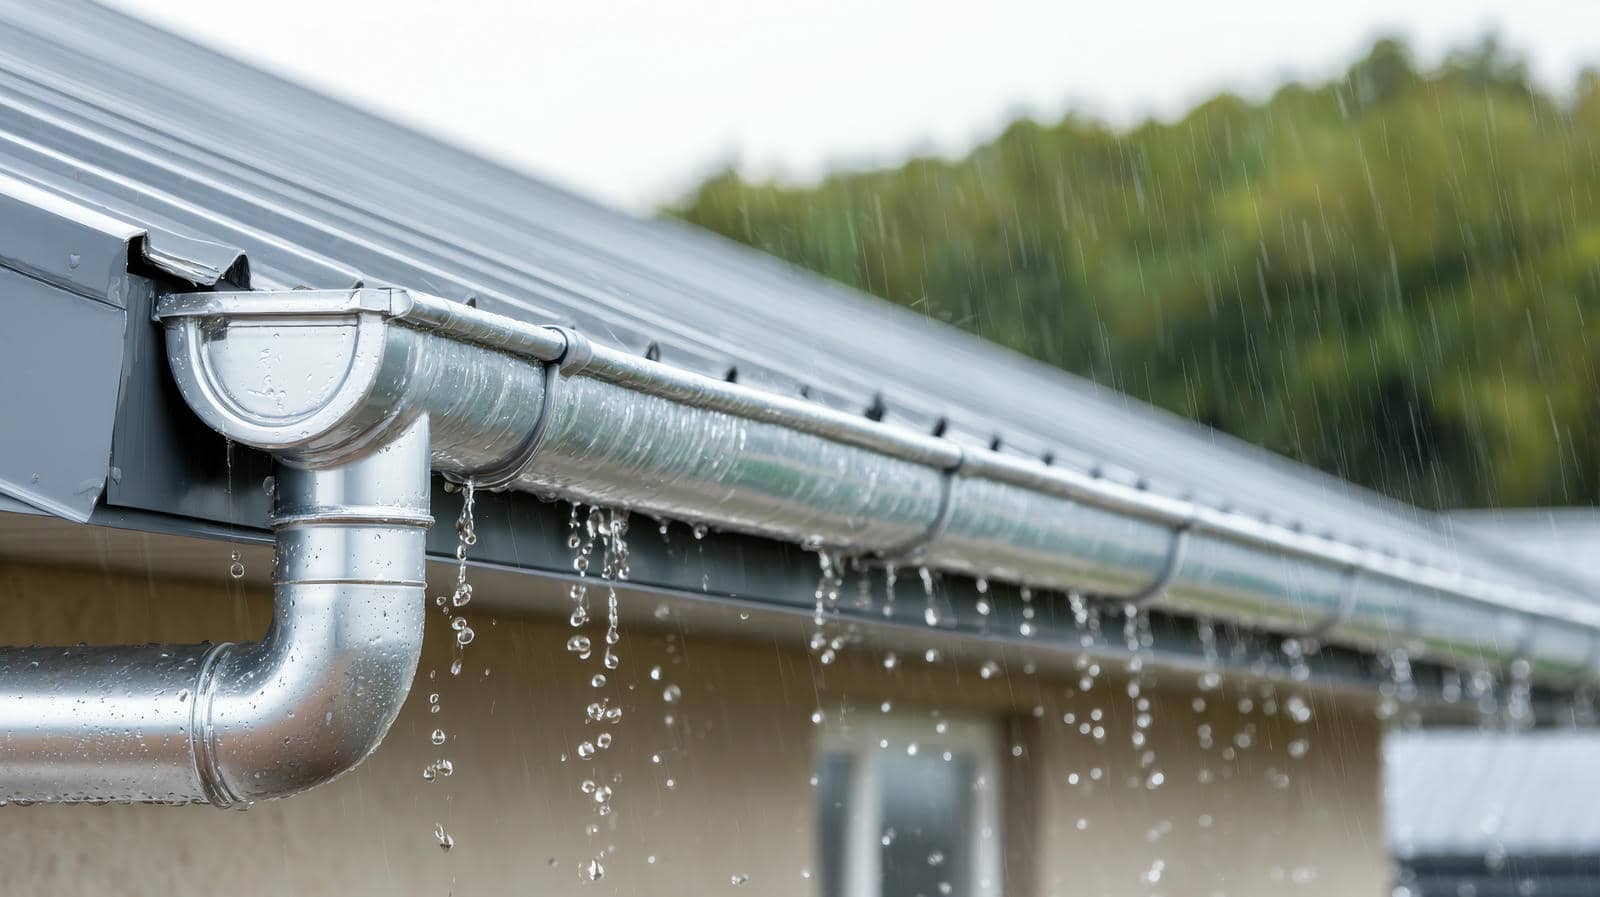
Pay special attention to gutters and downspouts, as clogged drainage can lead to water pooling, increasing the risk of leaks.
Regular roof maintenance, especially prior to storm season, enhances storm preparedness and prolongs the life of your roof.
Use Tarps for Temporary Coverage
When your metal roof sustains storm damage, using tarps can provide essential temporary coverage.
Choose the appropriate tarp size to ensure complete protection, and secure it properly to prevent further issues.
Regularly monitor for leaks to maintain the integrity of your home until permanent repairs can be made.
Select Appropriate Tarp Size
Selecting the right tarp size is crucial for effective temporary coverage of your metal roof after storm damage. A tarp that’s too small won’t provide adequate protection, while one that’s too large can be cumbersome during installation.
Consider the following factors when choosing your tarp:
Tarp materials: Opt for durable, waterproof options like polyethylene or vinyl.
Roof dimensions: Measure your roof area to ensure proper coverage.
Overhang: Include extra length for overhang to prevent water seepage.
Wind conditions: Choose a heavier tarp for windy areas to maintain stability during installation.
Secure Tarps Properly
To ensure your tarps provide effective temporary coverage over your metal roof, it’s vital to secure them properly.
Start with proper tarp installation by laying the tarp flat and making sure it extends beyond the damaged area. Use bungee cords or durable straps to anchor the tarp tightly to your roof, preventing flapping during high winds.
It’s important to check the tarp’s position regularly as part of your tarp maintenance routine, adjusting as necessary to maintain continued protection.
Additionally, avoid placing too much weight on the tarp, as this can lead to damage.
Monitor for Leaks
Even with properly secured tarps, monitoring for leaks is critical in the aftermath of a storm. Effective leak detection can save you from extensive water damage. Here’s what you should do:
Regularly inspect the tarps for sagging or tears.
Check the interior for water stains on ceilings and walls.
Use a moisture meter to assess hidden damp areas.
Document any findings for insurance claims.
If you notice signs of leaks, act quickly. Water stains are often a telltale sign of underlying issues.
Addressing these problems promptly can prevent further damage and costly repairs.
Check for Leaks Inside Your Home
How can you be sure your home hasn’t sustained hidden water damage after a storm? Start by inspecting your ceilings and walls for stains, discoloration, or warping. These signs often indicate leaks that may have occurred due to compromised areas on your metal roof.
Pay close attention to corners, where water tends to accumulate, and around any fixtures like lights or vents.
Next, check your attic for moisture or mold growth, as this can also signal roof issues. Use a flashlight to look for damp spots or water stains on the underside of the roof.
If you spot any discrepancies, you should consider performing a roof inspection.
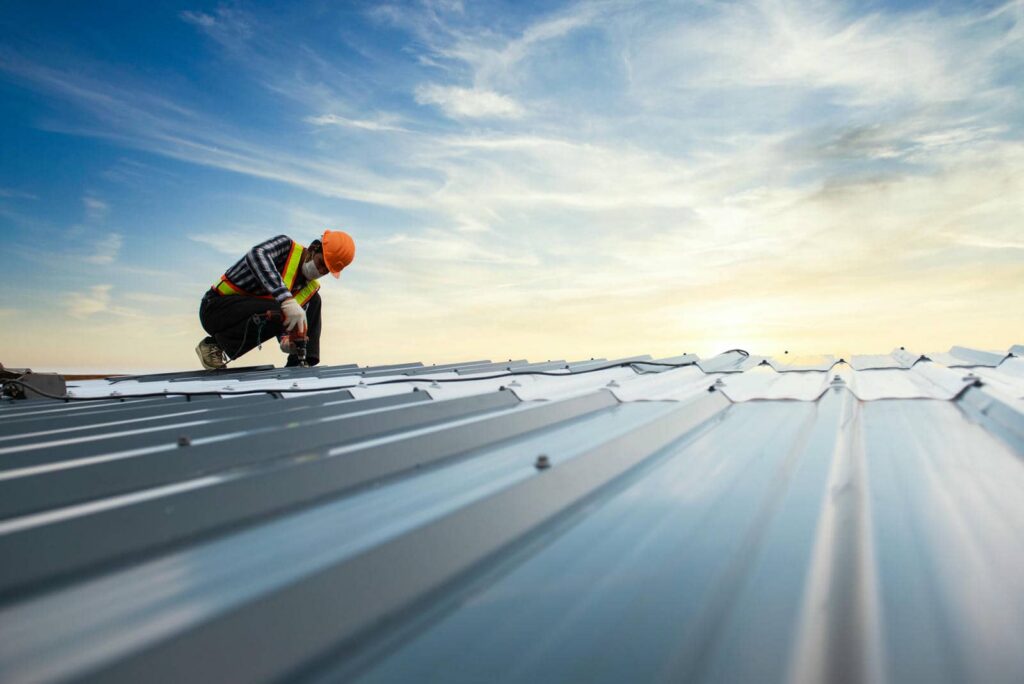
Arrange for Professional Inspection
If you’ve noticed any signs of water damage inside your home, it’s important to arrange for a professional inspection of your metal roof.
A qualified roofing expert can identify damage that you might overlook and ensure your roof remains in peak condition.
Here’s what you should expect during the inspection:
Comprehensive assessment: The inspector will evaluate the entire roof structure.
Inspection checklist: They’ll use a detailed checklist to ensure no area is missed.
Identifying potential hazards: Any weak spots or corrosion will be flagged for further action.
Recommendations for repairs: You’ll receive guidance on necessary repairs and maintenance to extend your roof’s lifespan.
Taking this step protects your investment and provides peace of mind for you and your family.
Don’t wait —schedule that inspection and ensure your home is safe and secure.
Communicate With Your Insurance Provider
Once you suspect storm damage to your metal roof, communicating with your insurance provider becomes vital.
Start by reviewing your insurance coverage to understand what’s included for storm damage repairs. It’s important to know the specifics of your policy, as this will guide your conversations.
Next, contact your insurance provider promptly to report the damage. Provide them with detailed information, including the extent of the damage and any preliminary findings from your professional inspection. This ensures that you’re on the right track with the claim process.
Be prepared to answer questions and possibly provide documentation, such as photos or estimates from contractors. Keep a record of all communications for your reference.
By staying proactive and informed, you can navigate the claim process more smoothly, helping to secure the necessary funds for repairs.
Schedule Repair Services Promptly
After you’ve reported the damage to your insurance provider, scheduling repair services promptly is essential to prevent further complications.
Delaying repairs can lead to more extensive issues, such as leaks or structural damage. To ensure a smooth repair process, consider the following:
Contact your emergency contacts: Reach out to trusted roofing professionals who specialize in metal roofs.
Establish a clear repair timeline: Discuss timelines with your contractor to set realistic expectations for the project.
Document everything: Keep records of all communications and agreements with the repair service for future reference.
Follow up regularly: Stay in touch with your contractor to monitor progress and address any concerns.
Prepare for Future Storms
Preparing for future storms is essential to minimizing potential damage to your metal roof. Start by developing a thorough storm preparedness plan that outlines your response strategy.
Regularly inspect your roof and create a maintenance checklist that includes checking for loose panels, rust, and damaged seals. Ascertain that gutters and downspouts are clear to facilitate proper drainage, which helps prevent water accumulation.
Consider reinforcing vulnerable areas with additional fasteners and sealants, and keep emergency repair materials on hand. It’s also wise to invest in quality roofing materials designed to withstand severe weather conditions.
Stay informed about local weather forecasts and alerts, and consider joining a community group focused on storm preparedness. This way, you can share tips and resources, creating a supportive network.
Frequently Asked Questions
How Can I Prevent Future Storm Damage to My Metal Roof?
You can prevent future storm damage to your metal roof by scheduling regular preventative maintenance and applying weatherproof coatings. These practices enhance durability, ensuring your roof withstands harsh conditions and prolongs its lifespan effectively.
What Are Signs of Underlying Damage After a Storm?
After the storm’s wrath, look for dents, rust spots, and loose panels. Conduct a thorough roof inspection; these signs reveal underlying damage that could compromise your home’s safety and your peace of mind. Don’t ignore them.
Can I Repair My Metal Roof Myself?
Yes, you can repair your metal roof yourself with proper tools and knowledge. Ensure you follow safety protocols, perform regular metal roof maintenance, and consider DIY roof repair guides for effective results. Your efforts will strengthen your roof.
How Long Can Tarps Stay on a Roof?
You can leave tarps on your roof for several weeks, but regularly check them for wear. Proper tarp installation is essential for effective roof maintenance, ensuring your home stays protected until permanent repairs are made.
What Is the Lifespan of a Metal Roof?
A metal roof can last 40-70 years with proper maintenance. Think of it as a trusty companion; regular upkeep enhances its benefits, ensuring you enjoy durability, energy efficiency, and protection for decades to come.
Review
In the face of storm damage to your metal roof, remember that “an ounce of prevention is worth a pound of cure.” By promptly evaluating and documenting the damage, securing loose panels, and using tarps for temporary protection, you can minimize further issues. Communicate effectively with your insurance provider and schedule repairs without delay. Taking these steps safeguards your home and prepares you for future storms, ensuring your roof remains resilient when it matters most.