When you start a TPO flat roof install, you’re really steering a system where every layer has to line up just right. You inspect and prep the deck, map the layout, choose the right fasteners and adhesives, then place and secure the membrane with care. The seams, flashings, and final inspection can make or break the job—and a few common mistakes can quietly undo the work you thought was finished.
Key Takeaways
- Inspect, clean, and level the roof deck before installation to ensure a dry, smooth, structurally sound substrate.
- Plan membrane layout carefully, marking seams, drainage paths, and penetrations to reduce waste and prevent ponding.
- Use approved fasteners, plates, and adhesives matched to the deck and insulation type for secure attachment.
- Heat-weld TPO seams to manufacturer specifications and properly flash corners, pipes, curbs, and other penetrations.
- Inspect finished work for weld quality, fastener flushness, and drainage, then maintain the roof with regular inspections.
What Is a TPO Roof System?
A TPO roof system is a single-ply membrane roofing assembly made from thermoplastic polyolefin, designed to create a watertight, reflective surface over flat or low-slope roofs.
You choose it when you want a clean, efficient option that fits modern commercial needs.
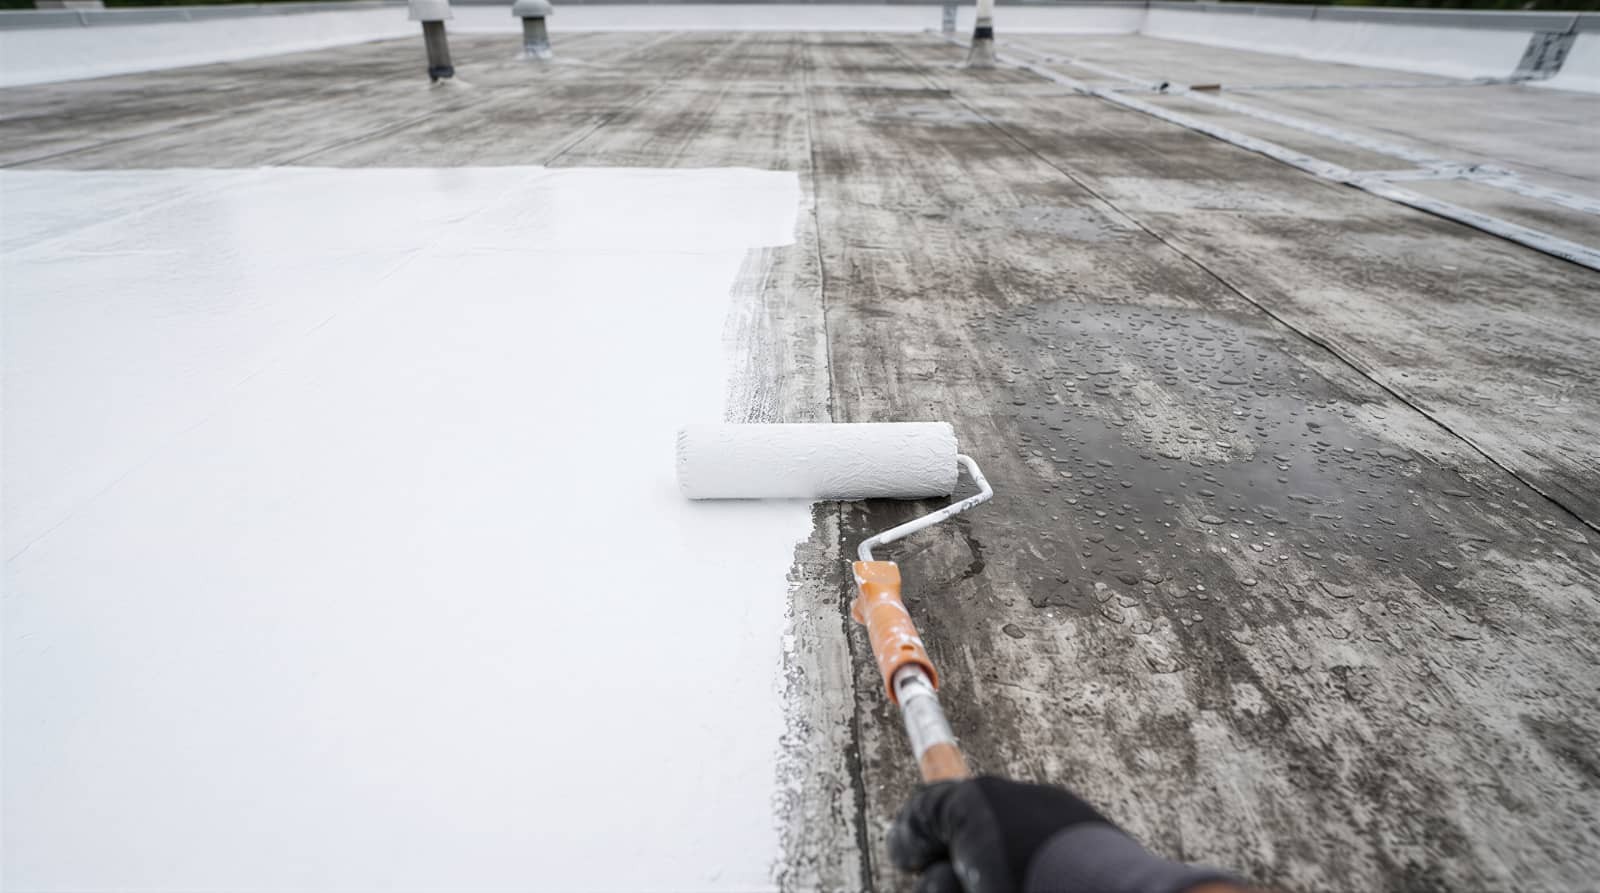
In TPO flat roof systems installation, you secure sheets of membrane, seal seams with heat, and create a durable weather barrier that resists UV exposure, punctures, and chemical stress.
You’ll also benefit from its light color, which can help reduce heat gain and support energy savings.
If you’re part of a team managing a building envelope, TPO gives you a practical system you can trust.
It’s built for performance, and it helps you protect your roof with confidence, day after day.
Prepare the Roof Deck
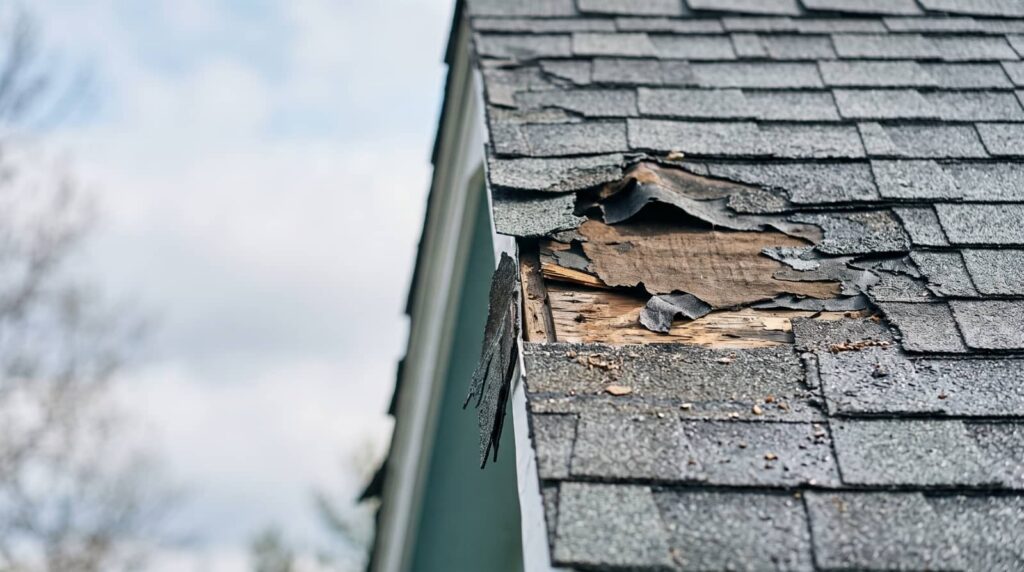
Before you install TPO, inspect the roof deck for structural soundness, dryness, and a clean, even surface.
You should replace damaged panels, tighten loose fasteners, and correct sagging areas before any membrane work begins.
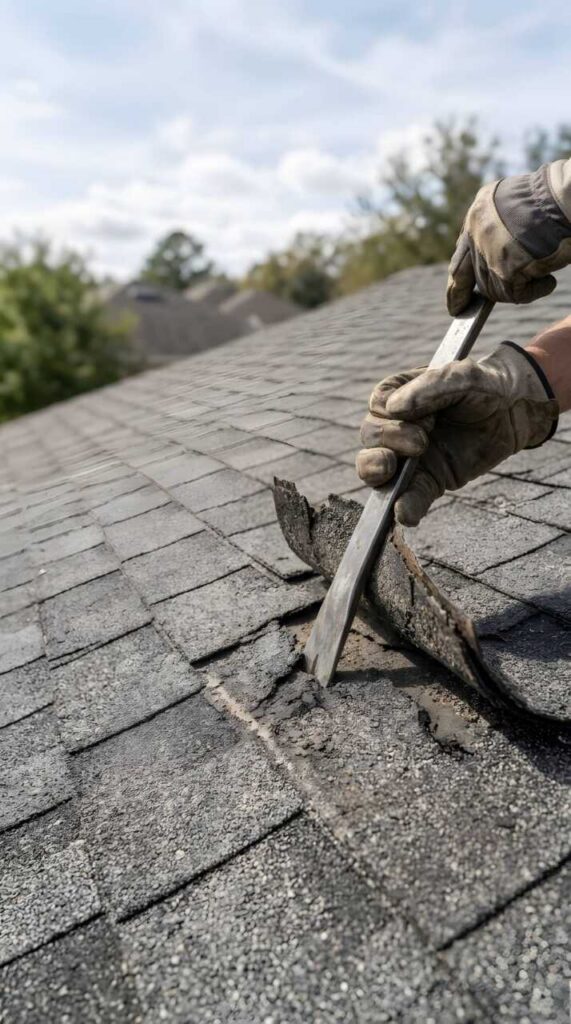
Remove dust, debris, oil, old adhesive, and protruding nails so the substrate can support proper attachment.
Check moisture with a reliable test method; trapped water can weaken adhesion and shorten system life.
If you find irregular seams, patches, or rough connections, level them with approved repair materials.
You’re building a reliable base that helps the whole crew work with confidence.
A prepared deck lets the insulation, fasteners, and TPO membrane perform as designed, giving you a roof that resists weather and supports long-term efficiency.
Plan the Roof Layout
You’ll start by measuring the roof dimensions accurately so you can verify material quantities and placement.
Next, mark seam locations to keep overlaps consistent and reduce installation risk.
Then map drainage paths so the layout directs water to drains and prevents ponding.
Measure Roof Dimensions
Start by measuring the roof’s length, width, and any penetrations so you can map an accurate layout for the TPO membrane. Use a tape measure and record every dimension on a simple roof sketch.
Check parapet walls, curbs, drains, skylights, and expansion joints, since each one affects material use and fitting. Measure each roof section separately if the deck changes direction or elevation.
Keep your notes organized so you can verify square footage, estimate roll coverage, and avoid shortages on install day. Recheck critical measurements before you order materials, because a small error can create waste and delays.
When you measure carefully, you’re working like the pros and building a system that fits cleanly, performs reliably, and helps your team stay confident together.
Mark Seam Locations
With your measurements confirmed, map the seam locations across the roof so each TPO sheet lays out cleanly and uses the fewest field seams possible.
You should center full sheets where you can, then place seams in straight, accessible runs that let your crew weld efficiently.
Mark each line with chalk, tape, or another visible guide, and keep spacing consistent with the manufacturer’s sheet width and overlap requirements.
Check every junction, penetration, and edge condition before you commit the layout.
When you plan together like this, your team works faster and with fewer corrections.
Clear seam marks also help you maintain control during installation, reduce waste, and support a tight, professional finish that lasts.
Map Drainage Paths
Trace the roof’s drainage paths before you set the TPO layout so water moves cleanly to drains, scuppers, and gutters.
You should identify every low point, slope break, and flow direction, then transfer those lines to your plan.
Keep seams, plates, and penetrations out of primary flow lanes when you can, because standing water shortens membrane life.
If the deck has ponding areas, note them and coordinate tapered insulation or additional drains before installation starts.
You’ll work better as a crew when everyone sees the same drainage map, since it keeps cuts accurate and details tight.
Confirm that crickets, saddles, and edge conditions guide water away from vulnerable connections.
Clear drainage planning helps your team build a roof that performs efficiently and lasts.
Gather Fasteners and Adhesives
You’ll need the correct fastener types for the deck and insulation, along with TPO-approved adhesive that matches the membrane and weather conditions.
Check the manufacturer’s specifications before you start so you’re using compatible materials that support long-term performance.
Prepare your tools, including rollers, drills, and applicators, so you can install each component efficiently and securely.
Fastener Types
Before you start fastening a TPO roof membrane, gather the correct fasteners and adhesives for the deck, insulation, and membrane system.
Use corrosion-resistant screws and plates for wood or steel decks, and choose the fastener length to reach solid anchorage without overdriving. For concrete decks, use approved anchors that match the substrate and loading requirements.
When you secure insulation, pick fasteners with wide plates so you don’t crush the board. Keep membrane-specific fasteners and seam plates on hand for perimeter zones, corners, and field attachment.
You’ll work faster when every part matches the assembly you’re building. Check manufacturer listings, pullout values, and spacing requirements before you begin, and keep extras nearby so your crew stays organized and on pace throughout the install.
Adhesive Selection
Once you’ve matched the right fasteners to the deck and insulation, choose adhesives that are approved for the specific TPO assembly and site conditions.
You’ll want bonding products rated for the membrane, cover board, and substrate you’re installing over. Check whether the roof needs water-based, low-rise foam, or solvent-based adhesive, and verify temperature, moisture, and wind limits before you commit.
Use only products listed by the membrane manufacturer, because mismatched chemistry can weaken seams, void warranties, and slow your crew down.
Keep adhesives within shelf-life, store them per label, and confirm coverage rates so you don’t under-apply or over-apply.
When you select compatible materials, you set your team up for a clean, reliable install and a roof system that performs as expected.
Tool Preparation
Gather all fasteners, plates, adhesives, and required tools before installation so your crew can work efficiently and maintain consistent quality.
Check that each fastener matches the deck type, roof assembly, and manufacturer specs. Keep screws, plates, seam adhesive, bonding adhesive, rollers, snips, chalk line, drill, and membrane cleaner within reach. You’ll reduce delays when you stage materials in order of use.
Inspect adhesive containers for proper shelf life and mix requirements, and keep them sealed until you’re ready. Assign one person to track supplies so your team stays coordinated and no one wastes time searching.
When everything’s organized, you can focus on secure attachment, clean seams, and a tighter install. That preparation helps your crew work like a unit and deliver a roof built to last.
Install the TPO Membrane
Position the TPO membrane carefully and unroll it over the prepared roof surface, aligning each sheet to the layout plan and allowing proper overlap at seams.
Keep the membrane flat and free of wrinkles as you work across the field. You should let the material relax so it can settle before fastening.
Check edge alignment at each section and make small adjustments now, not later. Use your approved fasteners and plates at the specified pattern to hold the sheet securely without distorting it.
Work methodically from the center outward so your team stays organized and the surface stays consistent. If wind picks up, secure loose areas immediately.
Stay focused, keep your layout true, and your installation crew will build a clean, reliable roof system together.
Seal Seams and Flashing
Seam sealing is where the TPO system becomes watertight, so you need to heat-weld each overlap to the manufacturer’s required width and temperature.
Keep your hot-air welder moving steadily, then roll the bond while it’s still warm to create full contact.
Check every seam with a probe after it cools; a solid weld resists lift and separates cleanly only at the edge.
For flashings, shape the membrane tightly around corners, pipes, and penetrations, then weld all terminations to form a continuous barrier.
You’re building a roof assembly that works as a team, so treat every detail like part of the same system.
Finish by confirming that edges lie flat, connections stay uniform, and all welded areas match the specified lap.
Avoid Common Installation Mistakes
Even a well-designed TPO roof can fail if you rush the details, so watch for the common mistakes that weaken adhesion and shorten service life.
You need a clean, dry, and smooth substrate before you start, because dust, moisture, and loose fasteners undermine bond strength.
Don’t stretch the membrane too tightly; allow controlled movement so thermal shifts won’t stress seams.
Use the right primer, cleaner, and weld settings for your material, and keep your hand speed steady.
Cut patches with enough overlap, and avoid sharp corners that concentrate stress.
Store rolls flat and protected from heat so they stay true.
When your crew follows the same process, you build a tighter, more reliable roof together, with fewer callbacks and stronger long-term performance.
Inspect the Finished Roof
Once the membrane is in place and the welds have cooled, inspect the finished roof so you can catch defects before they turn into leaks.
Walk the surface in a planned pattern and check every seam for tight, uniform welds. Look for fishmouths, wrinkles, voids, punctures, and loose flashing at edges, corners, and penetrations.
Verify that fasteners, plates, and termination bars sit flush and that membranes lay flat without stress. Probe suspect seams with a seam test tool, and mark anything that needs correction.
Confirm drains, scuppers, and flashings are clear and properly sealed. This final review helps your crew stand behind the work, protect the building, and deliver a roof that performs the way it should from day one.
Maintain Your TPO Roof
Regular maintenance keeps your TPO roof performing efficiently and helps you catch small issues before they turn into costly repairs.
You should inspect the membrane after storms, check seams, flashings, and penetrations, and clear debris from drains and scuppers.
Clean the surface with manufacturer-approved products to prevent dirt buildup and preserve reflectivity.
Look for punctures, shrinkage, ponding, or loose fasteners, then repair damage promptly with compatible materials.
Keep HVAC units, foot traffic paths, and rooftop equipment protected with pads or walkways.
Schedule professional inspections at least twice a year so you stay aligned with your roofing team and maintain warranty coverage.
When you care for the system consistently, you protect your investment and keep your building’s crew working under a roof that performs as designed.
Frequently Asked Questions
How Does TPO Compare to EPDM or PVC Roofing?
You’ll find TPO usually balances cost, heat reflectivity, and weldable seams better than EPDM, while PVC often resists chemicals better. You’ll choose TPO for efficiency, EPDM for flexibility, or PVC for tougher exposures.
What Weather Conditions Affect TPO Roof Installation?
You’ll get the best TPO installation in dry, mild weather with low wind. Avoid rain, snow, frost, extreme heat, and temperatures outside manufacturer limits, since they can weaken seams, adhesives, and membrane handling.
Can TPO Be Installed Over an Existing Roof?
Yes, you can often install TPO over an existing roof if you inspect the deck, confirm code compliance, and fix wet or damaged areas first. You’ll need a clean, stable substrate for reliable adhesion.
How Long Does a Professionally Installed TPO Roof Last?
Usually, your professionally installed TPO roof lasts 15 to 30 years; when you maintain it well, it’ll go the distance. You’ll protect seams, drainage, and coatings, and your roof’ll stay strong for decades.
What Permits Are Required for TPO Roof Installation?
You’ll usually need a building permit, and sometimes zoning, electrical, or fire approvals too. Check with your local code office, submit roof plans, and get inspections scheduled before you start work.
Review
You’ve done the hard part, and that’s the irony: a TPO roof looks simple only after you’ve treated every step like it matters. If you’ve cleaned the deck, aligned the membrane, sealed the seams, and checked your work, you’ve already reduced most future failures. Keep inspecting it, keep maintaining it, and don’t assume “finished” means “done.” With the right installation and regular care, your roof won’t just survive—it’ll keep proving the details were worth it.