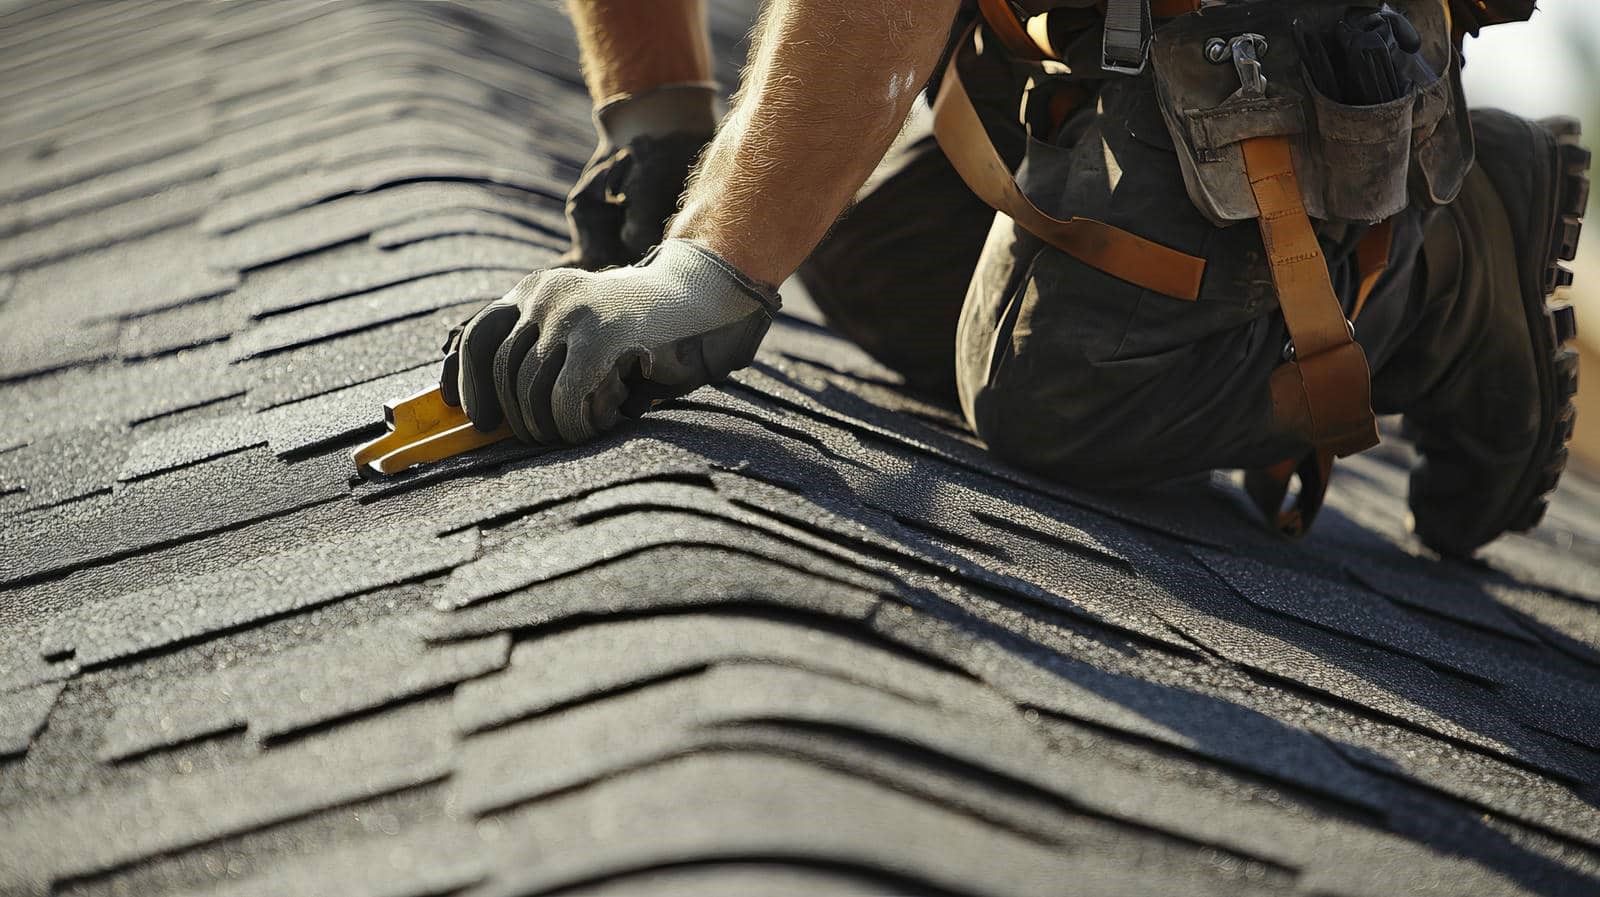
Shingles lift away like scales from an old shell as your roof replacement begins, and you’ll want to know what happens next. You need clear planning, accurate measurement, the right material choice, and a contractor who follows code and avoids costly errors. Each step affects cost, timeline, and durability, and the details can separate a solid roof from a future problem.
Key Takeaways
- Expect roof installation to include tear-off, decking inspection, debris protection, and steady communication with the crew.
- Accurate roof measurements, slope checks, and planning for access, weather, and permits help prevent delays and extra costs.
- Choose materials based on budget, climate, durability, and maintenance needs, with asphalt and metal as common options.
- Proper installation requires underlayment, flashing, ventilation, correct fastening, and careful attention to valleys and penetrations.
- Inspect for code compliance and common mistakes like missing drip edge, poor flashing, exposed fasteners, and uneven shingle courses.
What to Expect During Roof Installation?
During a typical roof installation, you can expect the crew to begin by removing the old roofing material, inspecting the decking for damage, and making any needed repairs before they install underlayment, flashing, and the new roof system.
You’ll usually hear steady work, see debris protection, and notice clear staging around your home. Good roof installation teams keep the site organized, protect landscaping, and work in sections to reduce exposure.
You may need to stay available for quick questions or unexpected repairs, but the crew should handle most tasks without disrupting your day.
Expect noise, nail guns, and material delivery, but also expect professionalism, clean communication, and a finished roof that helps you feel confident you made the right choice.
How Roofers Measure and Plan the Job
Before work starts, roofers measure your roof’s length, width, pitch, and total square footage to calculate material needs, labor time, and waste allowance. They’ll verify slopes, hips, valleys, dormers, and penetrations so you get an accurate scope, not a guess.
You’ll usually see a plan that maps sections, staging areas, debris paths, and crew access, which helps the job run safely and on schedule. Good planning also accounts for weather windows, permit requirements, and delivery timing, so your project team stays coordinated.
When measurements are precise, you avoid short material orders, delays, and extra trips. That means fewer surprises, tighter scheduling, and a smoother experience for everyone on your property.
What Roofing Material Is Best for Your Home?
You’ll often choose between asphalt shingles and metal roofing, and each system fits different performance goals and budgets.
Asphalt shingles give you a cost-effective, easy-to-install option with many style grades, while metal roofing offers longer service life, better fire resistance, and strong weather protection.
Your best material depends on your climate, roof slope, maintenance expectations, and upfront cost.
Asphalt Shingle Options
Asphalt shingles are the most common roofing choice because they balance cost, performance, and ease of installation. You can fit them to most homes, and they give you a familiar look that blends well in many neighborhoods.
Three-tab shingles cost less and suit simple roofs, while architectural shingles add depth, stronger wind resistance, and a longer service life. You should also compare algae-resistant options if your area stays humid.
Most systems install quickly, so your project stays on schedule and your crew can protect your home sooner. When you choose higher-grade shingles, you get better durability without changing your roof structure.
For many property owners, that makes asphalt the practical, comfortable choice for a home you’re proud to share.
Metal Roofing Benefits
If you want a roofing material that trades higher upfront cost for long-term performance, metal is worth a close look. You get strong resistance to wind, fire, and impact, plus service life that often exceeds asphalt by decades.
Metal sheds water quickly, which helps in heavy rain and snow, and reflective coatings can lower attic heat gain. You’ll also benefit from lighter weight, so your structure carries less load than with tile or slate. For many homes, that means fewer reinforcement needs and faster installation.
If your crew details fasteners, flashing, and underlayment correctly, you’ll reduce leak risk and noise. Metal fits well when you want durability, lower upkeep, and a modern look that feels like part of a smart, informed homeowner community.
Step-by-Step Roof Installation Process
You’ll start with site preparation, which means protecting the area, removing the old roofing, and inspecting the deck for damage.
Next, you’ll install the roof system in sequence, including underlayment, flashing, ventilation, and the new roofing material.
Each step has to meet spec so the roof performs correctly and lasts as expected.
Site Preparation
Before the crew lifts a single shingle, they prep the site by protecting landscaping, moving outdoor furniture, and setting up tarps, dumpsters, and equipment access routes.
You’ll see your driveway cleared, fragile items covered, and debris paths marked so the team can work efficiently and safely. They’ll also confirm vehicle access, locate power outlets if needed, and review where materials can be staged without blocking walkways.
Good site prep helps your project stay organized and keeps your property easier to live around during the work. If you have pets, vehicles, or security systems near the roofline, tell the crew early so they can adjust the plan.
This preparation builds trust, reduces delays, and sets up a clean, well-coordinated installation experience for everyone involved.
Roof System Installation
With the site ready, the crew can start the roof system installation in a controlled sequence that protects the deck and keeps each layer aligned.
You’ll see underlayment first, then drip edge, starter strips, and the field material set to the manufacturer’s layout. The crew fastens each course with the right nail pattern, checks exposure, and staggers joints to block water paths.
Around vents, valleys, chimneys, and edges, they install flashing and seal critical connections so the system works as one unit. If your roof includes ridge vents, they cut the opening, fit the vent, and cap it cleanly.
You’re part of a process built for accuracy, not speed, so every detail supports durability, drainage, and a finished roof you can trust.
What Drives Roof Installation Costs?
Roof pricing depends on more than just square footage. You’ll see costs shift with roof pitch, complexity, and material choice.
Steeper slopes need more safety gear and labor, while hips, valleys, dormers, and skylights demand precise cuts and extra flashing. Your underlayment, decking repairs, ventilation parts, and fasteners also affect the quote.
If your crew must remove old roofing, haul debris, or meet strict local code upgrades, expect higher pricing.
Premium shingles, metal panels, and specialty membranes cost more upfront but can deliver stronger long-term value.
You’re part of a smart homeowner group when you compare line-item estimates, not just totals.
Ask contractors to explain every material and labor charge so you can spot fair pricing and plan confidently.
How Long Does Roof Installation Take?
Installation time depends on the same factors that shape cost, especially roof size, pitch, complexity, and material type.
You can expect a simple asphalt roof on a small home to take one to two days, while larger or steeper roofs may need three to five days. Metal, tile, and slate often take longer because crews must handle each panel or piece with care.
Weather, tear-off scope, deck repairs, and ventilation work can add time too. If your roof has multiple valleys, dormers, or chimneys, plan for extra coordination.
You’ll stay on track when you clear access, protect landscaping, and keep the work area ready. Good planning helps your crew move efficiently and keeps your property feeling like part of the project.
How to Choose the Right Roofing Contractor
Choosing the right roofing contractor starts with verifying the basics: license, insurance, local references, and proven experience with your roof type.
You should ask for a written estimate that breaks out labor, materials, warranties, and cleanup so you can compare bids fairly.
Check reviews, but also call recent customers and ask how the crew communicated, protected the property, and finished on schedule.
A strong contractor explains the installation plan, answers questions directly, and offers manufacturer-backed warranties.
You’ll feel more confident when the company uses trained crews, keeps a clear project timeline, and provides a signed contract before work begins.
Choose a team that treats your home like part of the neighborhood, because good roofing professionals build trust, not just roofs.
Common Roof Installation Mistakes to Avoid
Even a well-planned roofing project can go wrong if you miss key details during installation. You protect your home best when you catch errors early and work with a team that knows the standards. Skipping underlayment, using the wrong nail pattern, or poor flashing can invite leaks and shorten roof life.
Make sure you stay alert for:
- uneven shingle courses
- exposed fasteners
- trapped moisture
- missing drip edge
- weak valley sealing
You also want proper attic ventilation, clean decking, and correct manufacturer spacing. If crews rush, the roof may look finished but still fail under wind or rain.
Ask questions, inspect each stage, and insist on code-compliant work. That’s how you join the owners who get lasting protection, not repeat repairs.
Recap
You’ve now got the essentials to navigate your roof installation with confidence. By knowing what to expect, how crews measure and plan, and which materials fit your home, you can make smarter decisions from start to finish. Keep an eye on cost, timing, contractor choice, and common mistakes, and you’ll avoid costly surprises. A well-installed roof is your home’s shield in the storm, so choose carefully and verify every detail before work begins.