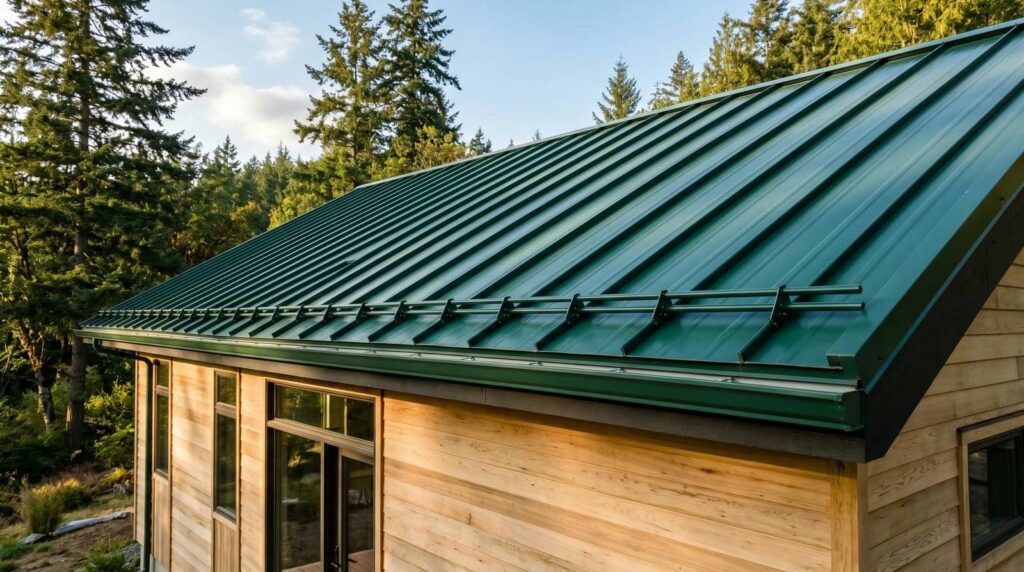
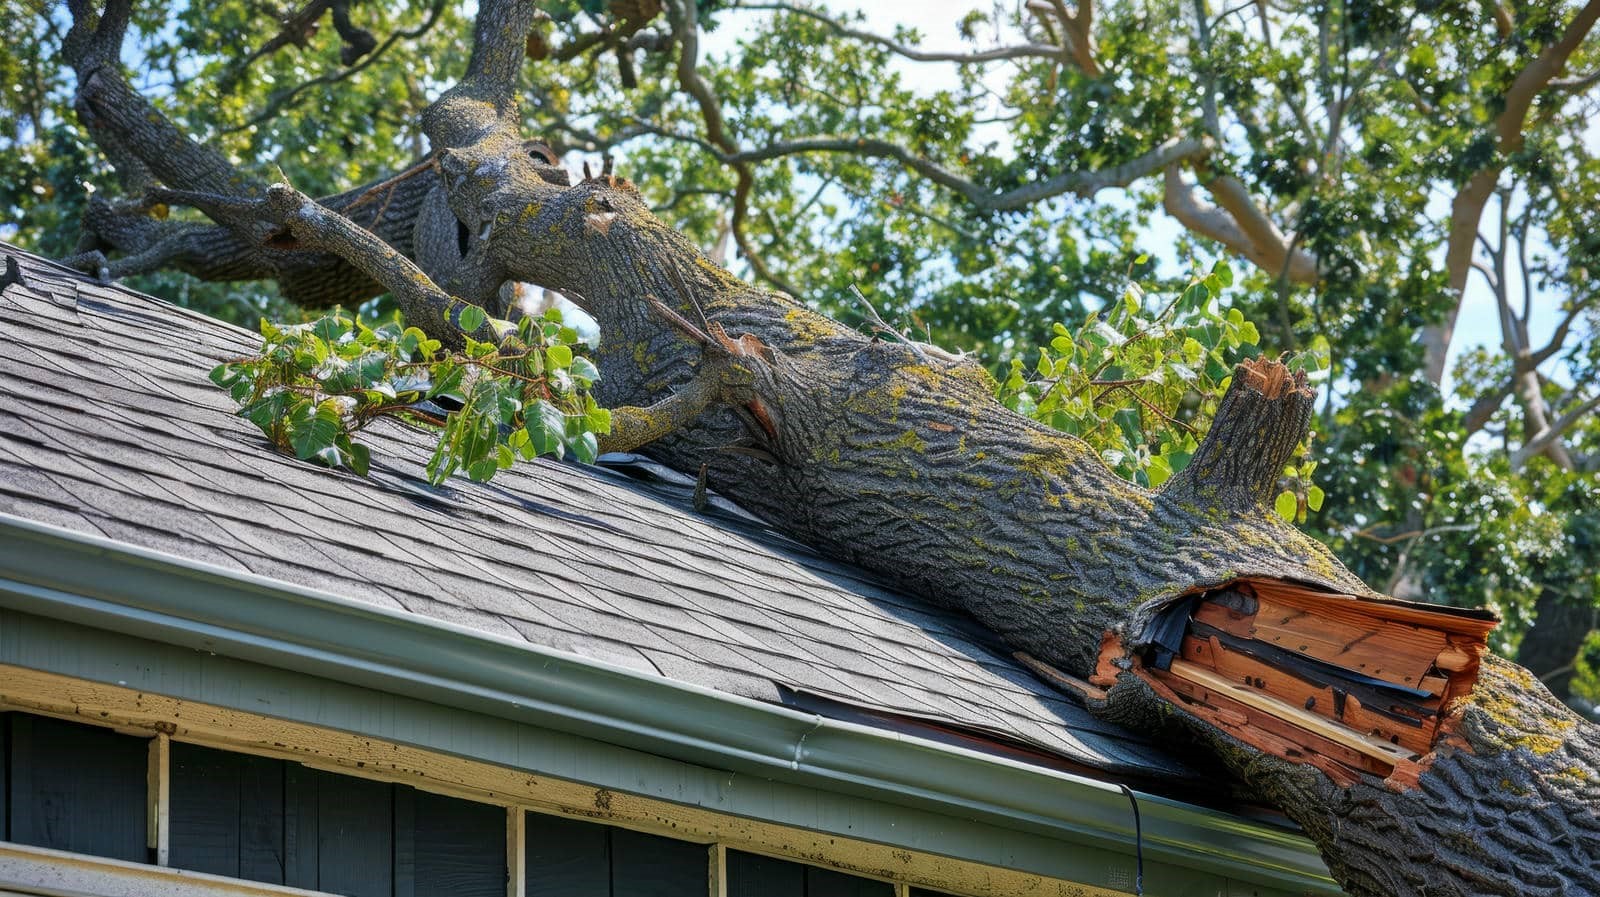
Even if the roof looks fine from the ground, Storm Damage Roof Repair often begins with identifying issues that aren’t immediately visible. You should check for missing shingles, dented metal, lifted flashing, and active leaks before the next rain exposes the problem. Quick temporary repairs can limit interior damage, but documentation and insurance steps matter just as much. The real question is how to move from first inspection to a lasting repair without missing a critical step.
Key Takeaways
- Inspect for storm damage: missing shingles, dents, granule loss, torn flashing, and attic leaks.
- Control leaks immediately with tarps or sealant, then document all damage with dated photos for insurance.
- File the insurance claim quickly and track every update, photo request, and adjuster communication.
- Repair the roof by replacing damaged decking, installing underlayment and flashing, then matching shingles or panels.
- Finish with a thorough inspection, cleanup, gutter check, and final documentation of the completed repairs.
What Does Storm Damage Look Like?
Storm damage can show up as missing or lifted shingles, dented metal, cracked tiles, torn flashing, or granule loss on asphalt roofs.
You may also see scuffs from debris, bent ridge caps, or seams that no longer lie flat. In the storm damage roof repair process, these signs tell you the roof took impact, uplift, or water intrusion.
You should look for changes in color, exposed underlayment, and loose materials around vents, chimneys, and edges. If shingles curl or tabs break free, wind likely stressed the system.
After hail, small circular dents can mark softer metals and asphalt surfaces. These clues help you speak the same language as your roofing team and move forward with confidence.
Inspect Your Roof for Hidden Damage
Even when the surface looks intact, hidden damage can still weaken your roof. You need to inspect shingles, flashing, vents, and ridge caps for subtle lifting, creasing, or punctures.
Use binoculars from the ground first, then check from a stable ladder if conditions are safe. Look for granule loss in gutters, soft spots underfoot, and bent metal around penetrations.
Inside, scan the attic for daylight, damp insulation, stains, or warped decking. Mark every suspect area with chalk or photos so you can track patterns and share clear evidence with your roofing team.
Don’t ignore small defects; storm impact often spreads beyond the visible strike zone. Careful inspection helps your crew identify the full scope and keeps your repair plan accurate.
Make Temporary Repairs to Stop Leaks
You should control leaks immediately to limit interior water damage and protect exposed sheathing.
Use emergency leak control methods like sealant, roofing cement, or leak patches on accessible failure points.
If the damage is larger or weather is active, secure a temporary roof tarp until permanent repairs can begin.
Emergency Leak Control
When water is entering the home, stop the leak fast with temporary measures that limit interior damage until permanent repairs can begin. Move valuables, place buckets under drips, and protect flooring with towels or plastic.
Next, trace the leak path carefully, because water often travels from the roof entry point. If it’s safe, seal small openings at flashing, vents, or exposed fasteners with roofing cement or compatible sealant. You can also tighten loose shingles or replace a displaced shingle if one is available.
Inside, open wet ceilings only if needed to relieve pressure and reduce collapse risk. Document every spot you touch, then report the conditions to your roofer so your crew stays aligned and your repair plan moves forward cleanly.
Temporary Roof Tarping
Once the leak is under control, install a tarp to create a temporary weather barrier over the damaged roof area and stop further water intrusion. You’ll protect your home and buy time for permanent repair.
Use a heavy-duty, UV-resistant tarp that extends past the damage and anchors over the ridge if possible. Secure it with 1×3 battens, roofing screws, and sealed edges so wind can’t lift it. Never nail through intact shingles unless you must; fasten into solid framing when you can.
Check for sagging, pooling, or loose corners after rain.
- Cover the full damaged section
- Overlap seams to shed water
- Prevent wind uplift
- Reduce interior damage
- Keep your repair team aligned
Document Roof Damage for Insurance
Take clear, dated photos and videos of every visible sign of storm damage, including missing shingles, lifted flashing, granule loss, dents, leaks, and interior water stains.
Capture wide shots that show roof sections and close-ups that show impact points, broken seals, and exposed underlayment. Include your tarp work so you can prove you limited further damage.
Keep each image sharp, well lit, and tagged with location details if you can. Save copies in a dedicated folder and back them up to the cloud or a drive.
Write a simple damage log with dates, weather conditions, and brief notes on what you see. If you have repair neighbors, keep your records consistent and organized so your documentation feels complete, credible, and ready for the next step.
File and Follow Up on Your Claim
File your claim as soon as possible to keep the process moving and protect your coverage timeline.
Track the claim status regularly so you know where it stands and can catch any delays.
When the adjuster contacts you, respond quickly with any requested photos, reports, or repair details.
File Claim Promptly
After you document the damage, submit your insurance claim right away so the carrier can start the review process without delay.
You protect your position by filing within policy deadlines and including photos, dates, and a clear loss summary. Use your claim number on every message and keep copies of all records.
This keeps your roofing project moving and helps you stay aligned with your adjuster and contractor.
- Review your policy for storm-loss requirements
- Attach inspection notes and supporting images
- Describe the damage in plain, exact terms
- Save emails, forms, and receipts together
- Respond quickly to requests for more details
When you act promptly, you strengthen your claim and stay part of a homeowner team that handles storm recovery with confidence.
Track Claim Status
Once your claim is submitted, monitor its progress closely so you can respond before delays build up. Save your claim number, adjuster contact, and policy details in one folder so you can check status fast.
Log every call, email, and portal update with dates, names, and next steps. If the carrier requests more photos, receipts, or roof measurements, send them the same day to keep the file moving.
Review your claim portal and voicemail daily, and note any coverage decisions or pending reviews. Stay organized so you can stay part of the process and avoid missing deadlines.
If the timeline stalls, contact your insurer through the main claim line and ask for a documented update. Clear follow-through helps your repair path stay on track.
Respond To Adjuster
When the adjuster requests details, answer quickly and keep your claim file moving. You need to send photos, invoices, dates, and inspection notes in one clean reply. Use the same claim number on every message so your carrier can track the file.
If the adjuster asks for more proof, provide it the same day when possible. Stay polite, firm, and organized; that helps your case and keeps you in the loop.
- Log every call and email
- Save all attachments in one folder
- Verify scope, wind date, and damage points
- Ask for written updates after each review
- Escalate delays through your contractor or agent
This steady follow-up helps your storm repair team move with you, not against you, until approval comes through.
Compare Roof Repair Quotes
How do you compare roof repair quotes after storm damage? You start by matching each bid to the same scope, so you’re comparing apples to apples.
Check whether the quote lists materials, underlayment, flashing, labor, debris removal, permit fees, and warranty terms. Confirm the contractor’s license, insurance, and local storm-experience.
If one price is much lower, look for missing line items or thin material specs. Ask how they’ll handle code upgrades and any hidden charge triggers.
Compare timelines, communication, and payment schedule too. You want a crew that fits your standards and feels like part of your team.
Document every difference in writing, then choose the quote that best balances cost, coverage, and reliability—not just the cheapest number on paper.
Complete the Roof Repair
After you’ve picked the best quote, the repair work should move in a clear sequence: secure the site, remove damaged roofing, replace decking if needed, install underlayment and flashing, then finish the shingles or panels.
You’ll see the crew work methodically, matching materials and fastening to manufacturer specs. Stay engaged and ask questions so you feel confident in the process.
- Verify the damaged area is fully exposed
- Confirm any rotten decking gets replaced
- Check that flashing seals valleys and penetrations
- Match shingle color, profile, and nailing pattern
- Keep communication open with your contractor
This step restores structure, weather resistance, and curb appeal.
When each layer is installed correctly, you join the many homeowners who’ve turned storm loss into a solid, code-ready roof repair.
Inspect the Finished Roof and Clean Up
Once the roof work is complete, inspect every repaired area for proper alignment, tight fasteners, sealed flashing, and clean shifts at valleys, vents, and edges.
You should walk the roof with a checklist and verify that shingles sit flat, nails aren’t exposed, and sealant covers all penetrations.
Check gutters, downspouts, and the ground for leftover debris, stray nails, and torn underlayment.
Inside, look for signs of moisture or daylight at repaired sections. If you spot a gap, fix it now before weather returns.
Then clean the site, remove tarps, and haul away waste so your property looks cared for and your crew feels complete.
A final photo set helps document the finished work and gives you confidence that your roof’s ready.
Frequently Asked Questions
How Soon Should I Contact My Insurer After Storm Damage?
Contact your insurer right away, ideally within 24 to 48 hours after storm damage, so you can start your claim, document losses, and avoid delays. You’ll protect coverage and speed repairs.
Will My Policy Cover Matching Shingles After Repairs?
It’s not always a galaxy of guarantees: you’ll often get matching shingles only if your policy or state law requires it. You should review your adjuster’s estimate, document mismatches, and request supplemental coverage promptly.
Can I Stay Home During Roof Replacement?
Yes, you can usually stay home during roof replacement, but expect noise, vibrations, and limited attic access. Keep pets and kids inside, protect valuables, and coordinate with your contractor for safer, smoother work.
How Long Does a Storm Damage Claim Usually Take?
You’ll usually wait 2 to 8 weeks for a storm damage claim, depending on insurer workload, inspection timing, and documentation quality. If you respond fast and stay organized, you can often speed things up.
Do I Need a Permit for Roof Storm Damage Repairs?
Yes, you’ll usually need a permit for major roof storm damage repairs, especially structural work or full replacements. Check with your local building department first, since rules vary, and your contractor should handle permits.
Wrap-Up
Storm damage can leave your roof looking like a map of missing shingles, bent flashing, and dark water stains. You’ve now seen how to inspect hidden damage, stop leaks fast, document everything, file your claim, compare quotes, and complete repairs. Once the new materials are in place, a final inspection and clean-up help your roof stand strong again. With each step, you turn a damaged cover into a secure barrier over your home.