A storm can turn a sound roof into a claim file in minutes. Insurance Claims for Roof Repair begin with a thorough inspection, so you need to photograph every missing shingle, dent, and leak while keeping your notes organized. Then you can file a claim with evidence that supports sudden loss under your policy. What happens next depends on the adjuster, the coverage terms, and how you respond to any low offer.
Key Takeaways
- Inspect the roof immediately after the storm and document all visible damage with dated photos, notes, and preserved materials.
- Focus on claim-worthy signs like missing shingles, punctures, broken flashing, hail impacts, and interior leaks.
- Notify your insurer promptly and organize inspection reports, estimates, timelines, and original evidence for the claim.
- Understand policy coverage, depreciation, and denial reasons, then appeal with specific policy language and supporting documentation.
- Hire a licensed contractor experienced with insurance claims to provide accurate estimates and ensure proper repair scope.
What to Do After Storm Damage
After a storm, you should inspect the roof as soon as it’s safe and document every visible sign of damage with clear photos and notes.
Then secure the area below, preserve any displaced materials, and keep every receipt tied to emergency measures.
You should notify your insurer promptly and ask what information they need for insurance claims for roof repair.
Provide the date of the storm, the damage timeline, and your records in a clear, organized file.
If neighbors also experienced impacts, compare notes so you can confirm storm conditions in your area.
This approach helps you present a consistent, credible account and supports faster review.
Stay methodical, because careful documentation can strengthen approval and reduce avoidable delays.
Check Your Roof for Claim-Worthy Damage
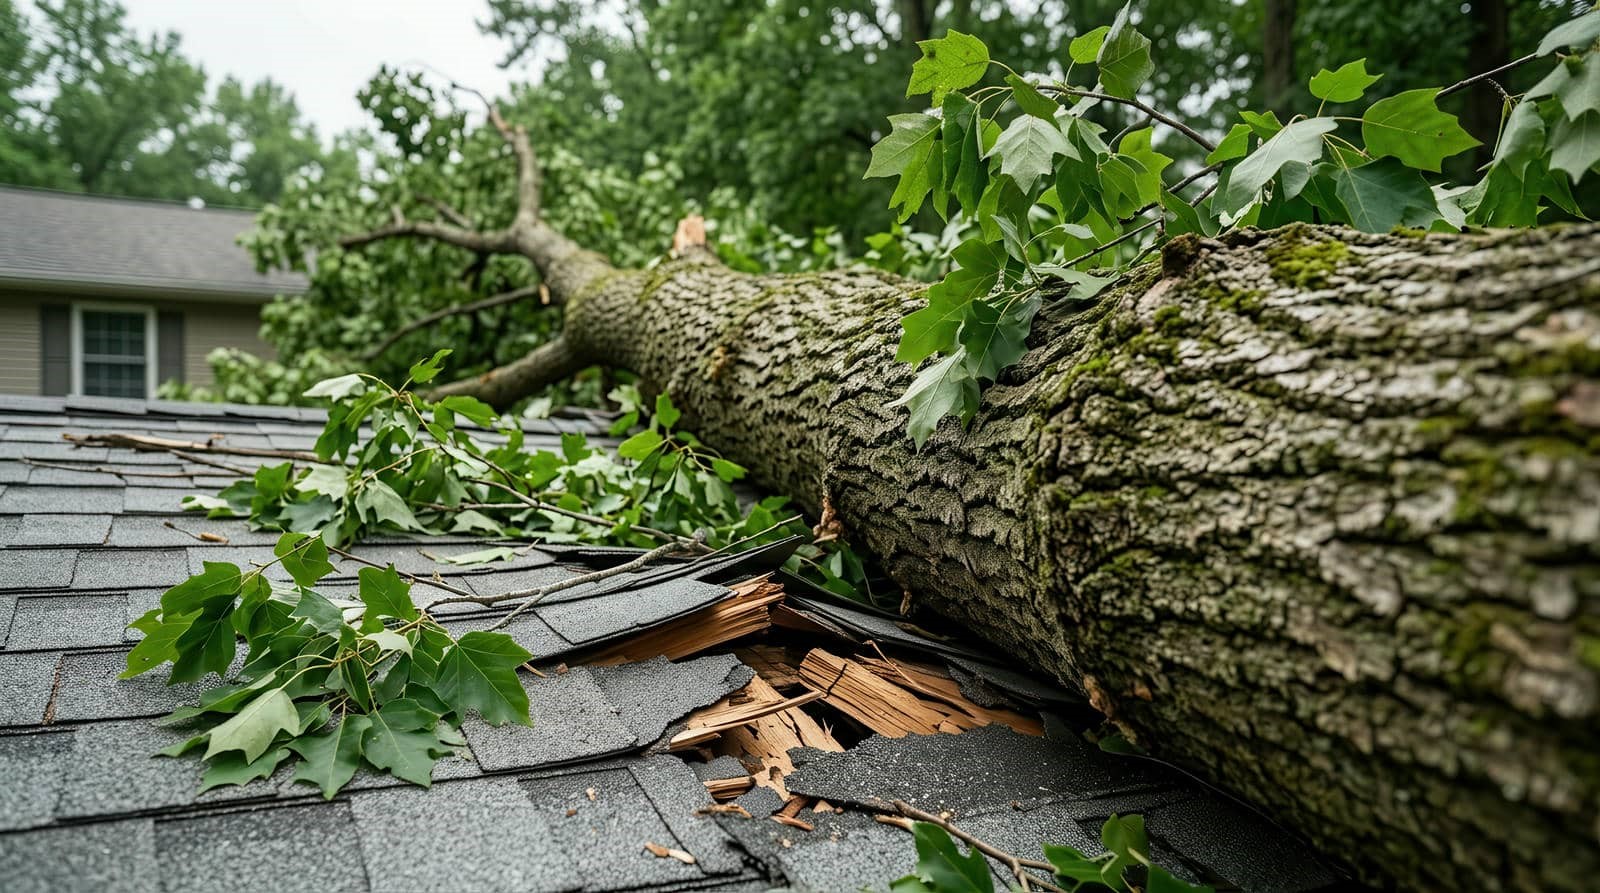
Start with a careful inspection of the roof surface, focusing on damage that an insurer is likely to regard as claim-worthy, such as missing or lifted shingles, punctures, broken flashing, exposed underlayment, hail strikes, and impact damage to vents, skylights, or gutters.
You should also look for soft spots, displaced ridge caps, and shingle granule loss that signals storm stress. Check valleys, edges, and roof penetrations, since these areas often fail first under high wind or hail.
If you see leaks inside the home, trace them to the affected roof section without guessing. Stay systematic so you can move with confidence and stay aligned with other homeowners who’ve had to assess the same risks.
A precise inspection helps you distinguish cosmetic wear from damage that may support a claim.
Document Roof Damage for Your Claim
Once you’ve identified likely claim-worthy damage, document it immediately with clear, date-stamped photos and video that show the roof from multiple angles and distances.
Capture close-ups of missing shingles, dents, lifted flashing, punctures, and visible debris, then add wide shots that place each issue in context. Keep your images sharp, well lit, and sequential so you can trace the storm’s impact across the roof surface.
Record notes on location, size, and severity for each defect, and save original files without editing. If it’s safe, include interior signs of leakage, such as stains or damp insulation, because they help confirm the damage pattern.
Organized evidence strengthens your position and helps your household present a consistent, credible record when you’re ready to move forward.
How to File a Roof Insurance Claim
You should document storm damage with clear photos, dates, and notes that show the roof’s condition after the event.
Next, notify your insurer promptly so you can start the claim process within the required timeframe.
Then file your claim evidence, including inspection reports, repair estimates, and any receipts that support the loss.
Document Storm Damage
After a storm passes, document every visible sign of roof damage before anyone begins repairs or cleanup. You should photograph shingles, flashing, gutters, vents, and interior stains from multiple angles.
You should include wide shots that show the roof’s full condition. Record the date, time, weather, and exact location of each image so your evidence stays organized.
If you can safely access the attic, note damp insulation, drips, or daylight through gaps. Keep damaged materials, like broken shingles or fallen debris, if local rules allow.
Write a brief log of what you observed and when you noticed it. Clear documentation strengthens your claim because it creates a consistent, factual record.
When you gather evidence carefully, you’re not just protecting your home; you’re joining other prepared homeowners who handle recovery with confidence.
Notify Your Insurer
Contact your insurer as soon as possible to report the loss and start the claims process. You should use the claims phone line or online portal your policy provides, then note the date, time, and claim number.
Speak clearly and give a concise summary of the storm event, the roof area affected, and any immediate protective actions you took. Ask what coverage applies, what deadlines you must meet, and who’ll handle your file.
Keep your language factual and consistent, because precision helps the adjuster assess your case efficiently. If you live in a community hit by the same storm, you’re not alone; many policyholders face the same process.
Stay organized, follow instructions closely, and confirm each next step in writing so you can move forward with confidence.
File Claim Evidence
Once the claim is open, gather evidence that shows what happened and how extensive the damage is. You should photograph the roof from multiple angles, including close-ups of missing shingles, dents, lifted flashing, and debris impact. Date-stamped images help the adjuster verify timing.
Keep copies of the storm report, repair estimates, and any emergency mitigation receipts. If you can safely access the attic, document leaks, water stains, and insulation damage.
Write a brief timeline that notes when the storm hit, when you noticed the damage, and any temporary fixes you made. Organize everything in one file so you can share it quickly.
Clear, complete records strengthen your claim and help you stay aligned with other homeowners who are managing the same process.
How Adjusters Review Roof Damage
When you submit a roof claim, the adjuster reviews damage patterns to see whether the evidence matches a covered loss.
You’ll often see them check for hail and wind indicators, such as impact marks, missing shingles, and lifted edges.
They then assess the repair scope to decide whether you need spot repairs or broader replacement.
Damage Pattern Analysis
Adjusters review roof damage by looking for patterns that show cause, timing, and extent, rather than isolated defects. You help them when you present damage that fits a consistent story across slopes, ridges, flashing, and interior signs.
They compare the location, direction, and repetition of marks to see whether one event explains the loss. They also note whether components failed together or showed separate wear over time.
When you document the roof with clear photos, dates, and inspection notes, you make the pattern easier to verify. The goal isn’t to prove every mark is dramatic; it’s to show a coherent sequence that matches the reported storm.
When your evidence aligns, you strengthen trust and support a fair claim review.
Hail And Wind Checks
Hail and wind checks are the next step in that review because adjusters test whether the roof marks match storm exposure from impact or uplift.
You’ll usually see them compare granule loss, denting, bruising, lifted edges, and creased tabs against the storm report and the roof’s age. They look for consistent impact points on slopes facing the weather pattern and for wind-driven stress where fasteners or seams have shifted.
You can support the review by staying factual, pointing out each observed mark, and keeping your notes aligned with the timeline. This process helps you and your adjuster build a shared, evidence-based picture of what the storm likely caused.
When you communicate clearly, you strengthen trust and keep the claim discussion focused on verifiable damage.
Repair Scope Assessment
After the damage review, the adjuster moves to repair scope assessment to determine which components need repair and which may need replacement.
You’ll see the adjuster compare shingle loss, granule impact, flashing distortion, seal failure, and decking exposure against policy limits and manufacturer standards. The goal is to separate storm-related damage from preexisting wear, so your claim reflects only covered loss.
If the roof’s damage is localized, you can expect targeted repairs; if the system shows widespread compromise, replacement may be justified.
You help this review by providing photos, inspection notes, and maintenance records. Clear documentation lets your claim move with less dispute and helps you stay aligned with the process.
When scope is accurate, you and your insurer can reach a fair, evidence-based outcome.
What Roof Insurance Usually Covers
Most roof insurance policies cover sudden, accidental damage from events like wind, hail, fire, falling objects, or certain storm-related impacts.
You can usually expect coverage for damaged shingles, flashing, underlayment, and other components your policy names. If water enters because the storm opened the roof, your claim may also include interior damage tied to that event.
Insurers typically pay for repairs that restore the roof to its pre-loss condition, not upgrades. You should review whether your policy uses replacement cost or actual cash value, since that affects payout.
Deductibles and coverage limits also shape your recovery. When you know the policy terms, you can file with confidence and stay aligned with other homeowners who handle storm losses carefully and methodically.
Respond to Denials and Low Offers
If the insurer denies your roof claim or issues a low estimate, you should first compare the decision to your policy, photos, inspection notes, and repair estimates to identify the exact basis for disagreement.
Then write a focused appeal that cites the relevant policy language and the evidence supporting your loss, and request a reinspection if the facts were overlooked.
Keep your tone firm, factual, and respectful, because clear records strengthen your position and help your claim stay organized.
If the adjuster’s math seems incomplete, ask for the line-item breakdown and the depreciation calculation.
Submit everything in writing and track dates, names, and responses.
When you stay methodical, you’re less likely to feel isolated and more likely to move the claim toward a fair result.
Choose the Right Roof Repair Contractor
Choose a contractor with direct experience handling roof repairs tied to insurance claims, because careful documentation and accurate scope changes can affect reimbursement. You should verify licensing, insurance, and local references, then ask how they coordinate with adjusters and supplement requests.
A strong contractor inspects the full roof system, photographs damage, and writes clear estimates that match policy language. You’ll want someone who explains material choices, timelines, and code requirements without pressure. That transparency helps you compare bids and stay aligned with your claim.
Choose a team that communicates promptly, because delays can complicate approval. When you work with a contractor who knows claim procedures, you’re more likely to move through repairs efficiently and feel like you belong in a process built on trust and shared accountability.
Frequently Asked Questions
How Long Does a Roof Claim Usually Take to Process?
You’ll usually see a roof claim process in two to six weeks, though complex damage, inspections, or missing documents can extend it. You can speed things up by submitting clear photos, estimates, and records promptly.
Can I File a Claim Without a Contractor Estimate?
Yes, you can file without a contractor estimate, but you’ll strengthen your claim with photos, damage notes, and inspection reports. You should submit it promptly, then add estimates later if the insurer asks.
Will My Premiums Increase After a Storm Claim?
Yes, your premiums can increase after a storm claim, depending on your insurer, claim history, and local risk. You’ll want to compare projected costs carefully before filing, since rate changes aren’t guaranteed.
What if Hidden Roof Damage Appears Later?
You can still file a supplemental claim if hidden roof damage appears later. Document the new damage with photos, dates, and contractor notes, then notify your insurer quickly so you’ll protect your claim rights.
Do Temporary Repairs Affect My Insurance Payout?
Yes—temporary repairs usually help, not hurt, your payout. You’ll document storm damage, protect your home, and prevent further loss. Why wouldn’t your insurer want that? Keep receipts, photos, and adjuster notes for support.
Final Thoughts
After a storm, you can treat your roof claim like a checklist, not a guessing game. Inspect damage, document it clearly, file promptly, and compare the adjuster’s findings with your own records. One homeowner I worked with found three missing shingles; that small detail kept a larger leak claim alive. Like a bridge built from measured beams, your evidence supports the entire repair process. Stay organized, and you’ll improve your odds of a fair outcome.