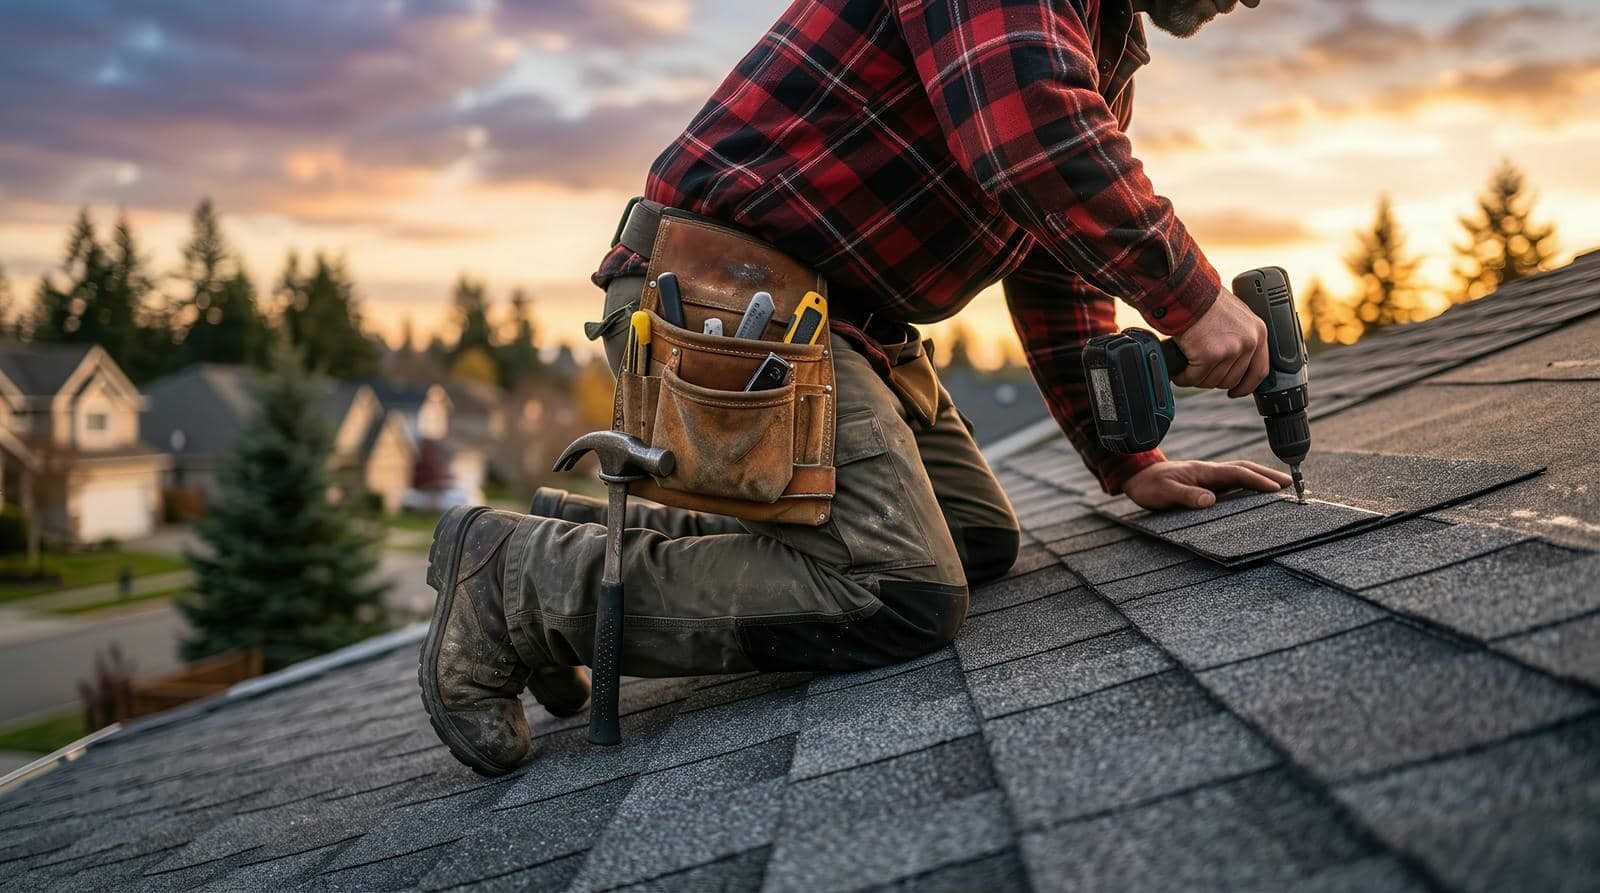
When you repair a shingle roof, using the right Shingle Roof Repair Techniques is essential for a durable, long-lasting result. You’ll need more than a quick patch if you want the repair to hold up. Check for cracked, lifted, or missing shingles, match replacements to the existing roof, and seal nails and flashing with roofing-grade materials. Curling edges and small splits need attention too, but the method you choose can decide whether the fix lasts through the next storm.
Key Takeaways
- Match replacement shingles by type, color, and thickness, and fasten them in the manufacturer’s required pattern.
- Repair leaks by sealing nail holes, flashing joints, and small cracks with roofing-grade polyurethane or asphalt-compatible sealant.
- Lift damaged shingles gently, clean the area, and work in cool, dry weather for the best long-term bond.
- Use roofing cement for minor punctures and lifted edges, and underlayment patches for torn felt or synthetic backing.
- Call a professional when damage is widespread, shingles are brittle, or the roof is steep, high, or hard to access.
Common Causes of Shingle Roof Damage
Shingle roofs can be damaged by several common factors, including high winds, hail, UV exposure, heavy rain, poor attic ventilation, and aging materials.
When you know these causes, you can choose shingle roof repair techniques that match the problem and protect your home.
Wind can loosen tabs and expose fasteners. Hail can bruise asphalt and shorten service life. Sunlight dries out the mat and makes shingles brittle.
Water can back up at valleys, edges, or flashings if drainage isn’t working. Heat from trapped attic air can warp shingles from below. Old shingles also lose flexibility and adhesion over time.
Inspect Shingles for Cracks and Lifts
You should inspect each shingle for surface cracks, since even small fractures can let water penetrate the roof system.
Check for lifted tabs by pressing along the edges and corners, and note any shingles that don’t sit flat against the deck.
Examine the sealant lines for failure, because loose adhesion often leads to wind damage and leaks.
Check For Surface Cracks
Start with a close visual inspection of each shingle, looking for surface cracks, splits, and any lifted edges that break the weather seal. You’ll catch early damage before it turns into leaks. Use binoculars or a roof-safe ladder to scan each course in good light, and mark every defect with chalk.
Check the exposed granule layer for hairline fractures, missing aggregate, and brittle areas near nails or seams. Press gently around suspect spots; if the surface flexes or opens, treat it as compromised.
Replace cracked shingles instead of patching them when the break crosses the face. Keep your team consistent: one inspector notes, another confirms. That shared process helps you stay accurate, efficient, and confident that your roof repair work will hold.
Look For Lifted Tabs
Lift each tab edge and inspect for gaps, curling, or weak adhesion that lets wind-driven water slip underneath. You should work row by row, because lifted tabs often hide in plain sight after storms or heat cycles.
Press each shingle flat and note any tab that springs back, feels brittle, or shows daylight at the edge. Those spots need prompt repair so your roof stays tight and your home stays part of a well-protected block.
Replace badly lifted shingles, or secure minor lifts with manufacturer-approved roofing cement under the tab. Keep your hands steady and avoid overhandling surrounding tabs.
Check nail lines too, since movement there can loosen the whole course. When you catch these issues early, you help your roof shed water cleanly and last longer.
Examine Sealant Failure
Check shingles for cracked sealant and opened joints, because failed adhesive lets water and wind work beneath the surface.
You should inspect each tab edge, ridge cap, and flashing seam for hardening, blistering, or gaps. When sealant loses bond, shingles can lift, flex, and leak under normal gusts.
Press lightly on suspect areas; if the tab moves or the bond breaks cleanly, plan a repair. Clean the surface, remove loose debris, and apply roofing sealant under the lifted edge.
Then fasten with corrosion-resistant nails if needed, placing them where the next shingle covers them.
Keep your checks consistent after storms, since early correction protects the whole roof. This approach helps you work like a careful crew and keeps your roof in the community of homes that last.
Replace Missing Shingles the Right Way
When you replace a missing shingle, match the type, color, and thickness to the surrounding roof so the repair blends and performs correctly.
Slide the new shingle into place and secure it with nails in the manufacturer’s required pattern, usually just above the adhesive strip.
You’ll need to keep each fastener flat and properly spaced so the shingle seals tight and resists wind uplift.
Locate Matching Shingles
Before you replace a missing shingle, match the new one to the roof’s existing profile, size, color, and material so the repair blends in and performs properly.
Bring a sample from your roof to a supplier, or photograph it in daylight so you can compare granule pattern, tab shape, thickness, and edge cut. If your roof has aged, look for discontinued lines through local roofing yards, salvage stock, or manufacturer match programs.
You’ll get the closest fit by checking weathering, since sun and rain shift color over time. Choose shingles with the same rating and exposure style, too.
When you find a near match, test it beside the opening before you proceed. That small step keeps your roof looking cohesive and helps you feel confident in the repair.
Secure Proper Nail Placement
Once you’ve matched the replacement shingle, fasten it in the same nail zone as the surrounding course so it locks down correctly and sheds water as intended.
You’ll usually drive four nails per shingle, just above the adhesive strip and below the exposed edge. Keep each nail straight, flush, and fully seated; don’t overdrive or leave heads proud, because either flaw can invite leaks.
If you’re working near a valley, ridge, or wind-damaged area, add fasteners where the manufacturer allows. Reuse the existing pattern when possible, and align the new piece so it fits with the crew’s rhythm across the roof.
That’s how you protect the system, earn a clean repair, and keep your roof in the trusted group of homes that stay dry.
Match Roof Shingles for a Seamless Repair
Matching roof shingles is essential if you want a repair that blends in and maintains the roof’s weatherproofing. Start by checking the shingle type, profile, thickness, and color blend on the existing roof. You’ll usually need the same manufacturer and product line to get the closest match.
If the exact shingle isn’t available, compare aging patterns, granule texture, and tab shape under natural light. Choose replacements that align with surrounding courses so your repair doesn’t stand out.
Lay out the new shingles before fastening to confirm fit and visual consistency. When you match carefully, you protect the roof’s appearance, preserve curb appeal, and keep your home looking like it belongs in the neighborhood.
Close matches help the repair integrate cleanly and perform like the original assembly.
Seal Leaks Around Nails and Flashing
Nail holes and flashing joints are two common entry points for water, so you need to seal them promptly during roof repair.
Clean each area first, then let it dry so the sealant bonds well. Apply a roofing-grade polyurethane or asphalt-compatible sealant under lifted flashing edges, around exposed fasteners, and over old nail penetrations.
Use just enough material to create a continuous bead without gaps or excess squeeze-out. If a fastener backs out, replace it with a new galvanized roofing nail and cover the head completely.
For wider flashing splits, add compatible metal patching and seal the perimeter. Check your work from above and below if you can.
When you seal these details correctly, you protect the whole shingle system and keep your roof team working with confidence.
Repair Curling Shingles Before They Fail
When shingles start curling, you need to correct them before wind and water lift them further. You should inspect each curled tab to find brittle edges, loose fasteners, and trapped debris.
If the shingle is still sound, press it flat, secure it with roofing nails just above the adhesive strip, and seal exposed fastener heads with a compatible roof sealant.
Replace shingles that crack when you flex them or that have lost granules across the field. Match the replacement size, slide it into place, and fasten it so the new course sits flush with the roof.
Work in cool, dry weather so the material lays flat. You’re protecting your roof system and keeping your crew of neighbors safe, dry, and confident.
Use Roofing Cement and Underlayment Patches
Roofing cement gives you a fast, reliable seal around small cracks, lifted edges, and punctures, while underlayment patches restore the waterproof barrier where the shingle system has been breached.
You should clean the area, lift the damaged shingle gently, and remove loose granules and debris. Then trowel a thin layer of roofing cement under the shingle and press it flat so the bond holds.
For torn felt or synthetic underlayment, cut a patch that overlaps the opening by at least two inches, set it in cement, and fasten it as needed.
Finish by sealing the patch edges and replacing any loosened nails. When you use these materials correctly, you protect your roof with the same care your neighbors value too.
When Shingle Roof Repair Needs a Pro
If the damage spreads beyond a few shingles, you’re dealing with a repair that needs professional attention. You can handle a lifted tab or two, but sagging decking, repeated leaks, or brittle shingles signal deeper trouble.
A pro checks the underlayment, flashing, ventilation, and fastener pattern, then matches repair methods to the roof system you already have. That matters when wind, impact, or age has weakened more than the visible surface.
You also want expert help if the roof is steep, high, or hard to access safely. By bringing in a qualified roofer, you protect your home, your crew, and your budget.
You’ll get a tighter seal, a cleaner finish, and repairs that fit right in with the rest of your roof.
Prevent Future Roof Damage With Maintenance
Regular maintenance helps you catch small problems before they turn into costly roof failures. You can protect your shingle roof by inspecting it after storms, clearing debris, and checking flashing, seals, and gutters.
When you stay proactive, you keep moisture out and help your roof perform like the rest of your home team.
- Replace cracked or missing shingles quickly.
- Clean gutters so water drains away fast.
- Trim branches to reduce abrasion and impact.
- Schedule a yearly professional roof check.
You don’t need to wait for leaks to act. Watch for lifted edges, granule loss, and soft spots in the decking.
Addressing these signs early helps you extend roof life, prevent structural damage, and stay confident your home’s protection is solid.
Frequently Asked Questions
How Long Should a Repaired Shingle Roof Last?
You can expect a repaired shingle roof to last about 5-10 years, sometimes longer, if you use quality materials, match the existing shingles, seal properly, and keep up with inspections and maintenance.
Can Roof Repairs Be Done During Rainy Weather?
No, you shouldn’t usually repair a roof in rain; theory suggests moisture compromises adhesion and safety. You can tarp damaged areas, then wait for dry weather so your crew protects your home and repairs hold.
What Tools Are Needed for Basic Shingle Repairs?
You’ll need a roofing hammer, pry bar, utility knife, replacement shingles, roofing nails, sealant, chalk line, ladder, and safety gear. You can’t skip gloves and eye protection; they’ll help you repair shingles cleanly and confidently.
How Often Should Roof Repairs Be Inspected Afterward?
Inspect your roof after every repair, then again after the next heavy rain or storm, and at least twice yearly. You’ll catch loosened shingles, leaks, or seal failures early and protect your home.
Are Shingle Roof Repairs Covered by Homeowners Insurance?
Usually, you’re covered if a storm, hail, or falling tree caused the damage; wear and tear isn’t. You should review your policy and document repairs fast—insurance claims can feel endless without proof.
Final Thoughts
With the right shingle roof repair techniques, you can keep small issues from becoming bigger concerns. You’ve seen how to spot damage, replace missing shingles, seal leaks, and secure curling edges before they invite trouble. When the repair is beyond a simple touch-up, calling a pro can save time and stress. Stay on top of inspections and maintenance, and your roof should keep doing its job quietly for years.