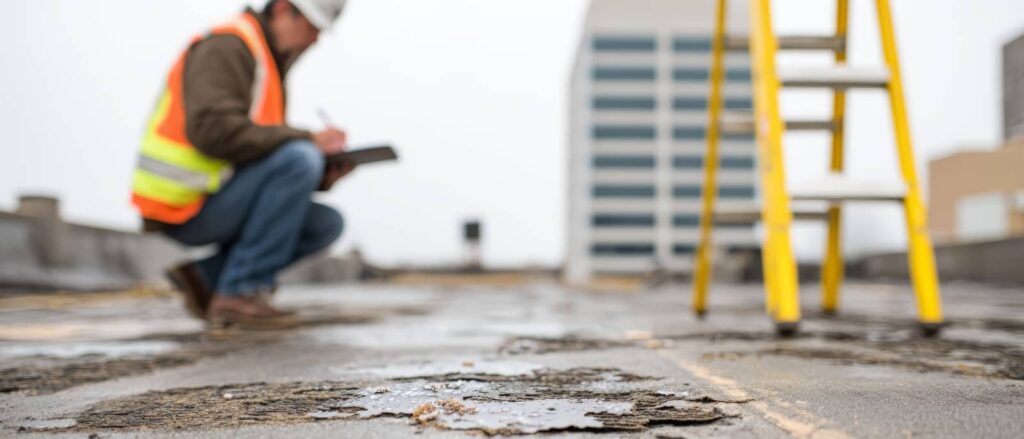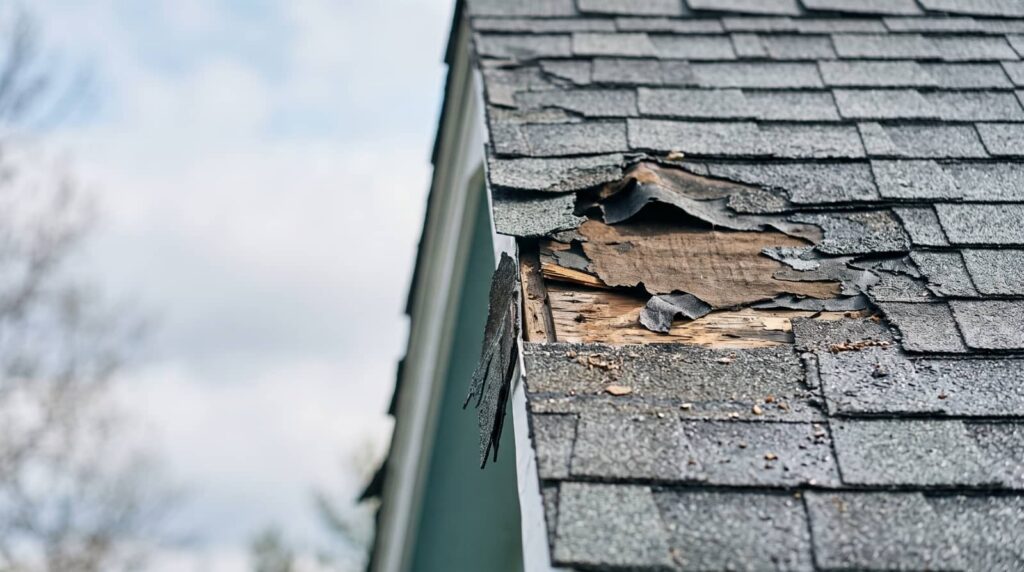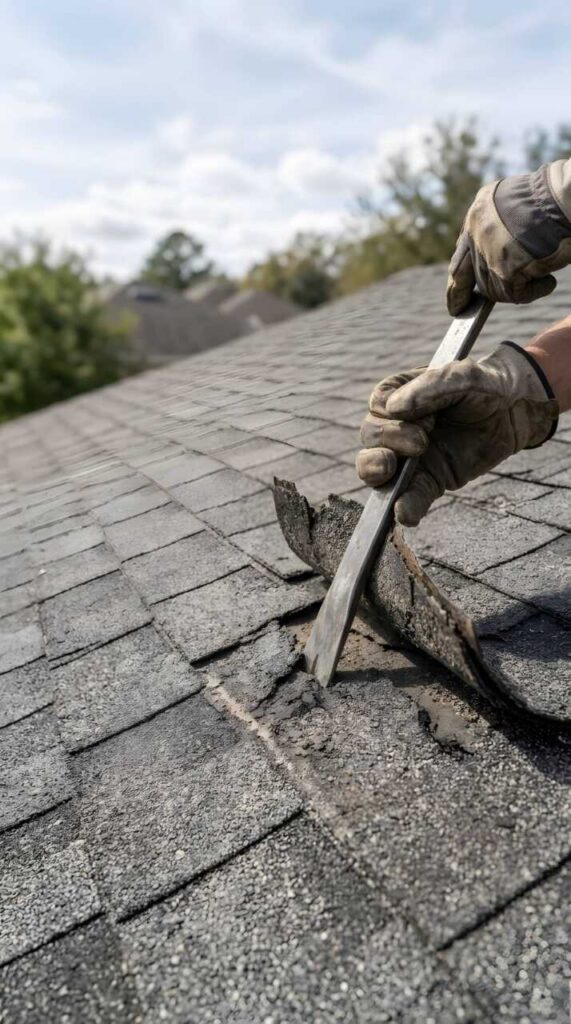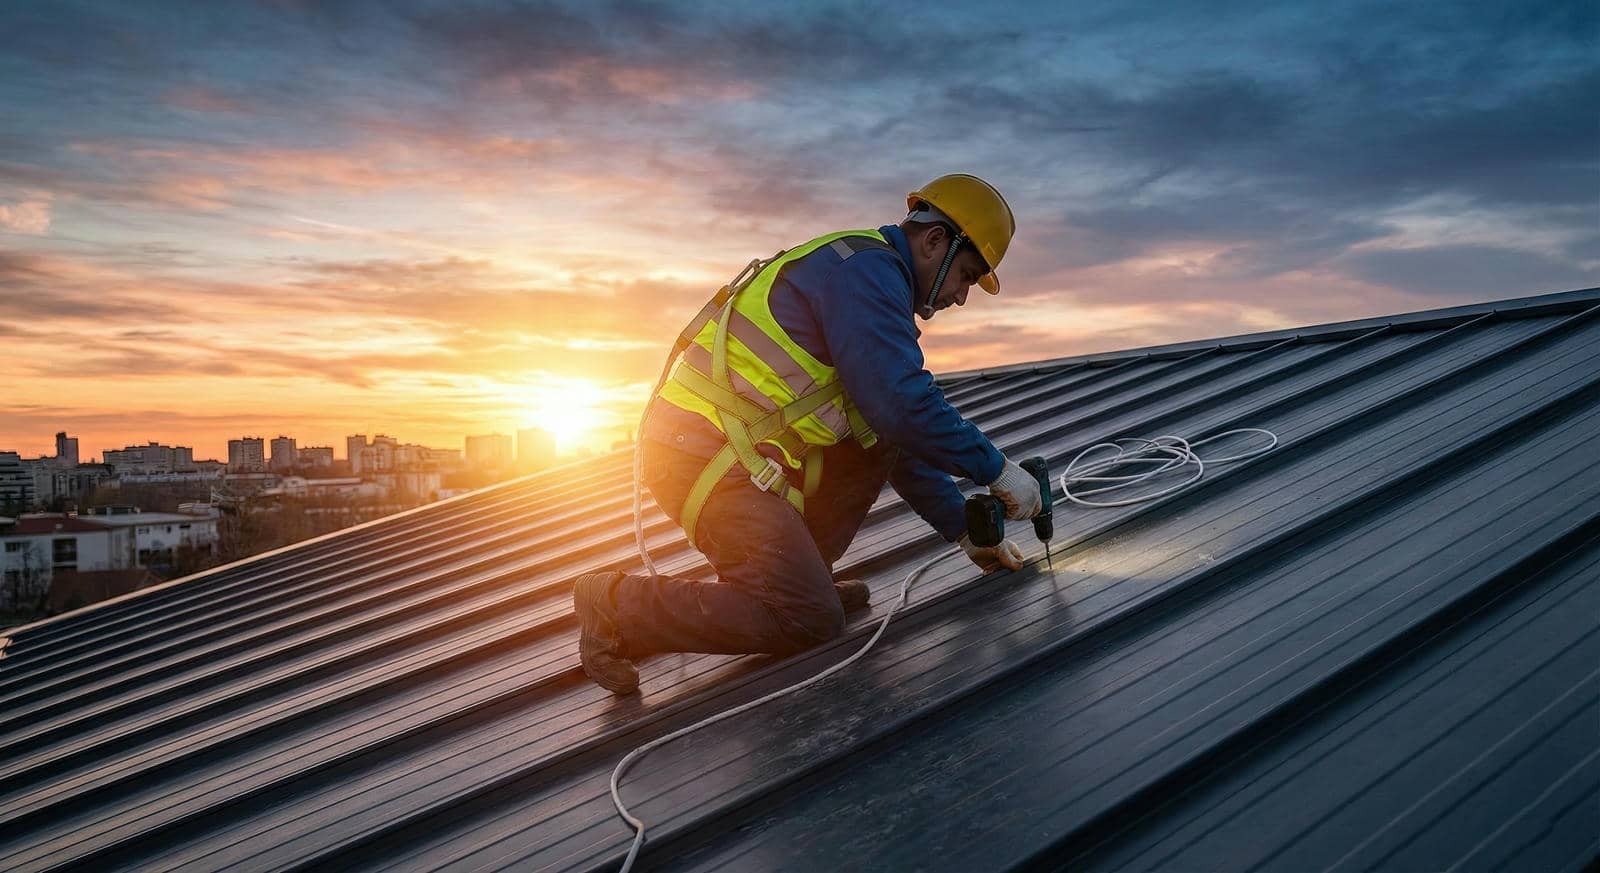
When a roof leak shows up, it can spread like a crack in glass, and you need to act fast with Commercial Roof Repair. You can use compatible sealants, approved patch materials, or a properly secured tarp to stabilize the membrane and protect the deck. Before you start, check seams, flashings, and loose edges, then clear debris and keep the surface dry. The right temporary fix depends on what you find next.
Key Takeaways
- Use temporary patches or compatible sealant for small leaks on stable roof surfaces.
- Clear debris, dry the area, and apply a tarp extending beyond the damaged section.
- Secure tarp edges with boards, screws, or weighted attachments to prevent movement.
- Inspect seams, flashings, and penetrations for loose edges or punctures before sealing.
- Call a commercial roofer for active leaks, saturated insulation, open seams, or structural concerns.
What to Do First After a Roof Leak
As soon as you notice a roof leak, you should move quickly to limit damage and make the area safe. Protect people first: keep staff and visitors away from wet zones, and place buckets or tarps under active drips.
Shut off nearby power if water reaches fixtures, and document the damage with photos for your team and insurer.
Then inspect the roof from the ground or a safe access point to find the source without stepping onto unstable surfaces.
Alert your facility lead and a qualified roofer so you can coordinate temporary commercial roof repair options.
If water is spreading, dry equipment and inventory, and mark affected areas clearly.
Acting fast helps your crew stay aligned, reduces downtime, and gives you a cleaner path to permanent repair.
Temporary Commercial Roof Repair Options
Once you’ve controlled the immediate damage, use temporary commercial roof repair options to stop water intrusion until a permanent fix is scheduled. You can stabilize the membrane with compatible sealant, patch small punctures with manufacturer-approved materials, or apply a reinforcing coating over dry, clean areas.
Inspect seams, flashings, and penetrations, then address any loose edges first. These measures buy you time, protect equipment, and keep your team confident during the next storm.
- You prevent shutdowns and protect revenue.
- You reduce stress by acting with a clear plan.
- You keep your building crew aligned and resilient.
Document every repair, monitor the area after rainfall, and schedule a full evaluation quickly. Temporary fixes work best when you respond fast and stay consistent.
How to Tarp a Commercial Roof
To tarp a commercial roof, you first clear debris, dry the surface, and check for sharp edges or loose material that could compromise the seal.
Then you position the tarp so it extends well past the damaged area and lays flat without wrinkles.
Finally, you secure the edges with boards, screws, or weighted attachments so wind can’t lift the tarp and let water in.
Preparing Roof Surface
Before you tarp a commercial roof, clear the surface so the tarp can lie flat and seal properly. You’ll protect your crew and keep the repair tight by removing loose debris, broken membrane, gravel, and standing water.
Sweep the area, then dry any damp spots with towels or a blower. Inspect for punctures, open seams, and sharp edges that could cut the tarp. If you find damaged flashing or saturated insulation, mark it and work around it.
A clean, smooth surface helps your temporary repair hold in the same way your team depends on each other under pressure.
- Remove hazards first
- Flatten high spots
- Check for hidden damage
Securing Tarp Edges
Secure the tarp edges so wind can’t lift the patch or drive water underneath it. You should overlap the roof by at least 12 inches on all sides, then fasten the perimeter with wood battens, screws, and washers or with approved roof anchors.
Keep fasteners spaced evenly, and tighten them enough to hold without tearing the tarp. Seal seams and edge folds with compatible roofing tape or polyurethane sealant.
If you’re working on a low-slope system, add ballast only where the roof can carry the load and where water won’t pond. Check corners first; they fail fastest.
Walk the perimeter after installation, then again after the first rain. When you secure the edges correctly, you protect the crew, limit interior damage, and buy your building time for a proper repair.
When Sealants or Roof Coatings Work
Sealants or roof coatings work best when the leak source is small, the roof surface is stable, and you need a fast temporary barrier to stop water intrusion. You can use them when seams, fasteners, or hairline cracks are letting in water, and you want your crew to feel protected while you plan the permanent fix.
Clean, dry conditions improve adhesion and reduce repeat failure.
- You gain control fast, which cuts stress.
- Your team stays focused because active dripping slows.
- You keep the building usable and your people confident.
Apply the product only where the damage is localized, and monitor it often. If water keeps moving, the repair isn’t holding, and you’ll need a different temporary strategy.
Materials for a Temporary Roof Repair
For a temporary roof repair, you’ll usually rely on tarp, roofing tape, compatible sealant, fasteners, and wood battens or boards to hold everything in place.
You should match each material to your roof membrane, because the wrong product can lift, slip, or trap water. A heavy-duty tarp gives you a quick weather barrier, while roofing tape bridges small seams and punctures.
Use sealant on minor splits, flashing edges, and penetrations where a tight bond matters. Fasteners secure the tarp at stress points, and battens or boards spread that load so you don’t tear the cover.
Keep your kit simple, compatible, and ready. When you work with the right materials, you protect your crew’s shared space until permanent repair begins.
Safety Steps for Emergency Roof Repairs
Before you start any emergency roof repair, you should assess hazards like wet surfaces, loose materials, unstable decking, and nearby electrical lines.
Next, secure the work area by restricting access below and around the roof edge so no one enters the hazard zone.
You should also wear proper PPE, including slip-resistant boots, gloves, eye protection, and a fall-arrest system when required.
Assess Roof Hazards
Start with a quick hazard assessment so you can stabilize the roof without putting workers at risk. Check for soft decking, open seams, ponding, loose panels, and electrical exposure.
If the roof feels unstable, stop and call your team lead. You’ll protect everyone by identifying danger before anyone climbs farther.
Look for structural warning signs: sagging lines, cracked supports, or visible deflection can mean the roof won’t hold you.
Feel for hidden moisture: saturated insulation can collapse under weight and trigger a sudden fall.
Scan for weather threats: wind, lightning, ice, and rain can turn a routine repair into a high-stress emergency.
When you assess hazards together, you build trust, reduce panic, and make better repair decisions.
Clear eyes and calm steps help your crew stay ready, focused, and safe.
Secure Work Area
Set up the work zone so people and traffic stay clear of the repair area. You should cordon off access points with tape, cones, or barricades, and post clear warnings at entrances, ladders, and below-roof drop zones.
Keep tools, materials, and debris inside the marked zone so you don’t create trip hazards or block movement. If you’re working near rooftop edges or skylights, define the perimeter before you start and maintain it throughout the repair.
Assign one person to watch the perimeter when crews move materials. You’ll work better when everyone knows the boundary and follows it. Good control protects your team, keeps tenants and visitors out of harm’s way, and helps your emergency repair stay organized, efficient, and safe until permanent work begins.
Use Proper PPE
Use the right PPE every time you step onto the roof. You protect yourself, and you support the crew’s standard of care.
For emergency roof repairs, wear slip-resistant boots, cut-resistant gloves, eye protection, and a hard hat when overhead hazards exist. Use a fall-arrest harness anchored to a verified tie-off point, and inspect straps, lanyards, and connectors before climbing. Choose weather-rated rain gear that won’t snag or limit movement.
- Gloves keep sharp metal from turning a quick patch into a painful setback.
- Boots help you stay steady when wet membranes steal traction.
- Harnesses give you confidence to work fast without risking the team.
When you suit up correctly, you fit the group, reduce injuries, and keep the temporary repair on track.
When to Call a Commercial Roofer
When should you call a commercial roofer? Call one as soon as you see active leaks, membrane punctures, open seams, saturated insulation, or ponding that won’t drain.
If your patch won’t hold, the roof feels soft, or water reaches electrical systems, stop work and bring in a licensed pro.
You should also call a roofer after hail, wind, or fire damage, or when a temporary fix needs welding, heat, or structural access.
A commercial roofer can assess the deck, confirm code compliance, and install a durable repair plan.
Acting early protects your crew, limits downtime, and keeps your building in the network of owners who handle problems before they spread.
Frequently Asked Questions
How Long Can a Temporary Roof Repair Last?
A temporary roof repair can last days to months, depending on weather, materials, and damage size. You’ll get the best results by inspecting it often and scheduling permanent repairs before the patch fails.
Can Temporary Repairs Work During Heavy Rain?
Yes, you can, but only if you install robust, watertight patches and monitor them closely. Heavy rain can expose weak seams fast, so you’ll need fast response, secure containment, and backup drainage ready.
Will Insurance Cover Emergency Roof Repairs?
It often will, if you act quickly, document damage, and use approved contractors. You’ll need to review your policy, since coverage varies by cause, deductible, and emergency-response limits. Contact your adjuster before authorizing repairs.
What Causes Temporary Roof Patches to Fail?
You’ll see temporary roof patches fail when you apply them to wet, dirty, or damaged surfaces, use incompatible materials, ignore movement, or expose them to UV, wind, and standing water beyond their design limits.
Can I Repair a Flat Roof Without Professional Help?
You can, if the leak’s a small crack, but you’ll need safe access, compatible sealant, and dry conditions; otherwise, you’re patching storm clouds with tape. For lasting results, you’ll still want a roofer.
Review
Temporary commercial roof repair options can buy you time, but they’re not a final fix. Use compatible sealants, patch small punctures, and tarp only after you clear debris and dry the surface. One leak can become major damage fast: even a 1/8-inch roof opening can let in gallons of water during a storm. You should document every repair, watch the area after rainfall, and call a commercial roofer when the damage spreads or keeps returning.