Imagine standing on a flat roof, water pooling in unexpected places, signaling potential damage beneath. When it comes to flat roof leak repairs, identifying the leak source is essential. You’ll need to inspect the surface thoroughly and prepare the area for effective patching. From using roofing cement to evaluating a roof membrane, each technique plays a significant role. Let’s explore the best methods to ensure your roof remains watertight and resilient against the elements.
Key Takeaways
- Conduct thorough inspections, including moisture mapping and thermal imaging, to accurately locate the leak source in flat roofs.
- Clean the repair area thoroughly, ensuring it is dry and free of debris for effective adhesion of repair materials.
- Use roofing cement and fiberglass mesh for patching, applying generously and allowing proper curing for a lasting seal.
- Consider installing a new roof overlay for added durability, ensuring compatibility with existing materials and proper surface preparation.
- Maintain proper drainage systems and conduct regular inspections to prevent water pooling and identify potential issues early.
Identifying the Source of the Leak
How can you effectively pinpoint the source of a leak in your flat roof? Start with leak detection techniques, which often involve a systematic approach.
First, inspect the interior for water stains or dampness, as these clues can guide you to the leak’s origin. Next, utilize moisture mapping. This involves using a moisture meter to identify areas with elevated moisture levels, helping you narrow down potential leak sites.
Once you’ve identified suspicious spots, take a closer look at the roofing materials and seams. Check for blisters, cracks, or missing flashing that could allow water intrusion.
If you’re comfortable, you can also perform a water test, applying water in sections and observing where leaks appear inside. By following these steps, you’ll improve your chances of accurately locating the source of the leak, ensuring a more effective repair process for your flat roof.
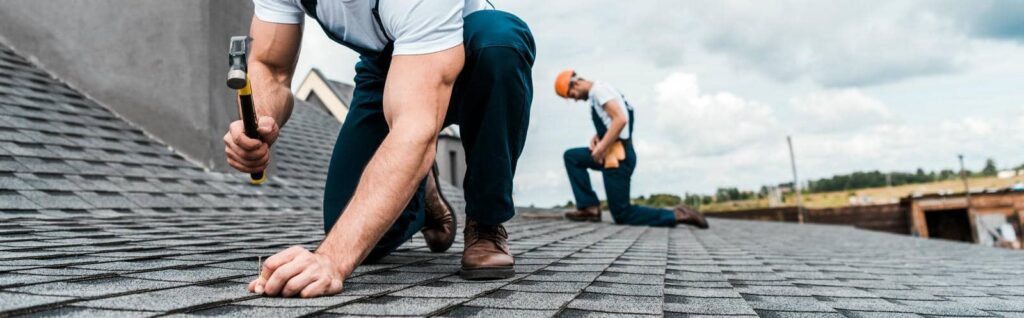
Inspecting the Roof Surface
To effectively inspect your flat roof surface, start with a thorough visual examination.
Look for common indicators of leaks, such as discoloration, bubbling, or cracks in the material.
Use targeted methods, like checking seams and flashings, to pinpoint potential weak spots that could lead to water intrusion.
Visual Inspection Methods
While performing a visual inspection of your flat roof, you’ll want to focus on identifying any signs of damage or wear that could lead to leaks. Utilize thermal imaging for a more precise evaluation, as it helps detect temperature variations that indicate moisture beneath the surface.
Here’s a quick reference table to guide your inspection:
| Inspection Focus | What to Look For | Tools to Use |
|---|---|---|
| Surface Condition | Cracks, blisters, or bubbles | Visual inspection |
| Drainage Areas | Clogs or backups | Manual clearing tools |
| Seams and Flashings | Separation or gaps | Visual inspection |
| Moisture Detection | Signs of pooling or dampness | Thermal imaging |
Common Leak Indicators
Identifying common leak indicators on your flat roof is essential for early detection and repair.
By keeping an eye out for these signs, you can enhance leak prevention and ensure the longevity of your roof.
Water stains: Look for discoloration or streaks on the ceiling below.
Ponding water: Notice any areas where water collects after rain.
Cracks or blisters: Inspect for visible damage in the roofing material.
Mold or mildew growth: Check for musty odors or growth around the roof edges.
Drooping or sagging sections: Identify any areas that appear uneven or lower than others.
Regular moisture detection and monitoring can save you time and money on repairs in the long run.
Stay vigilant!
Cleaning and Preparing the Repair Area
Before you start any repairs, it’s essential to clean the area thoroughly by removing debris and dirt.
Once the surface is clear, inspect for any hidden damage that might need attention.
Finally, make certain the area is completely dry to promote proper adhesion for the repair materials.
Remove Debris and Dirt
To effectively repair a flat roof leak, the first step is to thoroughly remove all debris and dirt from the repair area. Proper debris removal is essential, as dirt accumulation can hide underlying issues and hinder your repair efforts.
Here are the key steps to follow:
- Clear leaves, branches, and any other loose materials.
- Use a broom or blower to eliminate dust and dirt.
- Inspect the area for any signs of mold or algae.
- Check for any sharp objects that could damage your roofing material.
- Dispose of the debris properly to prevent future blockages.
Inspect for Damage
Once you’ve cleared the area, it’s vital to inspect the flat roof for any signs of damage that could contribute to leaks.
Start by examining the roof materials, looking for cracks, blisters, or soft spots that indicate deterioration. Pay special attention to seams and flashing, as these areas are often vulnerable.
Use a moisture meter to detect hidden water intrusion that may not be visible. If you find any issues, document them for repair planning.
Identifying and addressing these problems now can greatly enhance leak prevention efforts. Remember, maintaining the integrity of your roof materials is essential for long-term performance.
Taking these steps allows you to feel confident in your repair decisions and fosters a sense of community among fellow DIYers.
Dry the Surface
Start by thoroughly cleaning the repair area to ensure effective adhesion of any patching materials. Proper surface preparation is essential in ensuring a lasting repair.
Here are some effective drying techniques to take into account:
- Remove any debris, dirt, or algae from the surface.
- Use a power washer for stubborn stains or residue.
- Allow the area to dry completely before applying patches.
- Think about using a heat gun to expedite the drying process in cooler conditions.
- Inspect the surface for any remaining moisture with a moisture meter.
Patching With Roofing Cement
Patching with roofing cement is a reliable method for sealing leaks in flat roofs, providing both durability and ease of application.
To begin, gather your repair materials: roofing cement, a trowel, and a wire brush. First, clean the affected area thoroughly, removing any debris or loose material. This ensures proper adhesion of the roofing cement.
Next, apply a generous amount of roofing cement using the trowel, spreading it evenly over the leak and extending at least a few inches beyond the damaged area. For added strength, you might embed a piece of fiberglass mesh into the cement before applying a final layer on top. This technique enhances the patch’s durability against weather elements.
Finally, allow the cement to cure as per the manufacturer’s instructions, ensuring a long-lasting seal. By mastering this roofing technique, you can effectively protect your flat roof and foster a sense of belonging among fellow DIY enthusiasts.
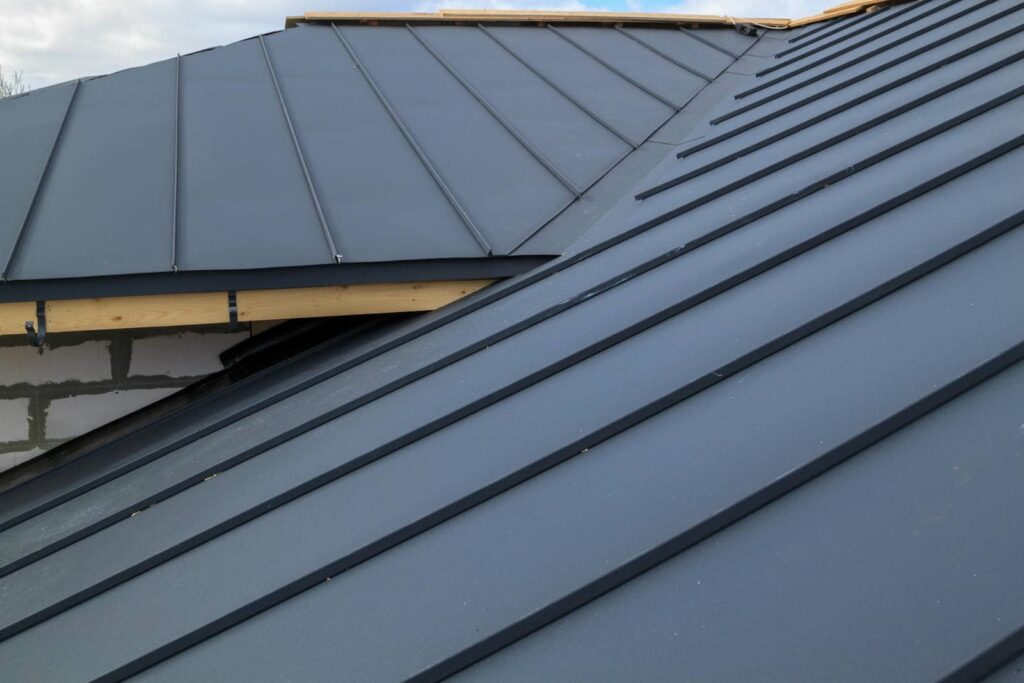
Utilizing a Roof Membrane
After addressing leaks with roofing cement, you might consider a more thorough solution: utilizing a roof membrane.
A roof membrane effectively protects against future leaks and enhances durability. You’ll find various membrane types, including TPO, EPDM, and PVC, each offering unique benefits.
Here are some key installation techniques to keep in mind:
Surface Preparation: Clean and dry the roof to ensure proper adhesion.
Seam Overlap: Overlap seams according to manufacturer guidelines to prevent leaks.
Fastening Methods: Use mechanical fasteners or adhesive as specified for your membrane type.
Edge Detailing: Pay attention to edges and penetrations for complete coverage.
Regular Inspection: Schedule routine checks post-installation to catch potential issues early.
Applying Liquid Rubber Sealant
One effective method for sealing flat roof leaks is applying liquid rubber sealant, which forms a flexible, waterproof barrier. This technique offers numerous liquid rubber benefits, such as durability, UV resistance, and ease of application.
To start, verify the surface is clean and dry; remove debris, dirt, and any loose materials. Next, use a roller or brush to apply the sealant evenly, focusing on seams, joints, and any visible cracks.
For maximum adhesion, consider using a primer if your roof surface is particularly porous. Allow the first coat to dry completely before applying a second layer, which enhances waterproofing and flexibility.
This method repairs existing leaks and protects against future damage. By mastering these application techniques, you’ll contribute to the longevity of your flat roof, providing peace of mind for you and your community.
Installing a New Roof Overlay
While dealing with persistent leaks, installing a new roof overlay can be a practical solution that extends the life of your flat roof.
This method covers existing issues and enhances the overall durability.
When considering a roof overlay, keep these key points in mind:
Choose quality roof materials that are compatible with your existing roof.
Inspect the current roof for damage before beginning the overlay installation.
Ensure proper surface preparation by cleaning and repairing any underlying issues.
Use appropriate installation techniques, such as adhering the new layer correctly, to prevent future leaks.
Consider insulation benefits, as a new overlay can improve energy efficiency.
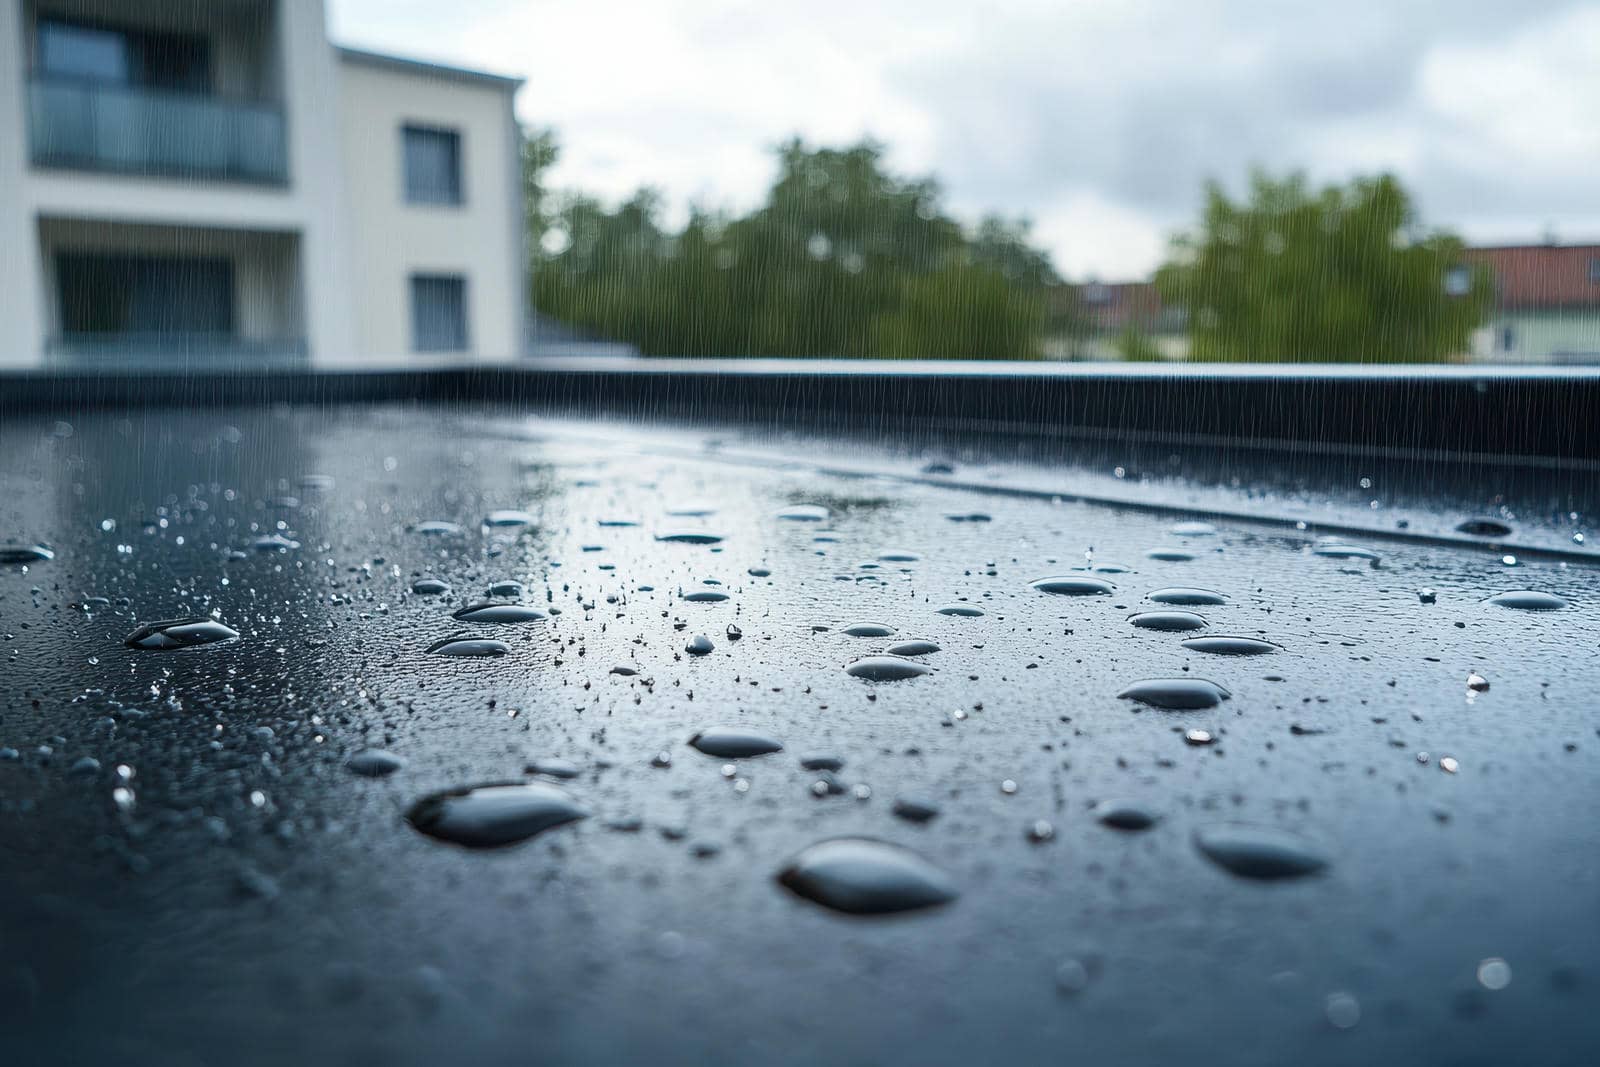
Ensuring Proper Drainage
Proper drainage is essential for maintaining the integrity of a flat roof and preventing leaks. To achieve this, you need to install efficient drainage systems that ensure ideal water flow.
Start by identifying low spots where water tends to accumulate. If necessary, install scuppers or drains in these areas to direct water away from the roof surface. Be sure to use downspouts that lead rainwater away from the foundation, as this minimizes the risk of pooling.
Additionally, consider incorporating a slight slope to your roof to facilitate drainage, making it easier for water to flow towards the drainage points.
Regularly check and clear your drainage systems of debris, leaves, or any blockages that could hinder water flow. By maintaining effective drainage, you’re prolonging the life of your roof and safeguarding your entire building from potential water damage.
Regular Maintenance and Inspections
Regular maintenance and inspections are essential for identifying potential issues before they escalate into significant problems.
By adhering to a structured maintenance schedule, you can implement preventive measures that keep your flat roof in prime condition.
Consider these key inspection activities:
Check for visible damage: Look for cracks, blisters, or punctures in the roofing material.
Inspect drainage systems: Verify gutters and drains are clear of debris to prevent water pooling.
Review flashing and seams: Examine areas around penetrations and edges for deterioration or separation.
Monitor ponding water: Identify areas where water collects and address them promptly.
Assess overall roof condition: Regularly evaluate the roof surface for signs of wear or age.
Frequently Asked Questions
How Can I Prevent Flat Roof Leaks in the Future?
To prevent flat roof leaks, schedule regular inspections and perform preventive maintenance. Check for debris, cracks, or pooling water. Address issues promptly to maintain the roof’s integrity and extend its lifespan effectively.
What Tools Do I Need for Flat Roof Leak Repairs?
Like a detective solving a mystery, you’ll need tools for leak detection, including a moisture meter and an infrared camera. Gather repair materials, such as roofing cement, patches, and a utility knife, to ensure effective repairs.
How Long Do Flat Roof Repairs Typically Last?
Flat roof repairs typically last five to ten years, depending on materials and maintenance. To enhance repair longevity, regularly inspect your roof and address issues promptly with proper maintenance tips and care.
Can I Repair a Flat Roof During Winter?
You can tackle winter repairs, but it’s tricky. Cold temperatures affect roofing materials, making adhesion difficult. If you must proceed, use materials specifically designed for low temperatures to ensure a solid and lasting repair. Stay warm and safe!
When Should I Hire a Professional for Roof Repairs?
You should hire a professional for roof repairs when you notice extensive damage, multiple leaks, or structural concerns. A professional assessment can help you avoid higher repair costs and ensure long-lasting solutions for your roof.
Review
Addressing flat roof leaks effectively requires a combination of thorough inspections, proper cleaning, and robust repair techniques. Remember, “an ounce of prevention is worth a pound of cure.” By patching leaks with roofing cement, utilizing membranes, and ensuring proper drainage, you’ll fix current issues and prevent future ones. Regular maintenance is key to extending your roof’s lifespan, so stay proactive and keep your flat roof in top shape for years to come.