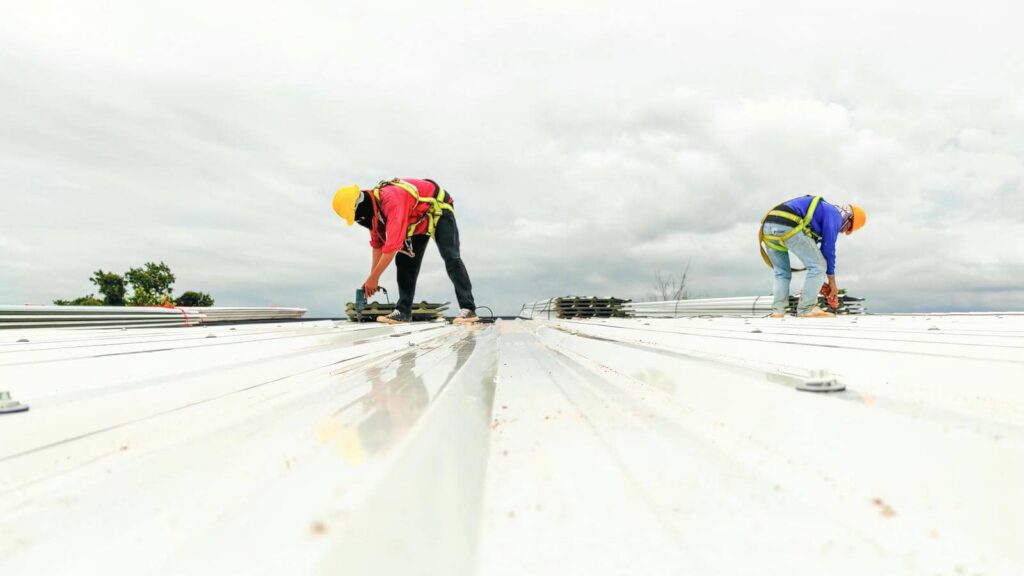
What keeps a commercial roof dependable when the weather won’t cooperate? You inspect it methodically. You check membrane integrity, flashing, seams, edges, drainage, and ponding, then review penetrations, HVAC curbs, and sealant failure. You document defects, rate severity, and prioritize repairs before small issues spread into leaks or structural damage. The checklist doesn’t just confirm condition—it reveals what’s already starting to fail.
Key Takeaways
- Inspect the roof membrane for tears, punctures, blisters, open seams, and other visible surface damage.
- Check flashings, edges, parapets, curbs, and penetrations for gaps, lifting, corrosion, and cracked sealant.
- Review drainage components for ponding water, clogged drains, blocked scuppers, and improper slope.
- Verify HVAC units, pipe boots, skylights, and rooftop terminations are secure, sealed, and free of leaks.
- Document defects with photos, measurements, locations, and repair priority to support timely maintenance.
What a Commercial Roof Inspection Covers
A commercial roof inspection typically covers the membrane or surface condition, flashing, seams, penetrations, drainage components, edges, and signs of moisture intrusion.
You use a commercial roofing services inspection checklist to verify each area methodically, so you can spot risks before they escalate.
You’ll document visible wear, sealant separation, ponding patterns, blocked drains, fastener movement, and any signs of corrosion or displacement.
You also confirm that rooftop equipment interfaces stay secure and that terminations remain intact.
By following this process, you protect your property, support code compliance, and stay aligned with a team that values proactive maintenance.
When you inspect consistently, you build confidence, reduce surprise repairs, and keep your facility’s roof performing as a reliable system.
Check the Roof Membrane for Damage
You should inspect the roof membrane for surface tears, punctures, and abrasions that can expose the underlying assembly.
Check for blistering or bubbling, since trapped moisture or air can signal adhesion failure and future leak paths.
You’ll also need to verify seam separation signs, because open laps and lifted joints can quickly compromise the system.
Membrane Surface Tears
During a commercial roofing inspection, membrane surface tears should be checked carefully because even small splits can expose the system to moisture intrusion, UV degradation, and accelerated wear.
You should scan seams, field areas, and junctions for linear cuts, punctures, scuffs, and edge lifting. Use a flashlight and probe gently to verify whether the tear affects only the top layer or the full membrane thickness.
Mark each defect, measure its length, and note nearby traffic paths, equipment, or debris that may have caused it. If you manage the roof with a trusted team, share findings quickly so repairs stay consistent and targeted.
Clean the area, dry it, and document the condition before patching or replacement. Early detection helps your crew protect the roof, preserve performance, and stay ahead of costly leaks.
Blistering And Bubbling
You should map each raised section, note its size, firmness, and location, then compare it with nearby traffic paths, penetrations, and drainage patterns.
Press lightly around the perimeter; a spongy feel can indicate hidden damage below the surface. Photograph each defect and record whether the membrane feels hot, soft, or unstable.
Don’t puncture a blister unless your roof system’s manufacturer or a qualified roofing professional directs you to do so.
Seam Separation Signs
Where the membrane edges pull apart, seam separation often shows up first as a thin gap, lifted splice, or visible adhesive failure along laps and junctions.
You should inspect every seam line methodically, especially at corners, penetrations, and terminations where movement stresses the membrane.
Look for discoloration, dirt tracking, fishmouths, and hardened sealant that’s no longer bonding.
Press lightly along the seam; if it flexes, opens, or feels brittle, you’ve likely found a problem.
Document each location with photos and measurements so your team can prioritize repairs before water gets in.
In a commercial roofing services inspection checklist, these signs help you protect the roof system, avoid hidden damage, and stay aligned with your maintenance crew.
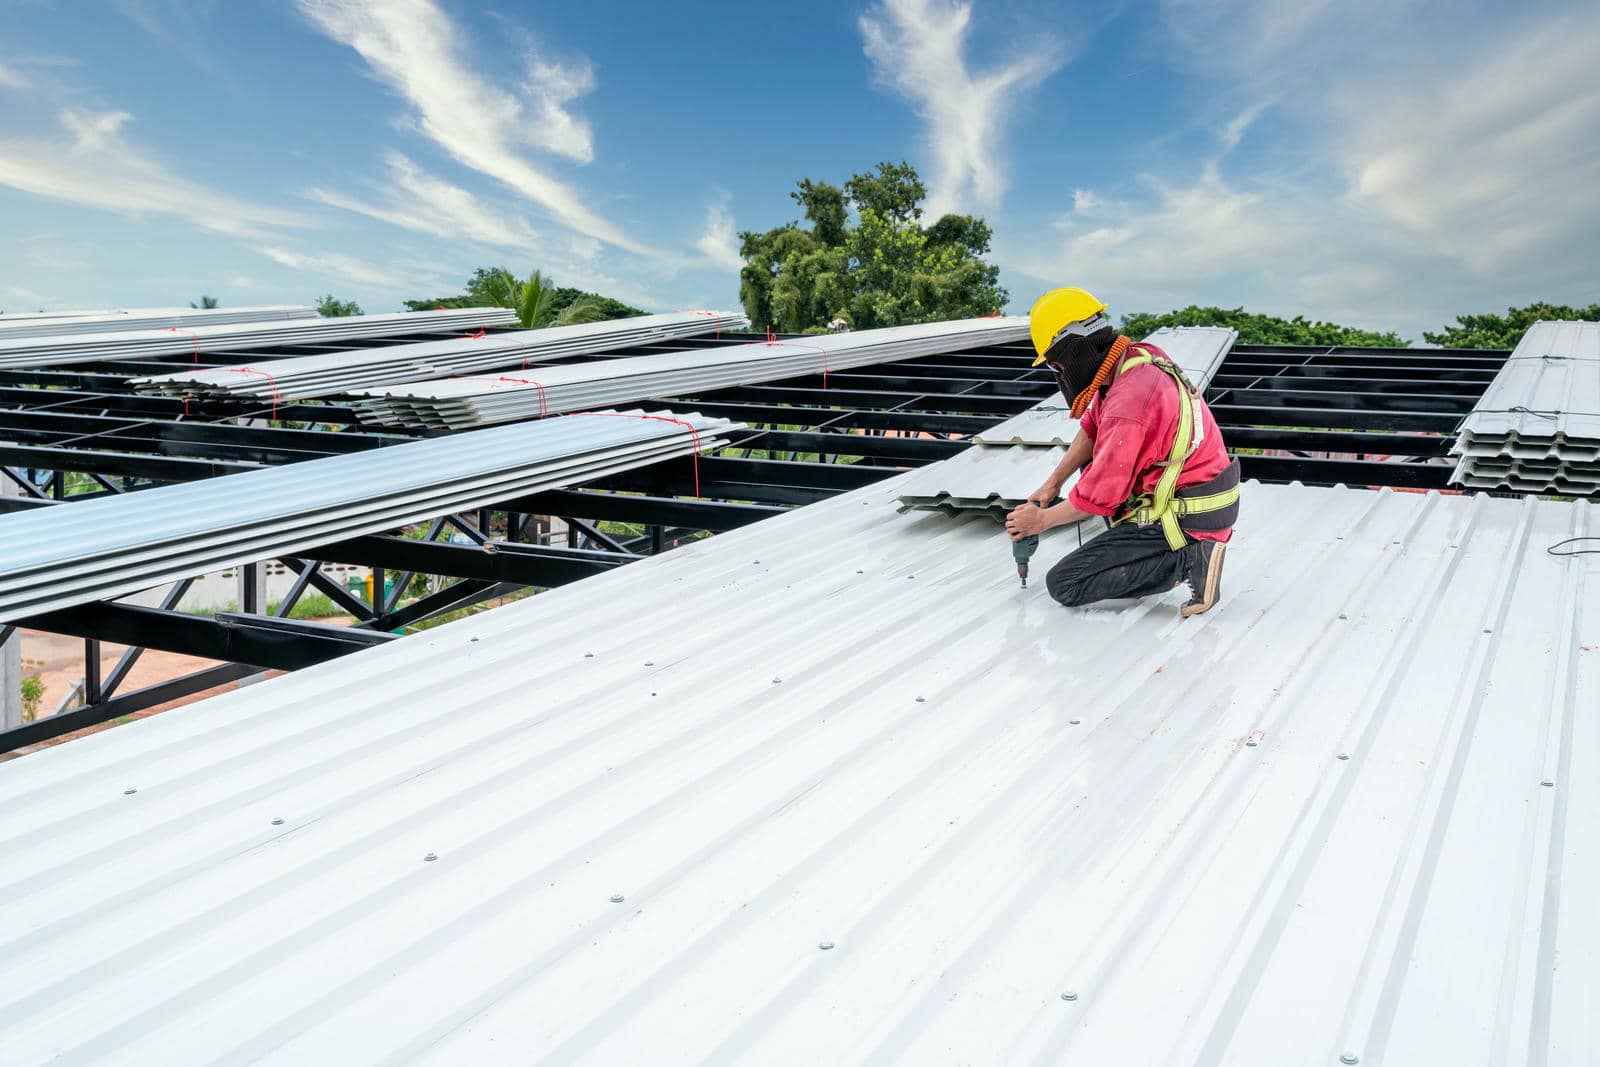
Inspect Flashings, Seams, and Edges
Start with the most failure-prone changes: inspect flashings, seams, and edges for gaps, lifting, corrosion, punctures, open laps, and dried or cracked sealant.
You’ll want to trace every termination point, especially around penetrations, parapets, curbs, and metal trim. Press lightly to confirm adhesion, and note any movement that suggests fatigue or failed attachment.
Look closely for rust staining, split membranes, fastener back-out, and loose edge metal. Document each defect with photos, measurements, and exact locations so your team can act fast and stay aligned.
When you catch these issues early, you protect the roof system’s continuity and keep your commercial roofing crew working with confidence, precision, and shared accountability.
Recheck repaired areas on the next visit to confirm the details hold.
Check for Drainage Problems and Ponding Water
You should spot ponding water on the roof surface after rainfall, especially in low spots that hold moisture beyond the expected drain-down period.
Then inspect drains, scuppers, gutters, and downspouts for blockages, damaged strainers, or slope issues that restrict flow.
Use your commercial roofing services inspection checklist to log each drainage defect so you can correct risks before they trigger leaks or structural damage.
Spot Ponding Water
A quick look at drainage patterns can reveal whether your roof is holding standing water after rain. You should inspect low areas where water lingers more than 48 hours, because persistent ponding usually signals a slope issue, membrane deformation, or blocked flow.
Measure the depth and diameter of each spot, then note whether the same area repeats after every storm. In a commercial roofing services inspection checklist, these observations help you catch early stress before seams, insulation, and fasteners start to fail.
You’ll also want to document blisters, discoloration, or sediment rings around the ponded zone, since they show repeated exposure. When your team records these details consistently, you build a reliable maintenance picture and keep your roof community stronger, safer, and more prepared.
Inspect Drainage Paths
Trace each drainage path from intake to outlet to verify that water can move off the roof without interruption.
You should inspect scuppers, gutters, interior drains, and downspouts for debris, corrosion, seal failure, and misalignment.
Check that strainers sit tight, drain bowls stay clear, and slopes direct runoff toward collection points.
If you see standing water beyond the expected cure period, document the depth, location, and extent, then compare it with design limits.
Look for blocked outlets, crushed leaders, or backflow signs that slow discharge.
During your commercial roofing services inspection checklist, confirm overflow provisions are open and functional.
When you verify each path methodically, you help protect the roof system, reduce leak risk, and stay aligned with a team that catches problems early together.
Review Roof Penetrations, HVAC Units, and Sealants
Inspect every roof penetration, HVAC curb, and sealant joint to catch leaks, movement, and material breakdown before they trigger larger failures.
You should check pipe boots, conduit sleeves, drains, skylight curbs, and mechanical supports for cracked flashings, loose fasteners, and punctures.
Trace each seam where dissimilar materials meet, because thermal cycling can open gaps that aren’t obvious from below.
On HVAC units, verify that curbs sit level, gaskets stay compressed, and vibration hasn’t shifted the equipment.
Examine sealants for shrinkage, splitting, blistering, or loss of adhesion along edges and terminations.
Clean, intact interfaces help your team maintain a tight envelope and keep your roof system working as one.
When you document findings clearly, you strengthen shared accountability across the site.
Prioritize Repairs and Maintenance
Once you’ve completed the inspection, rank each issue by risk, impact, and time sensitivity so you can address the most critical repairs first.
Start with active leaks, open seams, punctures, and failed flashings, since these defects can spread quickly and compromise insulation, decking, and interior assets.
Next, schedule membrane blisters, loose fasteners, clogged drains, and minor sealant breakdowns before they escalate.
Use your commercial roofing services inspection checklist to document locations, severity, and recommended corrective actions, then assign each item to routine, urgent, or emergency maintenance.
When you organize repairs this way, your team stays aligned, work orders move faster, and you reduce downtime.
A clear priority system helps you protect the roof, control costs, and keep everyone on the same page.
Wrap-Up
By following your commercial roofing services inspection checklist, you catch small flaws before they become costly failures. You’ve checked the membrane, flashings, seams, drainage, and penetrations—each one a thread in the roof’s protective web. If one loosens, the whole system can suffer. So document every defect, rank repairs by severity, and act methodically. That disciplined approach helps you extend roof life, reduce leaks, and protect your building with confidence.