After a recent storm, you notice water pooling on your flat roofs, signaling potential damage. It’s essential to act quickly to prevent further issues. Start by evaluating the damage to identify leaks and cracks. Then, consider temporary patching solutions that can provide immediate relief. Understanding these quick fixes can help you mitigate damage effectively and ensure your roof remains intact until you can implement long-term repairs.
Key Takeaways
- Conduct a visual inspection to identify sagging areas, cracks, and punctures to assess storm damage effectively.
- Use waterproof tarps to temporarily cover damaged areas, securing them with nails or heavy-duty tape.
- Apply roofing tape over leaks or damaged spots for an added layer of protection until permanent repairs can be made.
- Clean the roof surface and use high-quality sealants to fill cracks and blisters, ensuring proper adhesion.
- Regularly inspect drainage systems to clear debris and prevent water accumulation, which can worsen damage.
Assessing the Damage
How can you effectively assess the damage on your flat roof? Start with a thorough visual inspection. Look for obvious signs like sagging areas, cracks, or punctures. Check around vents, seams, and edges where leaks often occur. Water stains on interior ceilings can indicate trouble, so note those locations, too.
Next, climb onto the roof if it’s safe, and examine the surface closely. Pay attention to any blistering or bubbling, which can signal underlying moisture. You may also want to inspect the drainage systems—clogs can lead to significant water accumulation, worsening the damage.
After your visual inspection, document your findings for a detailed damage assessment. This record will help you prioritize repairs and communicate effectively with contractors or service providers.
Being proactive now can prevent further issues down the line, ensuring your flat roof remains a reliable shield against the elements.
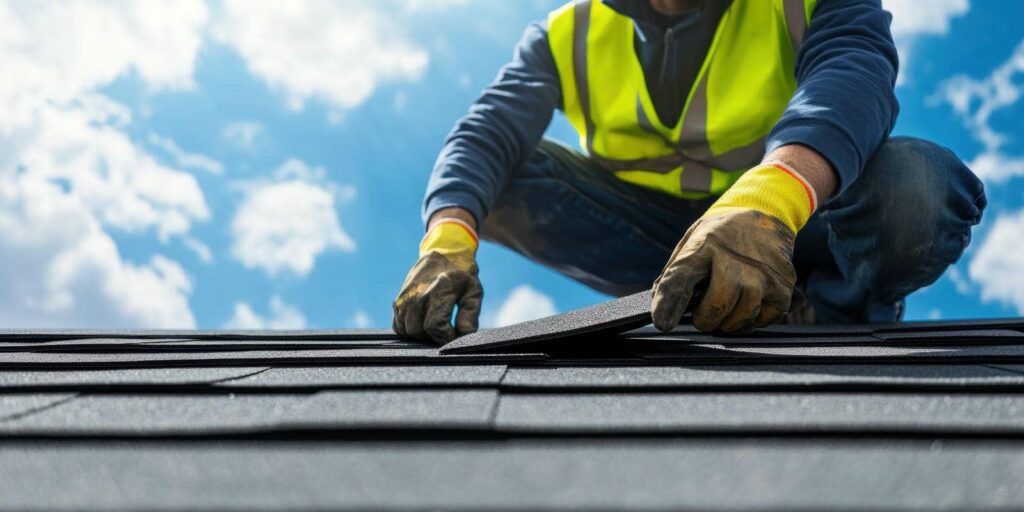
Temporary Patching Solutions
When you spot damage on your flat roof, quick action is essential.
Start by identifying the affected areas, then cover them with waterproof tarps to prevent further leaks.
Finally, reinforce your patch with roofing tape for a temporary yet effective solution until a permanent repair can be made.
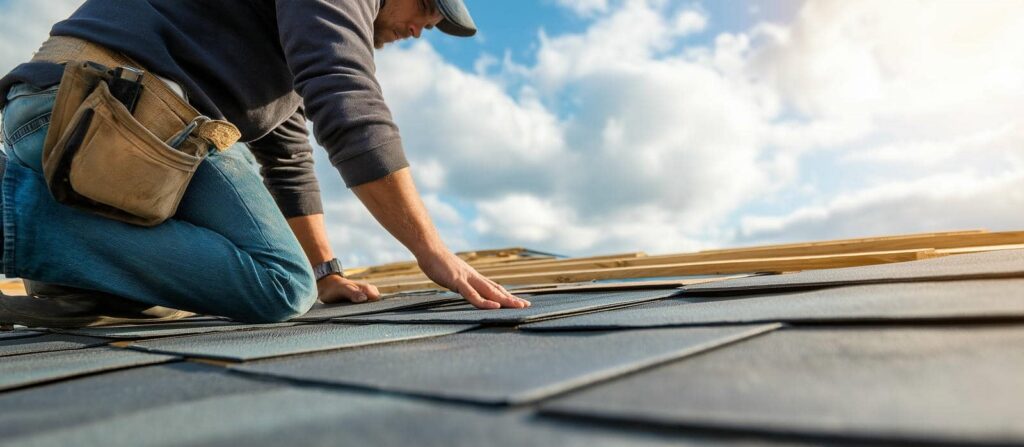
Identify Damage Areas
Identifying damage areas on a flat roof is essential for effective temporary patching. Start with a thorough visual inspection, scanning for common damage indicators like cracks, blisters, or punctures.
Pay close attention to seams and flashings, as these are often vulnerable points. If you notice any water pooling or discoloration, that could signal underlying issues needing immediate attention.
Use binoculars for hard-to-reach spots; it’ll help you spot smaller damage indicators from the ground. Document your findings, marking areas that require patching.
Taking these steps ensures a proactive approach to roof maintenance and fosters a sense of community among homeowners who understand the importance of safeguarding their homes.
Use Waterproof Tarps
Waterproof tarps serve as an effective temporary patching solution for flat roofs, especially in emergency situations. When you notice leaks, using waterproof materials like tarps can prevent further damage.
Start by measuring the damaged area, ensuring the tarp extends beyond the edges for full coverage. Next, securely fasten the tarp in place with roofing nails or heavy-duty tape, focusing on corners and edges to avoid lift during storms.
Make sure the tarp is taut to prevent pooling water. Tarp installation is essential; any gaps can lead to leaks. While this is a temporary fix, it provides vital protection until you can implement a more permanent solution.
Apply Roofing Tape
Using waterproof tarps is a great immediate solution, but applying roofing tape can provide another layer of protection against leaks in flat roofs.
Start by ensuring the area is clean and dry; this is essential for effective tape installation. Choose high-quality roofing materials designed specifically for flat roofs, as they adhere better and last longer.
Cut the tape to the desired length, then press it firmly over the damaged area, ensuring there are no air bubbles. For best results, overlap the edges to create a waterproof seal.
This quick fix can greatly reduce water intrusion until you can perform a more permanent repair. Remember, you’re not alone in facing these challenges; many homeowners rely on these methods to protect their properties.
Using Roof Sealants
When it comes to flat roofs, using the right roof sealant can greatly enhance durability and waterproofing.
You’ll encounter various types, each designed for specific materials and conditions, so it’s crucial to choose wisely.
Understanding proper application techniques will ensure peak adhesion and performance, keeping your roof protected for years to come.
Types of Roof Sealants
Choosing the right roof sealant is essential for maintaining the integrity of a flat roof. Two primary types to evaluate are silicone sealants and polyurethane sealants. Each has its benefits and ideal applications.
| Sealant Type | Key Features |
|---|---|
| Silicone Sealants | Excellent UV resistance, flexibility |
| Long-lasting, waterproof barrier | |
| Polyurethane Sealants | Strong adhesion, durable |
| High resistance to punctures | |
| Better for high-traffic areas |
Silicone sealants are great for areas exposed to sunlight, while polyurethane sealants excel in durability and adhesion. By understanding these options, you can make an informed choice that best suits your flat roof’s needs.
Application Techniques Explained
To ensure a successful application of roof sealants, it’s essential to prepare the surface properly and follow specific techniques.
Start by cleaning the area thoroughly, removing any debris, dirt, or loose materials. Then, inspect for damage and make necessary repairs. Choose the right sealant based on your roof type and climate.
Here are effective application methods to take into account:
- Apply sealant on a dry day for ideal adhesion.
- Use a brush or roller for even coverage.
- Work from the highest point down to avoid pooling.
- Follow the manufacturer’s instructions for curing times.
- Inspect the sealant regularly to ensure long-term performance.
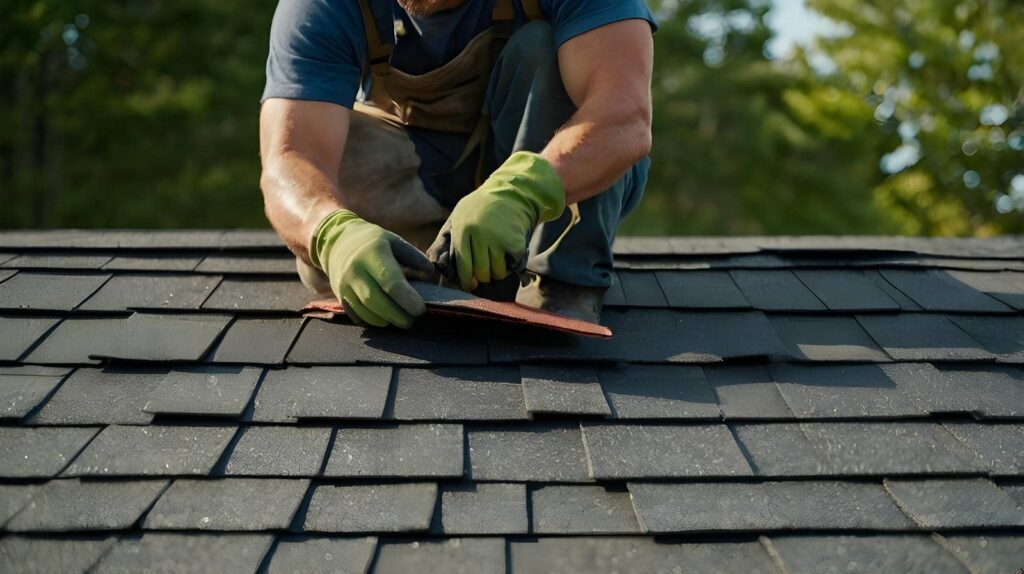
Repairing Blisters and Cracks
Although blisters and cracks on a flat roof may seem minor, they can lead to significant water damage if left unaddressed.
To tackle blisters, start by cutting a small “X” in the center, allowing trapped moisture to escape. Clean the area thoroughly, then apply a blister repair compound that matches your roofing material. Smooth it out and allow it to cure as per the manufacturer’s instructions.
For crack sealing, identify any visible cracks and clean them of debris and loose material. Use a high-quality sealant designed for your roof type. Apply the sealant generously into the crack, ensuring it fills completely. Smooth it over to create a seamless finish.
Reinforcing Weak Areas
After addressing blisters and cracks, it’s important to focus on reinforcing the weak areas of your flat roof. This step ensures your roof can withstand future storms and maintain its integrity.
Here are some effective methods for structural reinforcement:
- Use strengthening materials like fiberglass or reinforced membranes to cover weak spots.
- Install roof supports or additional joists to distribute weight more evenly.
- Apply a liquid rubber sealant to enhance flexibility and waterproofing in vulnerable areas.
- Consider adding a layer of insulation to improve structural stability and energy efficiency.
- Regularly inspect and repair flashing around vents and chimneys to prevent leaks.
Cleaning and Maintaining Drainage Systems
Maintaining effective drainage systems is essential for the longevity of your flat roof, as clogged drains can lead to water pooling and structural damage. Regular drainage system maintenance should be a priority, especially after storms.
Start by inspecting your roof for debris, such as leaves or twigs, that can obstruct water flow. Use appropriate debris removal techniques, like using a soft-bristle broom or a vacuum, to clear the drainage areas without causing damage to the roofing material.
Additionally, make certain that downspouts and gutters are clear and functioning correctly. If you notice any signs of blockage, address them immediately to prevent further complications.
Consider implementing a routine inspection schedule, ideally every season, to keep your drainage system in prime condition. This proactive approach enhances your roof’s performance and fosters a sense of community responsibility among fellow homeowners in your area.
Professional Assistance and Long-Term Solutions
Regularly maintaining your drainage system helps prevent immediate issues, but for long-term durability and performance, professional assistance is often necessary.
A professional evaluation can identify underlying problems that may not be apparent to the untrained eye. By investing in expert services, you can implement long-term strategies that enhance your flat roof’s resilience.
Consider the following benefits of seeking professional help:
- Thorough roof inspections
- Identification of potential weak spots
- Customized maintenance plans
- Recommendations for durable materials
- Efficient repair techniques
These strategies extend the life of your roof and save you money in the long run.
When you collaborate with professionals, you ensure that your flat roof can withstand future storms, providing peace of mind and belonging to a community that values quality and longevity.
Don’t hesitate to reach out for assistance; your roof deserves it!
Frequently Asked Questions
How Can I Prevent Future Storm Damage to My Flat Roof?
To prevent future storm damage to your flat roof, focus on regular preventative maintenance and apply weatherproof coatings. These measures enhance durability, reducing leaks and wear, ensuring your roof withstands harsh conditions effectively.
What Materials Are Best for Temporary Roof Patches?
When storm clouds gather, consider using roof patching materials like tar, rubberized asphalt, or roofing tape. These temporary sealing solutions can shield your roof, giving you time to plan a more permanent repair.
How Long Can I Leave a Temporary Patch in Place?
You can leave a temporary patch in place for up to six months, following emergency repair guidelines. Regular inspections are essential to ensure effectiveness and prevent further damage during this temporary patch duration.
Are There DIY Kits Available for Flat Roof Repairs?
Absolutely, you can find DIY repair kits specifically designed for flat roofs. These kits offer practical solutions, empowering you to tackle repairs efficiently while fostering a sense of belonging in the DIY community.
How Do I Know if My Flat Roof Needs Replacement?
You’ll know your flat roof needs replacement during a roof inspection if you spot signs of deterioration, like significant leaks, ponding water, or extensive cracks. Address these issues promptly to avoid further damage and maintain safety.
Recap
Addressing storm damage on flat roofs quickly can prevent costly repairs later. By promptly evaluating the damage, using temporary patches, and reinforcing weak areas, you can greatly extend your roof’s lifespan. Remember, while these quick fixes are essential, consulting a professional for long-term solutions will ensure your roof’s integrity and durability against future storms.