Many roof leaks start at installation errors, not material failure. If you’re planning a new roof, the smallest mistake can shorten its life and expose weak points around valleys, chimneys, and fasteners. You need the deck, underlayment, ventilation, and flashing details handled correctly, because one skipped step can compromise the whole system—and the most critical failures often hide where you can’t see them.
Key Takeaways
- Avoid improper flashing, especially around valleys, chimneys, vents, and walls, where water intrusion commonly starts.
- Install underlayment correctly, with proper overlaps and no lifted edges or gaps that can trap water.
- Use correct nail placement and fastening patterns so shingles seal properly and resist wind damage.
- Inspect and repair the roof deck before installation to prevent hidden rot, weak spots, and future leaks.
- Follow manufacturer instructions, local codes, and weather limits, and hire a qualified contractor for reliable installation.
Roof Installation Mistakes That Cause Leaks
One of the biggest roof installation mistakes you can make is creating weak points that let water in. You can avoid many roof installation mistakes to avoid by focusing on flashing, underlayment, and fastener placement.
If you leave gaps at valleys, chimneys, or vents, water will track into the deck and damage framing. When you overlap underlayment incorrectly, you invite capillary action and hidden seepage.
If you drive nails too high, too low, or at an angle, shingles won’t seal properly. You belong with homeowners who inspect every seam before moving on.
Check penetrations, verify alignment, and confirm each course sheds water as designed. Small errors here don’t stay small; they spread through the system and cause leaks.
Choosing the Right Roofing Materials
Asphalt shingles fit many homes and cost less, but you should verify ventilation and slope requirements.
Metal panels shed water fast, resist high winds, and work well where snow or heat stresses a roof.
Tile and slate last long, yet they demand stronger framing and higher upfront investment.
You should also check local codes and manufacturer specs so your chosen system installs cleanly and performs as intended.
Prepare the Roof Deck First
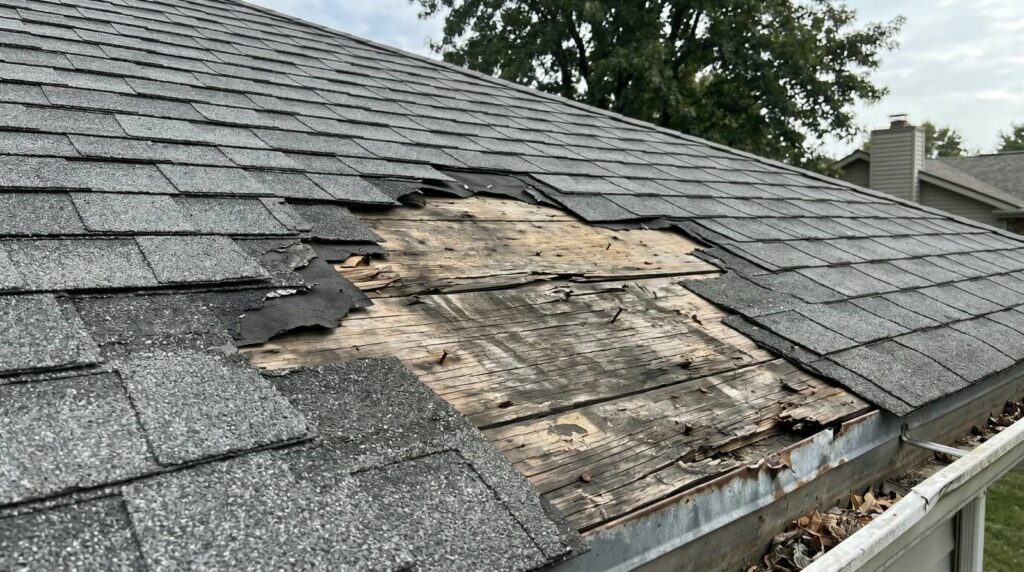
Before you install new roofing, you need to inspect the deck for rot, water damage, and loose fasteners.
If you find any weak or deteriorated board sections, replace them before proceeding. A sound deck gives your roofing materials a stable base and helps prevent premature failure.
Inspect Deck For Damage
Inspect the roof deck carefully for rot, soft spots, delamination, loose fasteners, and water damage before you install new materials. You’ll protect the whole system when you verify every panel feels solid underfoot and reads flat across the surface.
Use a bright light, probe suspicious areas, and mark anything that flexes, stains, or sounds hollow so your crew can assess it quickly.
- Check seams, edges, and penetrations for moisture signs.
- Confirm fasteners sit flush and haven’t backed out.
- Record damage locations before underlayment goes down.
When you take this step seriously, you work like a pro team that values clean, durable results. A sound deck helps your new roof stay aligned, seal properly, and perform as expected through weather and time.
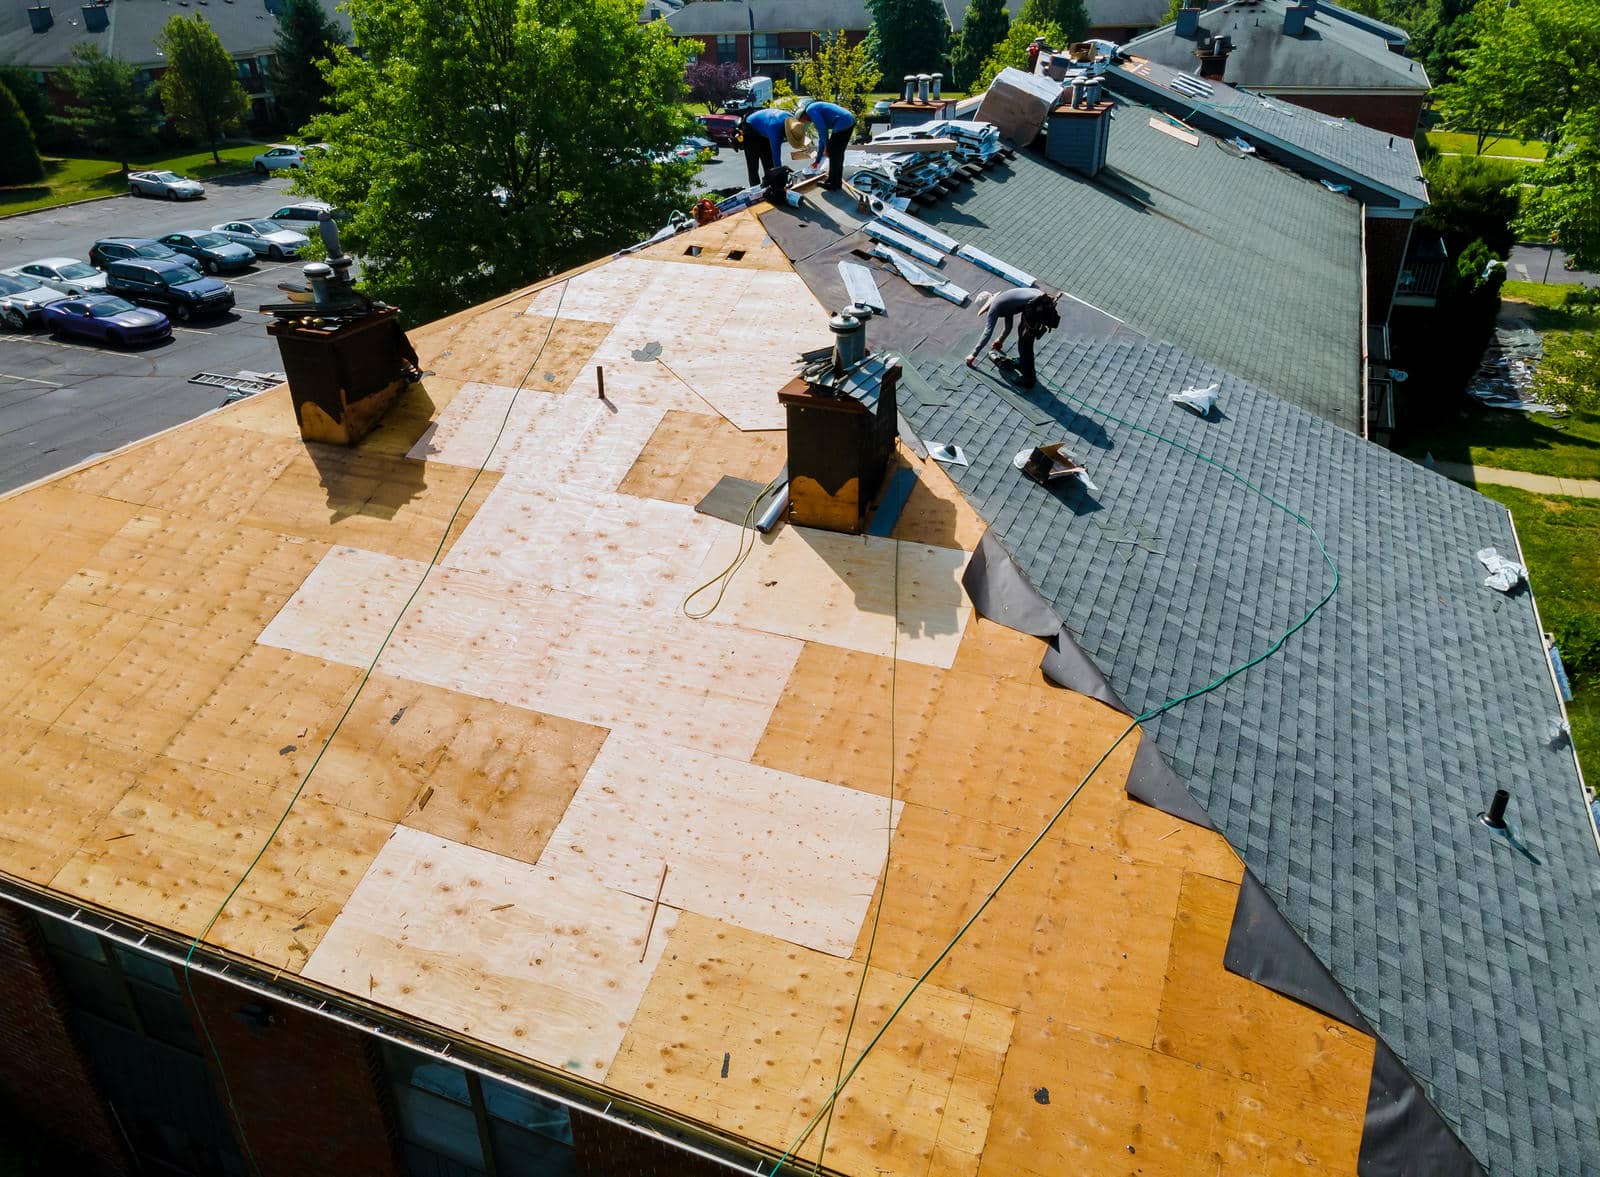
Replace Weak Board Sections
Swap out any weakened board sections now so the deck can support the new roof without flexing or failing later.
You should remove soft, split, delaminated, or water-stained boards and replace them with matching thickness plywood or OSB.
Cut back to solid framing so every new edge lands on a rafter or truss, then fasten the patch with corrosion-resistant nails or screws at the required spacing.
Check for level changes; even small dips can telegraph through underlayment and shingles.
If you find repeated damage, trace the leak source before you cover anything.
A sound deck gives your crew a cleaner install, improves nail holding, and helps your roof act like one system, so you’re not left fixing avoidable failures with the rest of the team later.
Install Underlayment the Right Way
When you install the underlayment, make sure it lies flat, overlaps correctly, and covers every deck seam without gaps or wrinkles.
You set the first course straight, then keep each row aligned so water sheds downslope, not into the roof system. Trim around valleys, hips, and penetrations with clean cuts, and press the material tight so it bonds evenly to the deck.
Keep your crew consistent; a shared method prevents weak spots and helps everyone work like a team.
- Check the deck for dust before placement.
- Overlap each sheet per manufacturer specs.
- Repair any lifted edge right away.
With careful handling, you protect the structure and give your roof a dependable base.
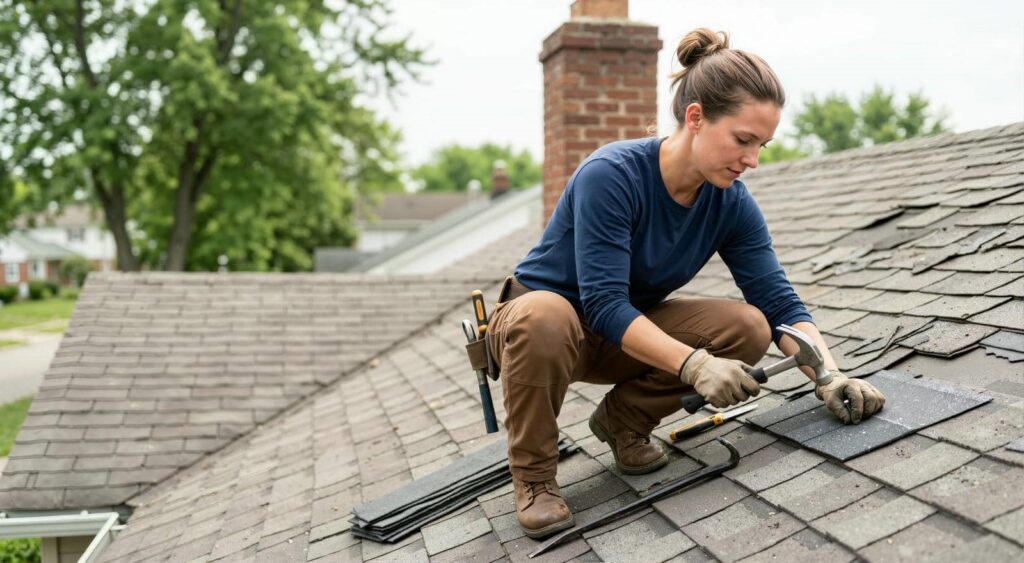
Nail and Fasten Shingles Correctly
Once the underlayment is in place, you need to fasten each shingle with accuracy so the roof can resist wind uplift and water intrusion.
You should drive nails straight, flush with the shingle surface, and never overdrive or leave them proud. Follow the manufacturer’s nailing pattern, because placement affects hold strength and warranty coverage.
Use the correct nail length for your deck thickness, and make sure each fastener penetrates solid wood. If you miss the nailing line, the shingle can tear or slip under load.
Keep a consistent angle and spacing so every course locks in as a team. When you work this way, you protect your home and build a roof your crew can trust.
Get Flashing Details Right
You need to install step flashing correctly at every shingle-to-wall junction so each piece channels water onto the next course.
Seal critical joints where flashings intersect, but don’t rely on sealant alone to stop water intrusion.
Overlap all flashing to maintain a continuous water path that sheds runoff away from the roof deck and siding.
Proper Step Flashing
Install one flashing piece per shingle course.
Keep the vertical leg against the wall and the horizontal leg on the roof.
Match flashing length to shingle exposure for uniform drainage.
When you follow this sequence, you protect the structure and join a craft standard that experienced roofers trust.
Seal Critical Joints
Proper step flashing only works when the adjoining joints are sealed and detailed correctly, because water will exploit any gap, end lap, or exposed fastener.
You need to clean each metal surface, then apply the specified sealant at terminations, corners, and penetrations. Press membranes tight to the deck and wall, and fasten them with corrosion-resistant nails placed where the manufacturer allows.
Don’t leave cut edges or field-modified seams unprotected. If you’re joining flashing to masonry, siding, or vent boots, match the material system and use compatible products.
Your crew should inspect every joint before shingle courses cover it. That’s how you protect the assembly, keep your work in the trusted standard, and avoid the repairs that come from missed details.
Overlap Water Paths
Every flashing assembly should overlap in the direction of runoff so water stays on the intended path and never gets behind the roofing layers.
When you install step flashing, counterflashing, and base flashing, you’re building a drainage system, not just a cover. If you reverse a lap, you invite capillary action, wind-driven intrusion, and hidden rot.
Keep shingle courses, membrane seams, and metal joints shingled like scales, with each upper piece covering the lower one.
- Check slope and runoff before fastening.
- Lap side pieces over lower pieces, then seal exposed edges.
- Inspect valleys, chimneys, and walls for continuous water shedding.
You’ll fit right in with crews who treat every overlap as a path water must follow, not fight.
Don’t Skip Roof Ventilation
Even if the shingles look perfect, poor roof ventilation can trap heat and moisture in the attic and shorten the life of the entire system.
You need balanced intake and exhaust so air moves continuously through the attic space. That airflow helps prevent shingle overheating, wood rot, insulation damage, and ice dam formation.
Check that soffit vents stay open and that ridge or roof vents match your roof size and slope. Don’t block vent channels with insulation or debris.
When you install the roof, keep vent locations clear and coordinate them with the underlayment and decking layout.
A well-ventilated roof works better, lasts longer, and gives you the confidence that you’re building with the same care as the rest of your crew.
Watch the Weather Before You Start
Before you start tearing off shingles or laying underlayment, check the forecast and plan your work around stable weather. You need dry, mild conditions so materials stay manageable and your crew can work safely. Rain, wind, and extreme heat can delay progress, warp shingles, and weaken adhesion.
If you’re part of a solid installation team, weather discipline helps everyone stay efficient and confident.
- Review hourly forecasts, not just daily summaries.
- Avoid work when wind gusts can lift exposed materials.
- Pause if temperatures drop below product limits.
Keep tarps, fasteners, and staging ready so you can protect the roof fast if conditions shift. When you respect the weather, you reduce errors, protect the deck, and finish with a cleaner, more reliable installation.
Seal Edges, Valleys, and Seams
Once the field of the roof is in place, you need to seal edges, valleys, and seams with exacting care so water can’t find a path under the system. You should use compatible flashing, underlayment, and sealant at every junction, then press each layer tight and smooth.
In valleys, center the membrane cleanly and keep nails out of the water channel. At edges, align drip metal fully and overlap joints in the correct direction.
At seams, maintain the manufacturer’s specified overlap and roll or fasten it evenly. Check every detail before you move on, because a small gap can invite leaks, rot, and wasted effort.
When you seal these points correctly, you protect the whole roof and work with confidence alongside your crew.
Hire a Qualified Roofing Contractor
A qualified roofing contractor reduces installation mistakes by following code, manufacturer requirements, and proven sequencing from tear-off to final inspection.
You protect your project when you hire a crew that documents licensing, insurance, and local references before work starts. They’ll verify deck condition, ventilation, flashing details, and fastening patterns, so your roof performs as designed and your household stays covered.
Confirm credentials and warranty eligibility.
Review a written scope, materials list, and schedule.
Ask for photo checks at critical stages.
When you choose a contractor who communicates clearly, you join a homeowner team that values accuracy, safety, and accountability.
That partnership helps you avoid callbacks, leaks, and premature wear, while giving you confidence that every shingle, nail, and seal lands exactly where it should.
Review
If you want your roof to perform, you can’t cut corners. Use the right materials, prepare the deck, install underlayment correctly, and fasten shingles where they belong. Keep ventilation clear, watch the weather, and seal valleys, edges, and seams with care. A roof is your home’s first line of defense, so every small mistake can become a leak. Hire a qualified contractor, follow code, and you’ll build a roof that stands strong.