Storm damage to asphalt shingles often starts with issues you can’t spot from the ground. You might see a few missing tabs, but the real problem can be lifted edges, torn flashing, or a leak that’s already reached the attic. You need to inspect fast, judge the extent of the damage, and decide whether a repair will hold or a larger fix is unavoidable.
Key Takeaways
- Check for missing, cracked, curled, lifted, or granule-lost shingles after storms, especially around valleys, ridges, and flashing.
- Inspect the attic and ceilings for stains or dampness, then trace leaks uphill to the roof entry point.
- Repair isolated shingle damage with replacement tabs, sealant, or refastening when the rest of the roof is sound.
- Replace larger sections or the full roof if damage is widespread, shingles won’t reseal, or decking is soft or sagging.
- Document all damage with photos for insurance claims and schedule routine post-storm inspections to prevent future problems.
What Counts as Storm Damage?
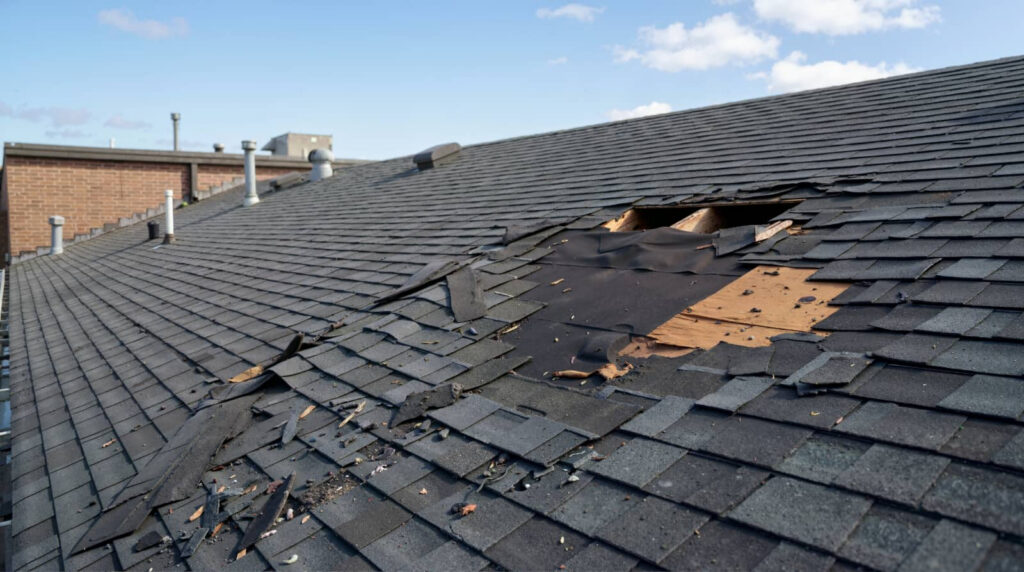
Storm damage to asphalt shingle roofing usually includes missing, cracked, curled, or creased shingles, lifted edges, punctures, granule loss, and leaks caused by wind, hail, or falling debris.
You should treat these issues as real damage because they weaken weather resistance and shorten roof life.
With storm damage asphalt shingle roofing repair, you restore the shingle layer, seal exposed areas, and help prevent water intrusion.
You may also see scattered debris impact, torn tabs, or shingles that no longer lie flat.
If damage affects multiple sections, your roof likely needs prompt professional attention.
You’re not overreacting when you act quickly; you’re protecting your home and staying ahead of bigger repairs.
Inspect Asphalt Shingles After a Storm
After severe weather, you should inspect asphalt shingles as soon as it’s safe to do so, starting from the ground and then moving to a close-up check if conditions allow.
Look for missing, lifted, cracked, or curled shingles, plus dented edges, torn tabs, and granule loss. Check ridge caps, valleys, and flashing for displacement or impact marks.
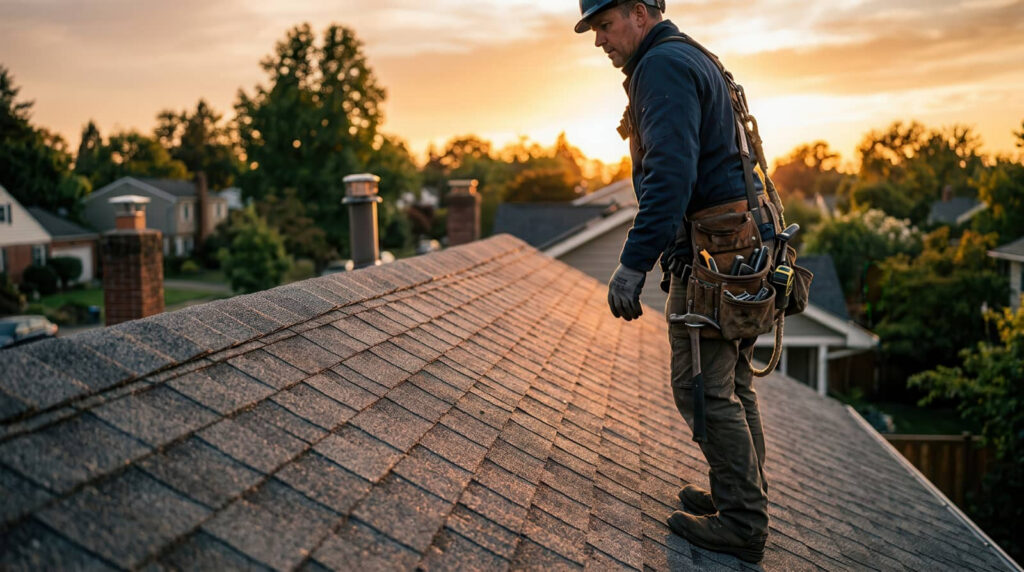
Use binoculars or a camera zoom to reduce risk while you scan the roof plane. If you climb up, step only on sound surfaces and avoid wet or soft areas.
Note every damaged section so you can compare it with the pre-storm condition. When you inspect carefully, you join other homeowners who act fast and protect their roofs before minor damage grows into a bigger repair.
Find the Leak Before It Spreads
Once you’ve spotted roof damage, trace the leak path before water spreads into the decking, insulation, and interior finishes.
Start inside the attic if you can: look for damp sheathing, dark stains, rusted fasteners, and wet insulation. Then follow the evidence uphill to the entry point, because water often runs along framing before it drips.
Check ceilings, wall tops, and light fixtures for fresh discoloration after rain.
Outside, inspect valleys, vents, flashings, and roof edges for obvious openings where runoff concentrates.
Use a flashlight, not pressure, and document each finding with photos so your repair crew stays aligned.
If you can’t safely access the area, call a qualified roofer quickly. Acting early helps your home stay protected and keeps your crew one step ahead.
Fix Missing, Cracked, or Lifted Shingles
When you’ve traced the leak and identified the damaged area, replace any missing, cracked, or lifted shingles right away to restore the roof’s weather barrier. You can match the existing style closely enough to keep the roof uniform and your repair team confident in the result.
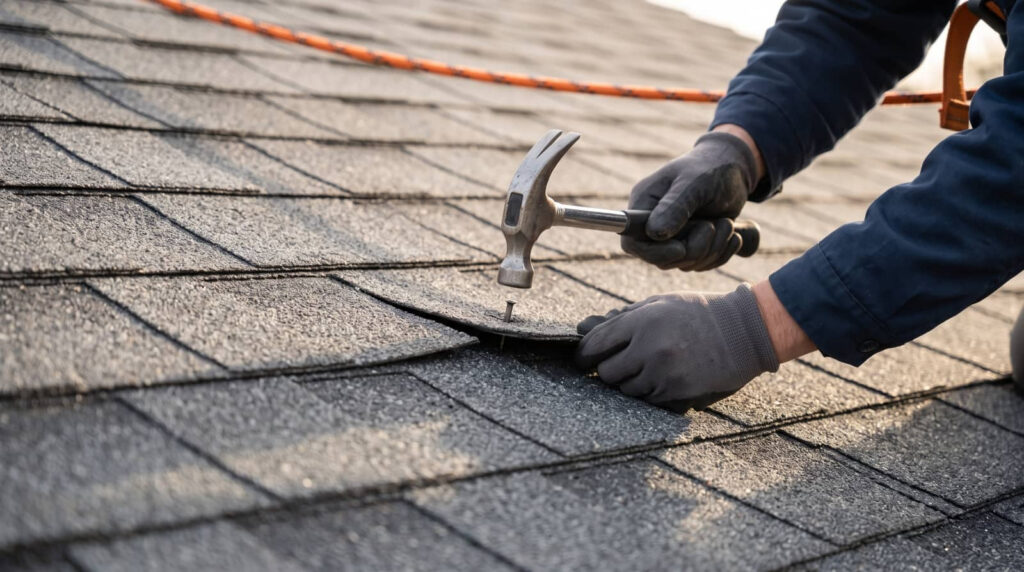
Gently loosen adjacent shingles, slide the new piece into position, and fasten it so it lays flat without stress. If a shingle is cracked but still attached, remove it and install a full replacement rather than patching it.
Press lifted tabs back into place after cleaning away dirt and debris, then secure them so wind can’t catch them again. Check for proper overlap and alignment, because a tight fit helps your roof shed water and protects everyone beneath it.
Repair Flashing, Ridge Caps, and Exposed Nails
Next, inspect and repair the roof’s vulnerable details: flashing, ridge caps, and any exposed nails. You’ll want to reseal loose flashing around chimneys, vents, and valleys, because storm-driven water follows small openings fast.
Replace bent metal and press it flat with compatible sealant. Check ridge caps for splits, missing fasteners, or lifted edges, then secure each cap so wind can’t catch it again.
- Seal exposed nail heads with roofing cement.
- Swap rusted fasteners for corrosion-resistant ones.
- Rework any lifted flashing before moisture spreads.
As you finish, keep each repair tight and aligned with surrounding shingles. That’s how you protect the deck, reduce leaks, and keep your roof in the same resilient shape as the rest of your home.
Repair Small Roof Damage vs. Replace Shingle Sections
You can often fix small roof damage with a targeted shingle patch if the tear, crack, or missing granule loss is limited to one area.
You should replace a shingle section when damage affects multiple shingles, the adhesive seal has failed, or water has already reached the underlayment.
Comparing the extent of damage helps you choose the repair that restores weather resistance without unnecessary labor.
Small Damage Repairs
Small storm-related shingle damage often calls for targeted repairs rather than full section replacement, especially when granule loss, minor cracking, or a few lifted tabs are isolated.
You can restore these areas with sealant, replacement tabs, and careful refastening, which helps you stay aligned with your roof system. Work cleanly: lift the affected shingle, clear debris, apply approved roofing cement, and press the tab back into place.
- Match shingle type and color for a consistent finish.
- Secure loose edges before wind gets underneath them.
- Inspect the surrounding course for hidden stress.
These small repairs keep water out and preserve the surrounding shingles.
When you act quickly, you protect your home and stay in control after a storm, with less disruption, less cost, and stronger peace of mind.
Section Replacement Signs
When storm damage spreads beyond a few isolated shingles, section replacement often becomes the better repair option because repeated cracking, widespread granule loss, multiple lifted tabs, or bruised shingles can indicate deeper loss of roof performance.
You should also look for leaks at seams, soft decking, or shingles that no longer lie flat after sealing. If damage crosses several courses, patching each shingle can leave mismatched wear and hidden weak points.
A section replacement lets you restore a continuous weather barrier and keep your roof’s load path intact. You’re not overreacting; you’re matching the repair to the damage.
A trusted roofer can compare the affected area with surrounding shingles, then replace only the compromised section so your roof stays sound, uniform, and ready for the next storm.
When Storm Damage Means Roof Replacement
Severe storm damage can make asphalt shingle roof repair impractical when impacts, wind uplift, or water intrusion compromise large sections of the roof deck and underlayment.
You should consider replacement when you see widespread granule loss, curled shingles, split tabs, or sagging areas that signal structural fatigue. A full reroof lets you restore a continuous weather barrier instead of patching repeated failures.
- Exposed decking that feels soft or delaminated
- Damage across multiple slopes, not one small area
- Shingles that can’t seal after the next dry cycle
You’re not overreacting when the roof system has lost its ability to shed water. A replacement gives your home a clean reset and helps your crew work from a safer, more durable starting point.
File a Roof Insurance Claim
If storm damage has moved beyond simple repair, you should file a roof insurance claim as soon as possible so the loss gets documented before additional weather or interior leaks make it worse.
Gather date-stamped photos, contractor notes, and any emergency mitigation receipts before you call your insurer. Describe hail strikes, lifted shingles, torn flashing, and visible water intrusion in plain terms.
Ask for a claim number, then schedule the adjuster’s inspection and stay present if you can. Keep copies of every email, estimate, and invoice so your file stays complete.
You’re not handling this alone; many homeowners face the same process after severe weather. Clear records help your claim move faster and support the payout you need to restore your roof correctly.
Prevent Future Asphalt Shingle Storm Damage
After you repair storm damage, you can reduce future asphalt shingle loss by strengthening the roof system and keeping up with routine maintenance. Upgrade to impact-rated shingles, secure edges with starter strips, and use corrosion-resistant fasteners to improve wind resistance.
Keep the attic ventilated and insulated so heat doesn’t dry out shingles and weaken sealant. Schedule inspections each spring and after major storms to catch lifted tabs, cracked seals, and loose flashing before leaks spread.
- Trim overhanging limbs to limit punctures and abrasion.
- Clear gutters and valleys so water drains fast.
- Replace worn pipe boots, ridge caps, and sealant promptly.
When you maintain these details, your roof stays ready, your home stays protected, and you stay part of a neighborhood that looks out for each other.
Frequently Asked Questions
How Long Does Storm Damage Repair Usually Take?
Usually, you’ll wait one to three days for minor repairs, but larger damage can take a week or more. You should schedule inspection quickly, because crews can’t fix what they can’t assess safely.
Can I Inspect My Roof Safely From the Ground?
Yes, you can spot obvious issues from the ground with binoculars, but you can’t verify hidden damage safely. Stay below, check gutters and shingles, and call a qualified roofer for a closer inspection.
Do I Need a Permit for Asphalt Shingle Repairs?
Yes, you might need one—because paperwork loves small repairs. You’ll usually need a permit for structural work or full reroofing, but minor shingle patches often don’t. Check your local building department before you start.
Will Storm Damage Repairs Match My Existing Shingle Color?
Not always; you’ll usually get a close match, but sun fading and aging can make exact color matching difficult. You can help by providing manufacturer details, and you may need to replace larger sections for consistency.
How Much Does Emergency Roof Tarping Cost?
Emergency roof tarping usually costs you $200 to $800, depending on roof size, height, and access. You’ll pay more for urgent night calls or heavy damage, but tarping quickly limits leaks and protects your home.
Review
Storm damage can turn a sound asphalt shingle roof into a leaky, vulnerable system fast. If you inspect it early, find the source of the leak, and repair missing, cracked, or lifted shingles right away, you can often limit the damage. When the problem is widespread, replacement may be the smarter fix. Document everything, file your claim promptly, and keep up with routine checks so you’re not caught off guard again.