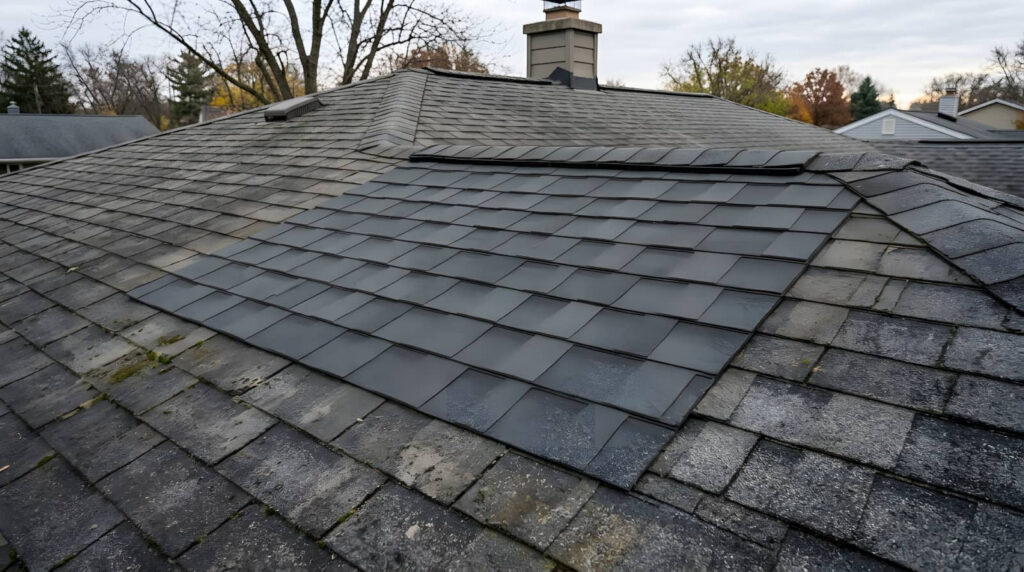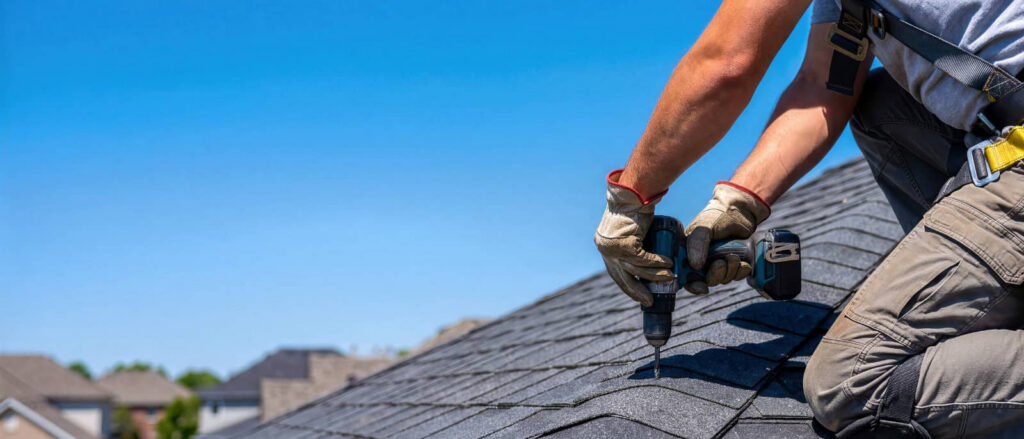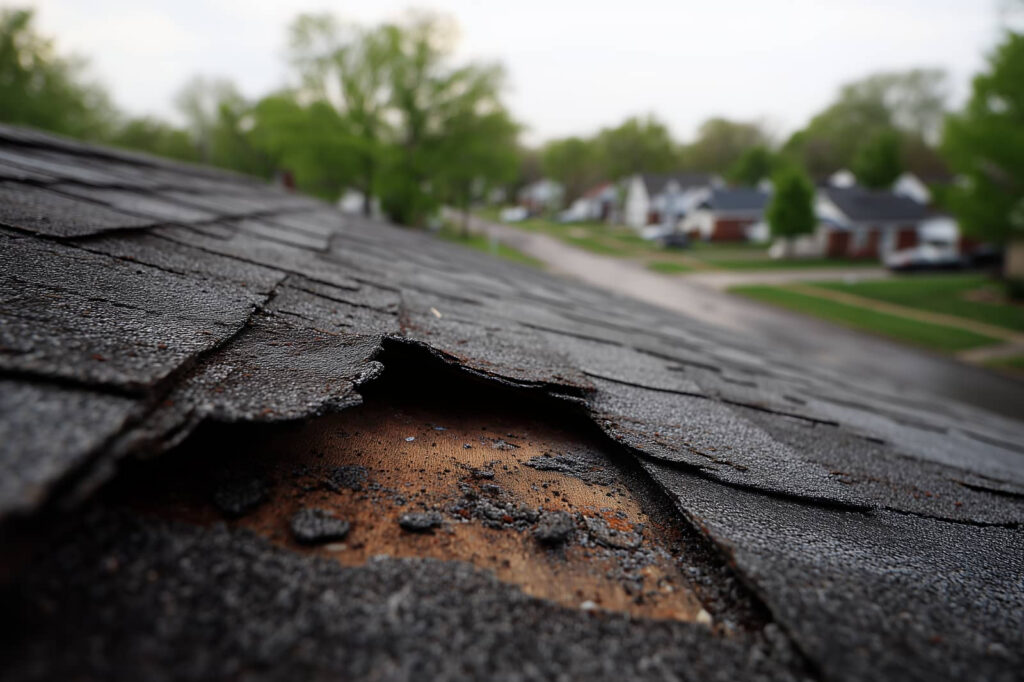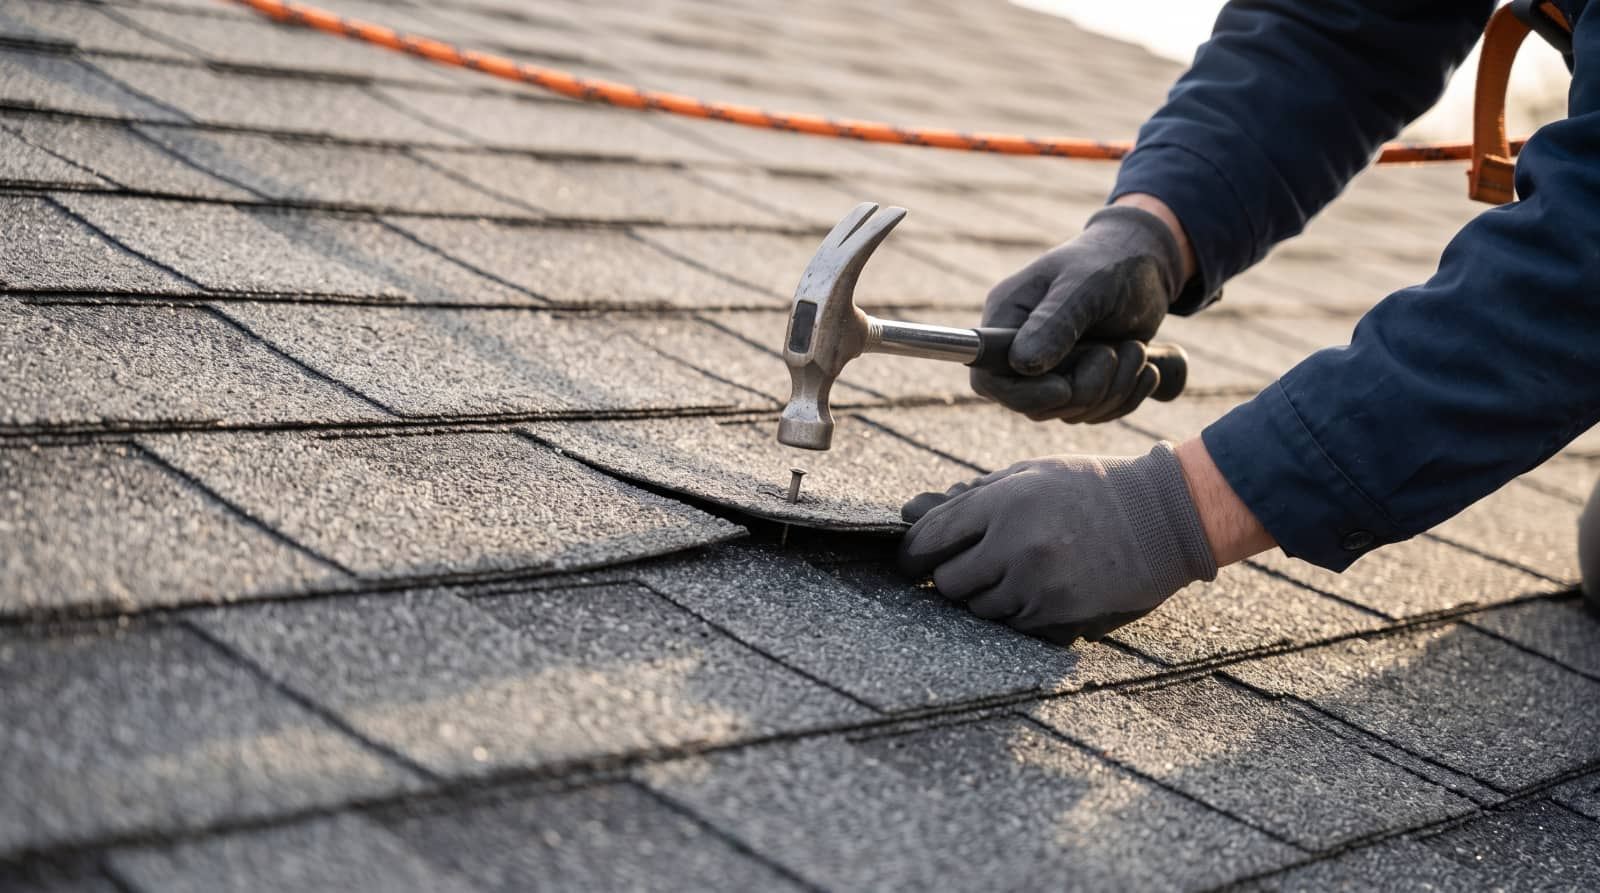
If you’ve ever noticed the same roof damage on two neighboring homes, you know how quickly installation quality matters. You start by removing the old roofing and checking the deck for rot, soft spots, or loose fasteners. Then you repair the substrate, install drip edge and ice shield, and lay the shingles in straight, staggered courses. Valleys, vents, and chimneys get flashed next, but the final detail often determines whether the roof lasts.
Key Takeaways
- Remove old roofing, inspect the deck for damage, and replace any rotten or soft sheathing before new installation.
- Install drip edge, ice shield, and starter strip to protect edges and create a proper sealing base.
- Lay shingles from a straight chalk line using the correct nail pattern, exposure, and staggered joints.
- Flash valleys, vents, and chimneys carefully with metal, step flashing, and pipe boots to prevent leaks.
- Finish with a full inspection of fastening, alignment, sealing, and code compliance to ensure proper roof performance.
How an Asphalt Shingle Roof Is Installed
Installing an asphalt shingle roof starts with tearing off the old roofing materials and inspecting the roof deck for damage, rot, or soft spots.
You then install drip edge, underlayment, and ice-and-water shield where required, keeping every course straight and tight.
Next, you snap layout lines, apply starter strips, and begin the asphalt shingle roofing installation process at the eaves.
You nail each shingle in the manufacturer’s pattern, align tabs carefully, and stagger seams for weather resistance.
As you move upward, you cut shingles around vents, valleys, and ridges, then finish with ridge cap shingles.
You’ll fit right in with pros when you verify nail placement, seal exposed edges, and confirm the roof sheds water cleanly.
Remove the Old Roofing and Inspect the Deck
Before you tear off the old roofing, you’ll protect landscaping, set debris chutes or dump zones, and stage the tools and fall protection you need.
As you strip the shingles, underlayment, and flashing, you’ll inspect the deck for soft spots, rot, delamination, or loose fasteners that can compromise the new roof.
After removal, you’ll clean the substrate completely so the deck is dry, flat, and ready for repairs and underlayment installation.
Tear-Off Preparation
Start by stripping off the old roofing materials so you can expose the roof deck and assess its condition.
You’ll work from the ridge down, removing shingles, underlayment, flashing, and fasteners with a roofing shovel or tear-off tool. Keep your crew aligned so debris moves safely into the dump zone, and protect landscaping, gutters, and siding with tarps and plywood.
As you clear each section, sweep loose granules and nails so the deck stays visible and footing stays secure. Check for soft spots, warped sheathing, or exposed fasteners, then mark any areas that need attention before new materials go on.
When you keep the tear-off organized, you help the whole crew move faster, stay safer, and build a cleaner base for the next step.
Deck Damage Inspection
With the tear-off complete, you can inspect the exposed deck for any damage that’ll affect the new roof.
Walk the surface and check for soft spots, delamination, rot, splits, and water staining around valleys, penetrations, and eaves. Press on suspect areas to confirm soundness, and mark every defect so you can replace it later without guessing.
Verify that decking panels lie flat and stay securely fastened to the rafters or trusses. Look for lifted nails, warped sheets, and edge damage that could telegraph through the shingles.
You’re building a roof system your crew and homeowner can trust, so don’t overlook small failures. If you find widespread deterioration, document it before moving forward so the repair plan stays clear, safe, and aligned with the installation schedule.
Substrate Cleanup
Once the old roofing comes off, clear the deck of every stray nail, staple, shingle tab, underlayment scrap, and granule pile so the new system can lay flat and bond properly.
You’ll work methodically from ridge to eave, sweeping debris into collection buckets and pulling every fastener that can puncture the new underlayment.
Then you’ll inspect the exposed sheathing for soft spots, rot, delamination, or warped panels, marking anything that needs replacement.
If you find minor damage, cut back to sound material and patch it flush with matching decking thickness.
Keep joints tight, edges supported, and the surface dry before you move on.
This cleanup step helps your crew stay efficient, keeps the roof field safe, and sets up a dependable installation you can trust together.
Repair the Roof Deck Before Installation
Before the new shingles go on, inspect the roof deck for rot, delamination, soft spots, and any loose or damaged panels.
You’ll want a solid, flat substrate so your crew can work confidently and your roof system performs as expected.
Cut out compromised sheathing, replace it with matching thickness material, and fasten each patch to the framing with proper nail spacing.
Check seams, edges, and fastener heads so nothing lifts or squeaks under load.
When you keep the deck sound, you protect the whole build and stay aligned with the team’s standard.
- Mark damaged areas clearly
- Remove unsound decking
- Install replacement panels flush
- Secure every repair tightly
Install Drip Edge and Ice Shield
You’ll start by fastening the drip edge along the eaves and rakes so water sheds into the gutters and the roof edge stays protected.
Next, you’ll install the ice shield along the eaves, overlapping each course and extending it up the roof deck per code and manufacturer specs.
Keep each layer flat, sealed, and aligned so the underlayment can bond properly and resist wind-driven water intrusion.
Drip Edge Placement
Next, you install the drip edge and ice shield to protect the roof deck’s most vulnerable edges. Position the metal along eaves first, then rake edges, keeping the flange tight to the deck and the outer lip straight.
You’ll fasten it with corrosion-resistant nails, spaced evenly so the strip stays secure without warping. Overlap each piece enough to shed water cleanly and avoid gaps at seams.
- Align the drip edge flush with the fascia.
- Lock overlaps in the direction of water flow.
- Drive nails high enough to stay covered.
- Check corners for continuous coverage.
When you work carefully, your crew gets a durable edge detail that helps the whole system perform as one.
Ice Shield Installation
With the drip edge secured, install the ice shield along the eaves and other leak-prone areas to protect the deck from wind-driven rain and ice dam backup.
You’ll start at the lowest edge and work upslope, keeping the membrane straight, wrinkle-free, and fully bonded. Remove the release film as you go, and press the adhesive firmly to the roof deck so it seals around fasteners.
Lap each course according to the manufacturer’s specs, usually at least 2 inches. Extend coverage into valleys, around penetrations, and where code or climate demands it.
Don’t trap debris or moisture under the membrane. When you and your crew set it cleanly, you’re building a tight, reliable base that helps the whole roof perform.
Lay Asphalt Shingles in Straight Courses
Start each row of asphalt shingles by snapping or confirming a straight horizontal chalk line, then align the first course to that reference so the shingles track evenly across the roof.
You’ll keep each course tight, level, and consistently offset so the pattern locks together cleanly and your crew stays in rhythm. Work from the starter strip upward, checking exposure with each row and pressing each tab flat as you go.
- Mark the course line.
- Place the first shingle carefully.
- Maintain uniform exposure.
- Stagger joints row to row.
Use your nail pattern exactly as specified, drive fasteners flush, and inspect alignment after every few courses.
If a shingle drifts, correct it right away so the field stays straight and your finished roof looks sharp and professional.
Flash Valleys, Vents, and Chimneys
Once the field courses are set, you’ll flash valleys, vents, and chimneys so water is directed back onto the roof surface instead of into vulnerable joints.
You should center valley metal or underlayment and extend it high enough to catch runoff from both slopes. Around pipe vents, fit preformed boots snugly and fasten them where the seal can’t collect standing water.
For chimneys, weave step flashing with each shingle course, then install counterflashing into the masonry reglet so movement won’t break the seal.
Keep fasteners out of exposed water paths and trim pieces cleanly for tight overlaps.
When you work this way, your crew builds a system that sheds water predictably, protects the deck, and gives the whole roof a professional, shared standard.
Seal and Finish the Roof Edges
At the roof edges, you finish by installing the starter strip, then laying the first course so the shingle sealant bonds at the eaves and rakes and helps resist wind lift.
You keep courses straight, align the overhang evenly, and press each tab firmly so the adhesive seats well in warm conditions.
Use matching shingles where the system calls for hip and rake trim, and fasten with nails placed where the manufacturer specifies.
- Trim starter pieces flush.
- Offset joints from the field courses.
- Seal exposed cut edges if required.
- Set rake metal tight to the deck.
When you work cleanly here, the roof looks unified, and your crew can trust the edge to stay secure through weather and daily expansion.
Inspect the Finished Roof Before Sign-Off
With the edges secured and the courses laid, you inspect the finished roof for fit, fastening, and finish before sign-off.
You scan every slope for straight shingle lines, consistent exposure, and tight ridge alignment. Check that nails are fully driven, hidden, and not overdriven, since exposed heads can invite leaks.
Verify valleys, flashings, vents, and pipe boots sit flat and seal cleanly. Look for lifted tabs, damaged shingles, stray sealant, or debris that could trap water.
From the ground and roof, confirm gutters are clear and edges shed runoff properly.
Then compare the installation against manufacturer specs and local code.
When you document any punch-list items, you help your crew stay sharp and finish strong together.
Frequently Asked Questions
How Long Does Asphalt Shingle Installation Usually Take?
Usually, you’ll see asphalt shingle installation take one to three days, depending on roof size, tear-off needs, weather, and crew efficiency. You should expect a final inspection afterward, too, before you’re done.
What Weather Conditions Are Best for Roof Installation?
You’ll get the best results in mild, dry weather with temperatures above 45°F, low wind, and no rain. You should avoid freezing conditions, heavy heat, and storms, because they weaken adhesion and compromise safety.
How Much Does a New Asphalt Shingle Roof Cost?
You’ll usually pay $8,000-$15,000 for a new asphalt shingle roof, like budgeting for a major home upgrade. Costs vary by roof size, slope, tear-off needs, ventilation, and shingle grade; ask for detailed, itemized quotes.
Can Asphalt Shingles Be Installed Over Existing Shingles?
Yes, you can sometimes install new asphalt shingles over one existing layer, but you’ll need local code approval, sound decking, and no trapped moisture. You’ll save labor, yet you’ll reduce inspection access and future roof lifespan.
What Warranty Options Come With Asphalt Shingle Roofing?
You’ll usually get manufacturer material warranties, workmanship coverage from your installer, and sometimes extended system warranties. You should compare duration, transferability, exclusions, and installation requirements, since proper fastening and ventilation often determine valid protection.
Conclusion
By the end of the asphalt shingle roofing installation process, you should have a roof that performs like a well-tuned system. You’ve removed the old materials, repaired the deck, installed drip edge and ice shield, and fastened shingles in clean, straight courses. You’ve also flashed critical penetrations and sealed the edges. Before sign-off, inspect every detail so you catch issues early and verify your roof meets code and manufacturer requirements.