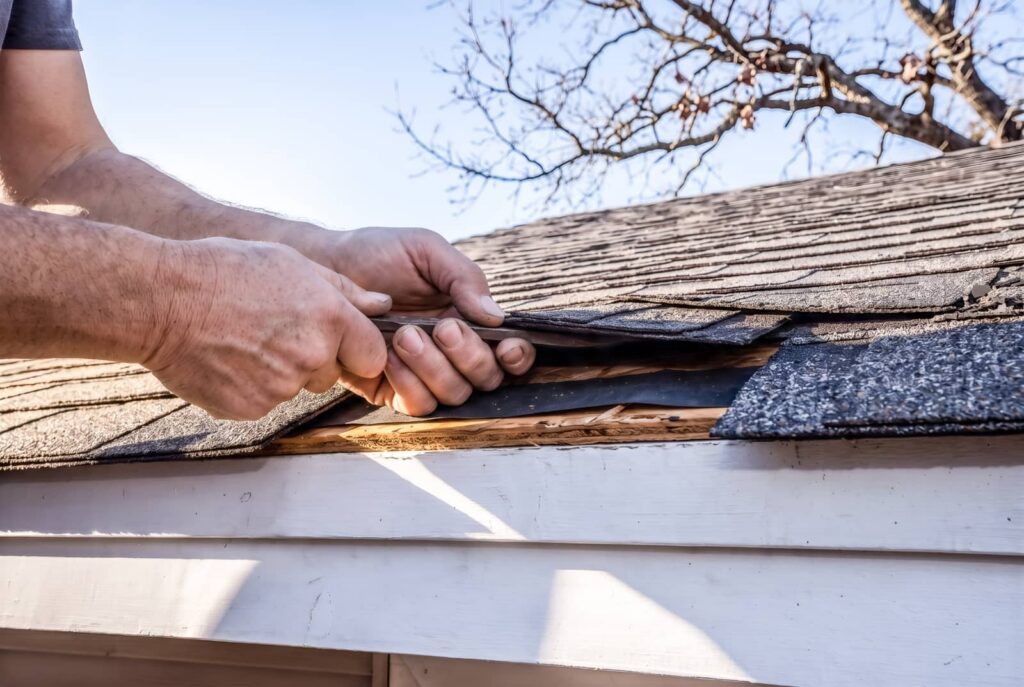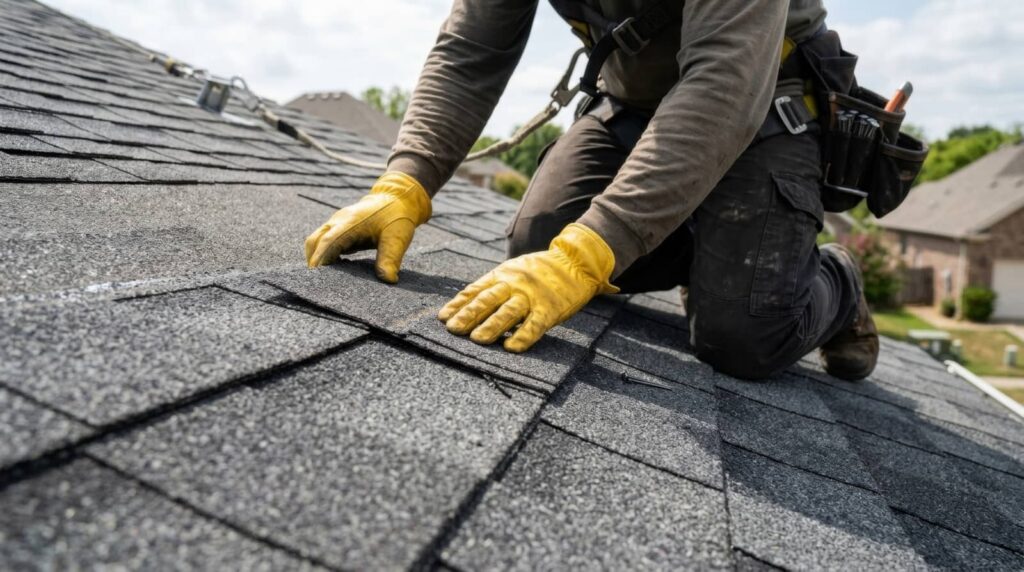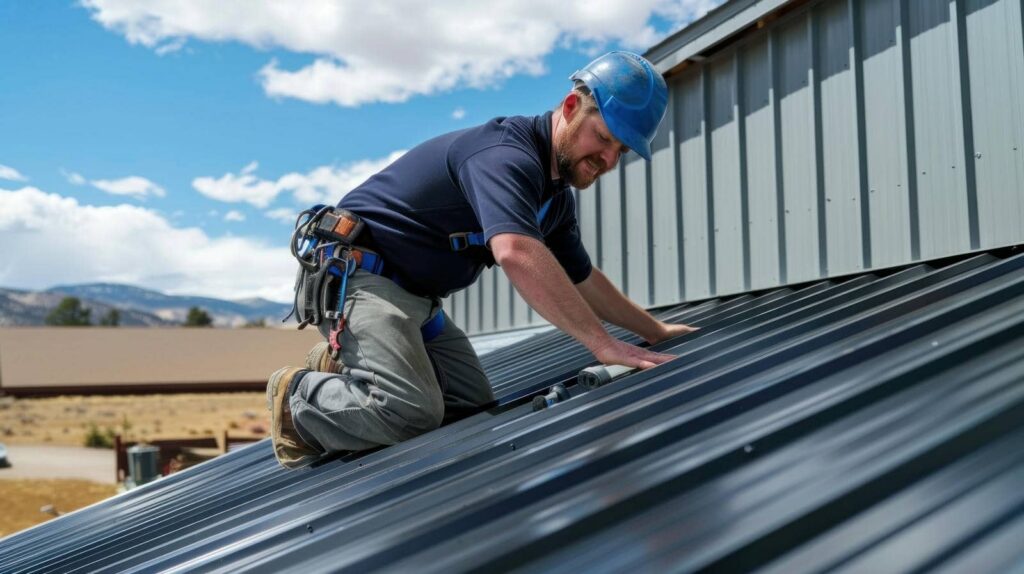
After a hailstorm, you notice a few missing shingles and a faint ceiling stain. You start with a structured roof inspection checklist that covers shingles, flashing, gutters, vents, and chimneys, then move inside for leaks, decking issues, and sagging. You’ll also want to compare material wear, storm damage, and roof age before deciding whether a repair is enough or replacement is the safer call.
Key Takeaways
- Inspect shingles, flashing, valleys, gutters, vents, and chimneys for curling, cracks, corrosion, gaps, and debris.
- Check ceilings and attic spaces for stains, damp insulation, mold, and other signs of roof leaks.
- Document every issue with photos, measurements, dates, and locations to track damage accurately.
- Assess storm damage, aging, soft spots, sagging, and structural problems to determine repair needs.
- Schedule inspections after severe weather or seasonal changes, and use qualified contractors for code-based evaluations.
Roof Inspection Basics
Before you schedule any residential roofing service, you need to inspect the roof methodically so you can spot damage, wear, and safety issues early.
Start with a residential roofing services inspection checklist that lets you track roof age, slope, drainage paths, and access points. You’ll want to note soft spots, sagging areas, loose fasteners, moisture stains, and any signs of structural movement.
Use binoculars or a stable ladder, and keep your footing controlled. Document findings with photos, measurements, and dates so you can compare changes over time.
When you work this way, you’re part of a careful homeowner network that values safe, informed decisions. That shared discipline helps you identify repairs sooner and plan next steps with confidence.
Check Shingles, Flashing, and Valleys
Start at the roof surface and inspect each shingle course for curling, cracking, missing tabs, granule loss, exposed nails, and lifted edges that can admit water.
You should trace every row in a consistent pattern so you don’t miss hidden defects.
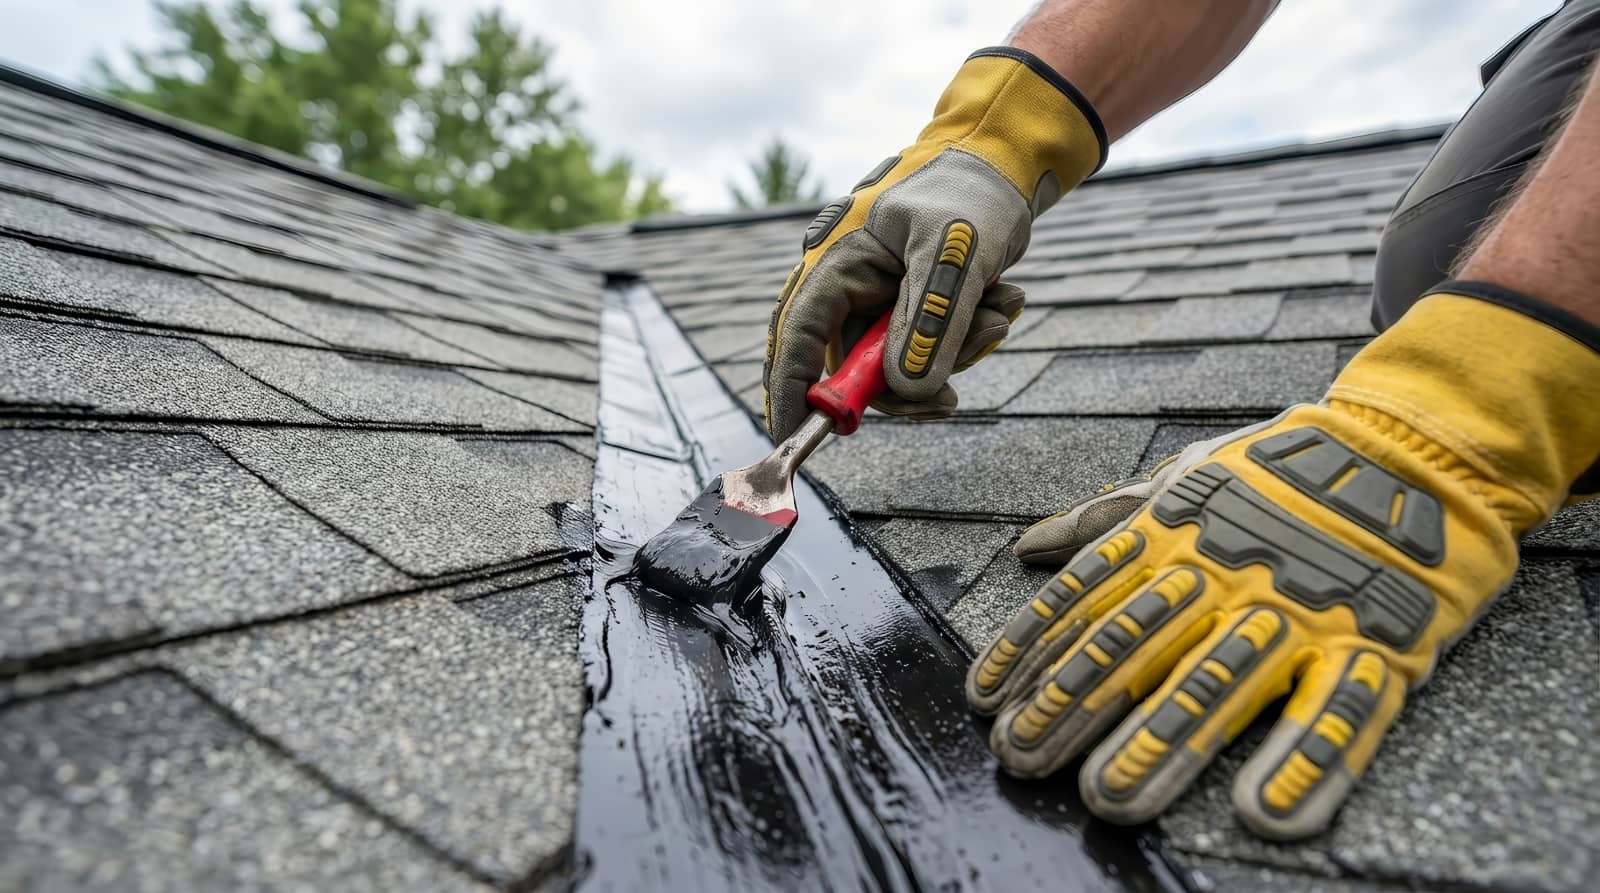
Check flashing at roof intersections, edges, and penetrations for gaps, corrosion, sealant failure, and loose fasteners.
In valleys, look for worn coating, displaced shingles, debris buildup, and evidence of runoff damage.
Mark any brittle, warped, or split materials for repair or replacement.
Use a measured, team-focused approach: you’re protecting the whole system, not just isolated spots.
When you document findings clearly, you help your roofing crew make fast, accurate decisions and keep your home secure.
Inspect Gutters, Vents, and Chimneys
You should inspect gutters for blockages, sagging sections, and poor drainage that can push water back under the roof edge.
Next, check vent flashing for tight seals, corrosion, and lifted edges that could let moisture enter around penetrations.
Then examine chimney seals for cracked caulk, deteriorated mortar, and separated step flashing so you can catch leaks before they spread.
Gutter Blockages
Inspect gutters, vents, and chimneys for blockages that could trap water, restrict airflow, or force runoff back under the roofing system.
You should clear leaves, granules, sticks, and bird nests from each gutter run, then confirm downspouts drain freely.
Check that water moves without pooling at seams or corners, because standing moisture can accelerate corrosion and edge rot.
Around vents and chimneys, remove debris that narrows passageways and keeps your roof system working as designed. A clean path helps you protect the home you share with your family.
- You prevent overflow that stains siding.
- You reduce hidden moisture damage.
- You support proper roof drainage.
- You stay confident during storms.
Vent Flashing
Vent flashing needs a close visual check where the pipe or vent boot meets the roofing surface, because even a small gap can let water track into the underlayment and decking.
You should verify that the flange lies flat, the rubber collar hasn’t cracked, and every fastener sits tight without lifting the material.
Look for rust, sealant failure, or displaced shingles that let wind-driven rain enter. If you see staining, damp insulation, or granule loss around the penetration, document it and plan repairs.
Make sure the flashing matches the pipe diameter and roof pitch, so the seal stays reliable through temperature changes.
When you inspect this detail carefully, you help protect your home and stay confident in your roofing team’s standards.
Chimney Seals
After checking vent flashing, move to the chimney seal and examine where the masonry or chase cap meets the roofline. You’re looking for cracked mortar, lifted counterflashing, dried sealant, or gaps that let water track into framing.
Inspect the sealant bead for adhesion and continuity, and verify that the cricket or saddle sheds runoff away from the chimney. If you belong to a home protection-minded crew, this is where trust starts.
- Look for dark staining, a warning of active leaks.
- Press gently on loose metal; movement signals failure.
- Check for rust, split caulk, or missing joints.
- Note any frost damage or spalling brick.
Document findings, because a tight chimney seal keeps your roof system stronger, drier, and ready for the next season.
Look for Interior Leaks and Water Damage
You should inspect ceilings for stains, yellow spots, or peeling paint, since these often indicate active or past roof leaks.
Then check the attic for moisture signs such as damp insulation, darkened framing, mold growth, or a musty odor.
If you find any of these conditions, document their location and severity so you can assess the roof leak source accurately.
Ceiling Stains and Spots
Ceiling stains and spots often signal an active or past roof leak, so inspect interior ceilings methodically for discoloration, bubbling paint, sagging drywall, and localized dark patches, especially around chimneys, skylights, vents, and exterior walls.
Note each mark’s size, edge shape, and color shift to identify changing conditions.
- Feel relief when you confirm a small stain hasn’t spread.
- Feel urgency if brown rings grow after rain.
- Feel confidence when you map every spot with precision.
- Feel connection knowing your checklist helps protect the home you share.
If you find fresh dampness, document it, compare it with previous photos, and schedule a roofing evaluation promptly.
Careful tracking helps you stay ahead of hidden damage and keep your household secure.
Attic Moisture Signs
From visible ceiling spots, move into the attic and inspect for moisture that hasn’t yet reached living spaces. You should scan rafters, sheathing, and insulation for dark stains, damp fibers, or compressed batts that signal active leaks.
Touch wood members; they shouldn’t feel cool, soft, or swollen. Check nail tips for rust, look for mold growth around vents and penetrations, and note any musty odor.
If daylight shows through joints, water can too. Trace wet areas upward to flashing, valleys, or pipe boots, since these often fail first.
Use a flashlight and document each finding so your roofing team can confirm repair priorities. By catching attic moisture early, you protect your home’s structure and stay aligned with neighbors who value a well-kept roof.
Spot Storm and Wind Damage
After a storm passes, inspect the roof for missing, lifted, cracked, or creased shingles, since wind can break the seal, loosen fasteners, and expose the underlayment. You’re protecting your home and your place in the neighborhood by catching damage early.
Walk the perimeter, then scan valleys, ridges, flashing, and roof edges for torn tabs, bent metal, or granule loss. Use binoculars if you can’t safely climb up.
- Note any shingles that flutter or sit uneven.
- Check for debris impact marks near vents and chimneys.
- Look for lifted flashing that invites leaks.
- Photograph every defect for repair planning.
If you see daylight, active leaks, or wide gaps, call a roofing pro promptly so your crew can restore a tight, secure roof.
Check Roof Age and Material Wear
Once you’ve ruled out obvious storm damage, assess the roof’s age and the condition of its materials to judge how much service life is left.
You should confirm the installation date, warranty terms, and product type, then compare them with the expected lifespan for asphalt, metal, tile, or wood.
Inspect shingles or panels for granule loss, curling, cracking, blistering, rust, split seams, and faded coatings.
Check flashing, sealant, and fasteners for weathering, because worn components often signal broader aging.
If repairs have been repeated in the same areas, note the pattern; that usually means the system’s reliability is declining.
Document every finding with photos and measurements so your roofing team can make a confident, shared decision about repair, maintenance, or replacement.
Review Decking, Sagging, and Safety Risks
If the surface materials look serviceable, you still need to inspect the roof deck, framing, and support structure for hidden damage that can affect safety and repairability.
You should check for soft spots, rot, delamination, and displaced fasteners where water may’ve reached the sheathing.
Look for sagging ridges, uneven planes, and deflection between rafters, since these signs can point to load stress or compromised support.
From the attic, note stains, daylight, mold, and damaged trusses.
Stay alert around unstable areas and wear proper fall protection, because one missed weakness can put you and your crew at risk.
- Hidden rot can feel unsettling.
- Sagging can signal danger.
- Tight inspection builds confidence.
- Careful checks help you belong to a prepared, reliable team.
Decide Between Repair and Replacement
The repair-versus-replacement decision should come from the inspection data, not guesswork, so you need to weigh the extent, location, and cause of each defect before committing to a scope of work.
If damage stays isolated to a few shingles, flashing joints, or sealant failures, targeted repairs usually make sense.
When you see widespread granule loss, repeated leaks, brittle materials, or failing underlayment across multiple slopes, replacement often delivers better performance and value.
You should also consider roof age, ventilation balance, and whether previous patches have already compromised system integrity.
A consistent checklist helps you compare options with confidence and keeps your team aligned on risk, budget, and lifespan.
That shared process protects your home, supports smart planning, and reduces second-guessing.
Book a Roof Inspection
Book a roof inspection so a qualified contractor can verify the checklist findings, document current conditions, and confirm whether the system needs repair or replacement.
You’ll get a structured assessment that checks shingles, flashing, vents, underlayment, and drainage points with calibrated attention. That clarity helps you join other informed homeowners who protect their property before damage spreads.
- You’ll catch hidden leaks before they stain ceilings.
- You’ll confirm whether localized repairs can restore performance.
- You’ll understand if aging materials justify replacement.
- You’ll gain a documented baseline for insurance and budgeting.
Schedule the visit after severe weather or seasonal shifts, and request photos, measurements, and code-based recommendations.
When you act early, you keep your roof, home, and peace of mind aligned.
Frequently Asked Questions
How Often Should Residential Roofs Be Professionally Inspected?
You should have your roof professionally inspected at least once a year, and after major storms. If you notice leaks, missing shingles, or sagging, schedule an inspection sooner to protect your home and your crew.
What Does a Roof Inspection Usually Cost?
You’ll usually pay $100-$300 for a roof inspection, though complex roofs cost more. Like a lighthouse guiding a ship, a careful inspector checks shingles, flashing, vents, and leaks so you feel informed, protected, and included.
Can I Inspect My Roof Safely From the Ground?
Yes, you can inspect your roof safely from the ground with binoculars, a camera, and good lighting. You’ll spot missing shingles, sagging lines, debris, and stains, but you can’t verify flashing or hidden damage.
Do Roofing Inspections Require Homeowner Presence?
No, you don’t need to be present, though your presence can help. You can provide access, confirm concerns, and review findings later. A thorough, trusted inspection proceeds efficiently, documenting damage, defects, and recommended repairs.
How Long Does a Typical Roof Inspection Take?
A typical roof inspection takes 30 to 60 minutes, depending on roof size, pitch, access, and visible damage. You’ll get a methodical evaluation, so you can feel confident you belong in informed, prepared homeowners.
Review
Use this residential roofing services inspection checklist like a trusty compass in a digital age. You’ll spot missing shingles, failing flashing, clogged gutters, vent issues, and hidden leaks before they turn into costly structural damage. Document each finding with photos and measurements, then compare roof age, wear, decking condition, and storm impacts to decide whether you need repairs or a full replacement. When in doubt, book a professional inspection and protect your home’s long-term integrity.