When a storm leaves its mark on your flat roofs, it’s essential to act quickly to mitigate further issues. Start by ensuring your safety before you inspect for damage. You’ll need to document everything clearly, as this will support your insurance claims. But how do you effectively assess the situation and make temporary fixes to protect your home? Understanding these steps is vital for the long-term health of your roof.
Key Takeaways
- Assess the flat roof for visible damage, including punctures, blisters, and displaced flashing as soon as it is safe.
- Wear protective gear, including hard hats and slip-resistant boots, before inspecting the roof for hazards.
- Document damage with clear photos, including wide shots and close-ups, labeled with date and specific issues noted.
- Apply temporary sealing techniques, such as waterproof tape or roofing patches, to prevent further leaks until professional repairs can be made.
- Schedule an immediate inspection for sagging areas or water pooling to address underlying issues and ensure structural integrity.
Assessing Damage Immediately After the Storm
After a storm passes, it’s essential to evaluate the damage to your flat roof as soon as it’s safe to do so.
Start your roof evaluation by visually inspecting the surface for any visible signs of distress, such as punctures, blisters, or pooled water. Look for displaced or damaged flashing, which can lead to leaks.
Don’t forget to check for debris, like branches or shingles, that may have fallen during the storm.
Document any findings with photos to provide evidence for insurance claims. Evaluating the storm impact on your roof quickly can help prevent further damage and costly repairs down the line.
If you notice significant issues, it’s best to consult a professional roofer for a detailed evaluation.
Taking these immediate steps can ensure your home remains safe and secure, fostering a sense of belonging and peace of mind within your living space.
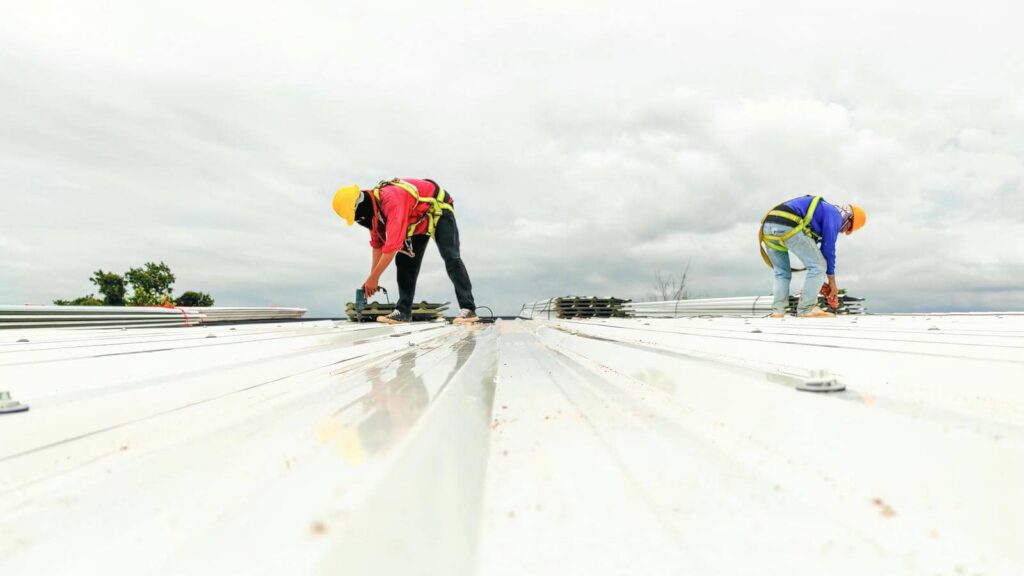
Ensuring Personal Safety Before Inspection
Before inspecting your storm-damaged flat roof, prioritize your safety by wearing appropriate protective gear.
Assess the surrounding area for hazards such as downed power lines or unstable debris.
Taking these precautions will help ensure a safer inspection process.
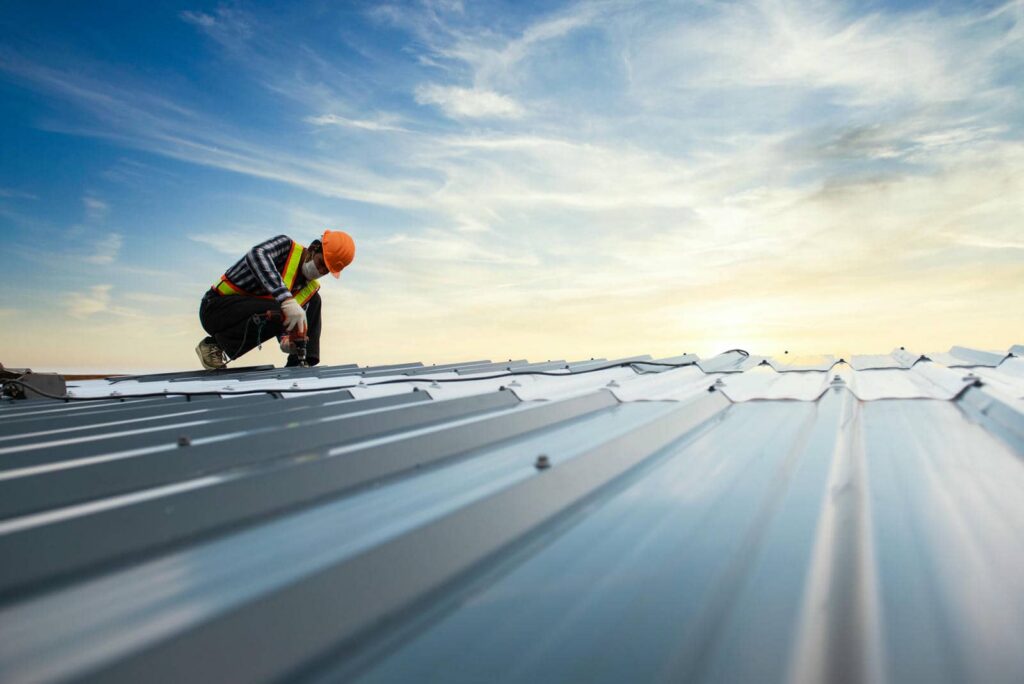
Wear Protective Gear
When inspecting a storm-damaged flat roof, wearing protective gear is essential for your safety.
Start by donning sturdy protective clothing, like durable work pants and a long-sleeved shirt, to shield yourself from sharp debris and potential hazards.
Don’t forget safety equipment, including a hard hat to protect your head from falling objects and slip-resistant boots to maintain traction on slick surfaces.
Additionally, consider using gloves to prevent cuts and scrapes while handling materials or tools.
If your roof has sustained significant damage, a harness can offer extra security against falls.
Assess Surrounding Hazards
As you prepare to inspect a storm-damaged flat roof, it’s vital to assess the surrounding hazards that could pose risks to your safety.
Start with hazard identification—look for downed power lines, unstable structures, or loose debris that could fall.
Conduct a thorough risk assessment to evaluate the likelihood and severity of these hazards. If you notice any potential threats, it’s important to avoid the area until it’s deemed safe.
Don’t hesitate to enlist help from professionals who can safely manage hazardous conditions.
Remember, your safety is paramount; prioritizing it ensures you can effectively address the roof damage without unnecessary risk.
Take the time to assess before you proceed—it’s a step that can help prevent accidents.
Documenting Damage With Photos
To effectively document storm damage to your flat roof, start by taking clear, detailed photos of the affected areas. Focus on capturing both wide shots and close-ups to provide a thorough overview for your damage assessment.
When photographing, ensure good lighting and avoid shadows that might obscure the damage. Include images of any visible cracks, punctures, or material displacement. If possible, take photos from multiple angles to highlight the extent of the damage.
Consistent photo documentation will help you track changes over time and support any claims you may need to file with your insurance. Label each photo with the date, location, and specific damage noted for easy reference.
This organized approach aids in your assessment and fosters a sense of community, as sharing your findings can help others facing similar issues. Remember, thorough documentation is essential in addressing storm-related concerns effectively.
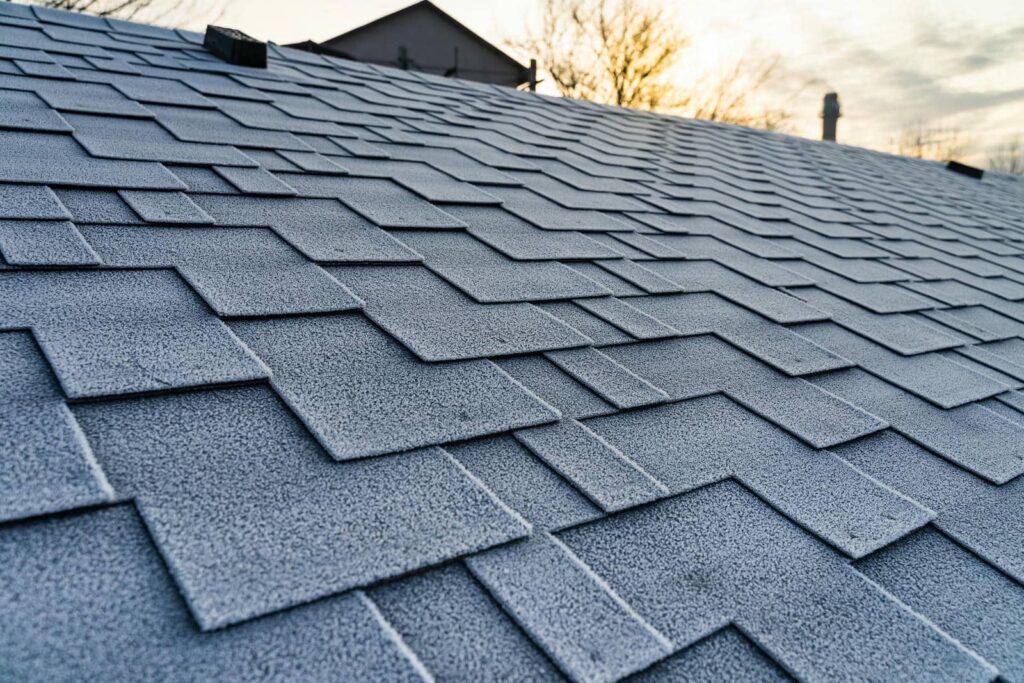
Identifying Leaks and Vulnerable Areas
Identifying leaks and vulnerable areas on your flat roof is essential for preventing further damage.
Conducting a thorough roof inspection can help you pinpoint issues before they escalate. Here’s a simple guide for effective leak detection:
Visual Inspection: Examine the roof surface for obvious signs of damage, such as cracks, blisters, or bubbles.
Check Flashing: Inspect flashings around vents, pipes, and other penetrations for gaps or deterioration.
Look for Stains: Inside your home, check ceilings and walls for water stains, which can indicate leaks.
Use Water Testing: If you suspect a leak, use a hose to simulate rain and observe where water enters.
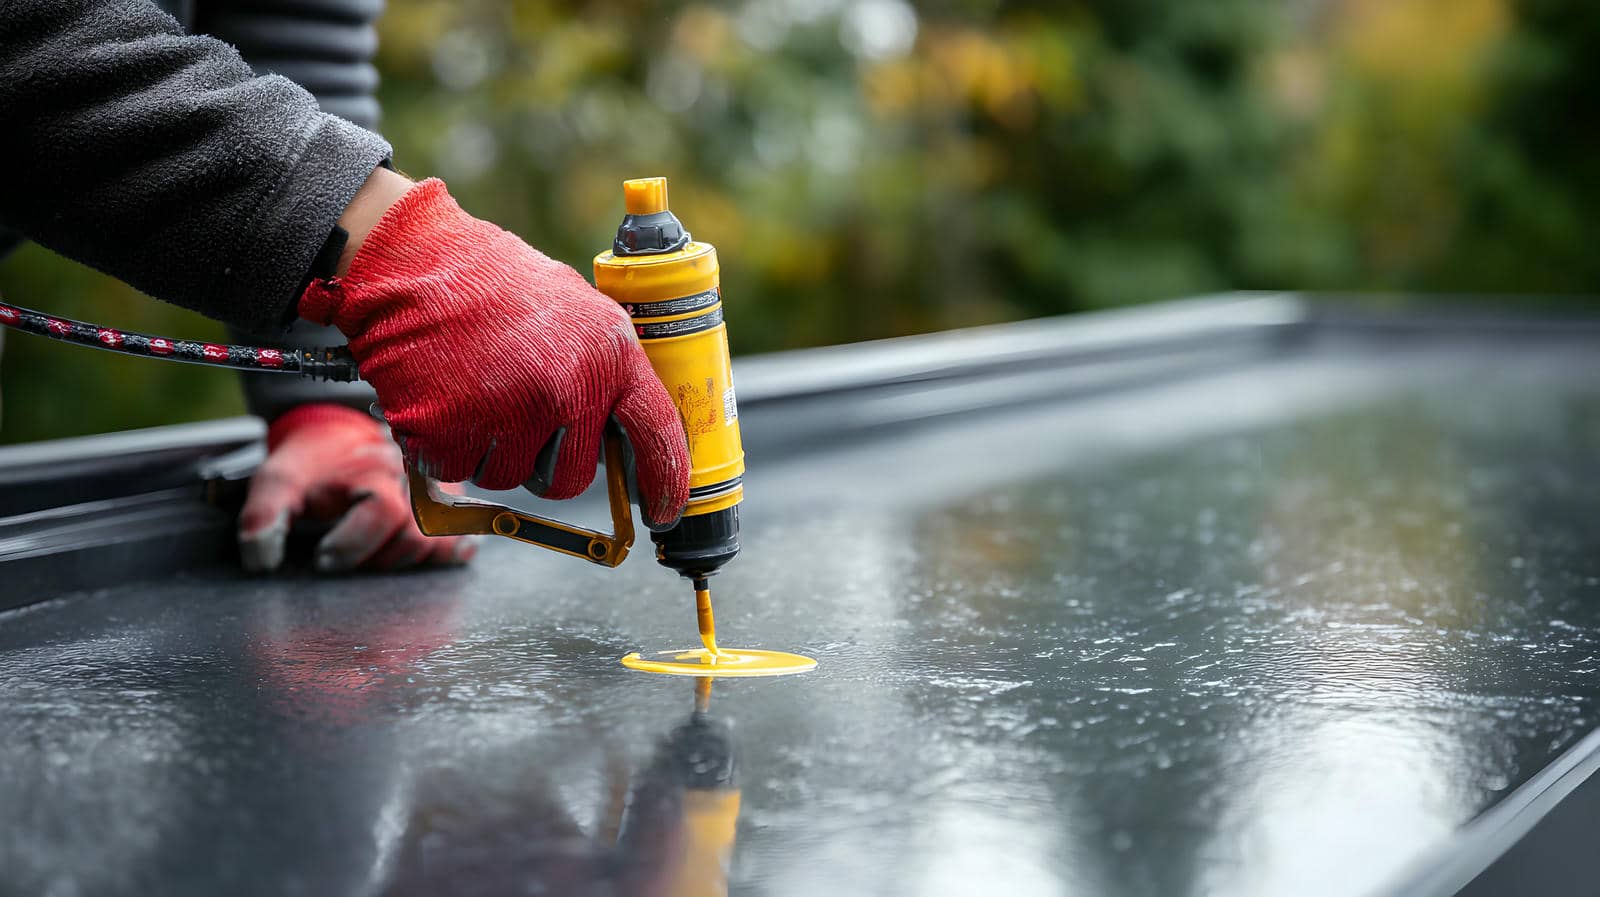
Temporary Leak Sealing Techniques
When you discover a leak in your flat roof, acting fast is essential to minimize damage and prevent further issues. Start with quick patching methods to seal the leak temporarily. You can use waterproof tape for small leaks, ensuring it adheres firmly to the surface. For larger areas, consider a patch made from roofing material, secured with adhesive.
Here’s a quick reference table for your convenience:
| Method | Materials Needed | Application Steps |
|---|---|---|
| Waterproof Tape | Waterproof tape | Clean the area, apply tape over the leak |
| Quick Patching | Roofing patch, adhesive | Cut patch, apply adhesive, press down |
| Plastic Sheeting | Plastic sheeting, weights | Lay sheeting over leak, secure with weights |
Removing Debris and Obstructions
After evaluating the damage severity, you’ll need to clear any loose materials from the roof surface.
This debris can block drainage and lead to further issues if not removed promptly.
Make certain you safely dispose of all obstructions to maintain the roof’s integrity.
Assess Damage Severity
Before you can fully assess the damage to your storm-damaged flat roof, it’s crucial to remove any debris and obstructions that may be hiding underlying issues.
Clearing these items will help you identify critical damage indicators and establish your repair priorities.
Follow these steps:
- Remove branches, leaves, and other loose debris.
- Clear away any standing water to prevent further damage.
- Inspect for punctures, tears, or blisters in the roofing material.
- Document any visible damage for reference when planning repairs.
Clear Loose Materials
To effectively address storm damage, clearing loose materials from your flat roof is essential for preventing further issues.
Begin your storm cleanup by removing roof debris like fallen branches, leaves, and other obstructions. These materials can trap water, leading to leaks or structural damage. Use a sturdy broom or a leaf blower to clear the surface efficiently.
Make certain you’re wearing safety gear, including gloves and non-slip shoes, to protect yourself during the process. Inspect the drainage systems as you work; clogged gutters can exacerbate problems.
Contacting Professional Roofing Services
Since severe weather can wreak havoc on flat roofs, contacting professional roofing services promptly is crucial for minimizing damage.
When you reach out to roofing contractors, make certain you communicate your situation clearly. Here’s a checklist to guide your conversation:
Describe the Damage: Provide details about the storm’s impact and any visible issues.
Request Emergency Services: Inquire if they offer immediate assistance to handle urgent repairs.
Ask About Credentials: Verify their licensing and insurance to make certain of professionalism.
Discuss Timelines and Costs: Get an estimate of how long repairs will take and potential costs.
Checking for Structural Integrity
After contacting professional roofing services, the next step involves checking the structural integrity of your flat roof. This critical structural assessment ensures your roof’s stability and prevents further damage. Begin by inspecting for visible signs of sagging, cracking, or water pooling.
| Observation | Action Required | Importance |
|---|---|---|
| Sagging | Schedule an immediate inspection | Indicates underlying issues |
| Cracking | Monitor and document | Could lead to leaks |
| Water pooling | Drain and evaluate | Reduces weight stress |
Don’t overlook the importance of these checks. If you notice any concerning signs, consult with your roofing professional immediately. By prioritizing structural integrity, you’re taking proactive steps to safeguard your home and ensure the longevity of your flat roof. Remember, a stable roof is key to protecting everything beneath it.
Reviewing Insurance Coverage for Repairs
How well do you understand your insurance coverage for storm damage repairs? Knowing your insurance policy details can make a significant difference in your recovery process.
Start by reviewing these key aspects:
Coverage Limits: Identify the maximum amount your policy will pay for repairs.
Deductibles: Understand the out-of-pocket costs you’ll incur before coverage kicks in.
Exclusions: Check for any specific damages not covered under your policy.
Claim Process: Familiarize yourself with the steps required to file a claim and the necessary documentation.
Planning for Long-Term Repairs and Maintenance
To ensure the long-term integrity of your flat roof, schedule regular inspections and assessments.
These proactive measures help identify potential issues before they escalate, saving you time and money.
Additionally, consider using sustainable repair materials that enhance durability and reduce environmental impact.
Regular Inspections and Assessments
Regular inspections and assessments are essential for maintaining the integrity of storm-damaged flat roofs.
By implementing a proactive approach with preventive maintenance, you can catch issues before they escalate.
Here are four key steps for effective routine checks:
Visual Inspection: Examine the roof surface for cracks, blisters, or missing materials.
Drainage Assessment: Verify gutters and drains are clear to prevent water accumulation.
Fastener Integrity: Check that all flashing and fasteners are secure to minimize leaks.
Interior Checks: Inspect ceilings and walls for water stains, indicating potential leaks.
Sustainable Repair Materials
When it comes to planning for long-term repairs and maintenance of storm-damaged flat roofs, choosing sustainable repair materials is essential.
Using eco-friendly insulation enhances energy efficiency while reducing your environmental footprint. Look for insulation made from recycled materials, which can provide excellent thermal performance while minimizing waste.
Additionally, consider using recycled roofing materials for repairs; they often offer comparable durability and performance to traditional options but with a considerably lower environmental impact.
By opting for these sustainable choices, you contribute to a healthier planet while ensuring your roof remains resilient against future storms.
These materials help create a sense of community responsibility, allowing you to make a positive impact in your neighborhood and beyond.
Frequently Asked Questions
How Quickly Should I Address Roof Damage After a Storm?
You should address roof damage immediately after a storm. Conduct a roof inspection and damage assessment as soon as it’s safe. Prompt action prevents further issues, ensuring your home stays protected and secure for your family.
Can I Stay in My Home With a Damaged Roof?
You shouldn’t stay in your home with a damaged roof. Prioritize roof safety and assess the risks. Contact your insurance company to file claims and arrange necessary repairs to ensure a safe living environment.
What Types of Temporary Materials Can I Use for Sealing?
You can use tarps for coverage, roofing tape for sealing, and plywood for support. These materials provide temporary protection, help prevent leaks, and keep your home safe until you can arrange permanent repairs.
How Can I Prevent Future Storm Damage to My Roof?
To prevent future storm damage, prioritize regular roof maintenance and apply effective weatherproofing techniques. Inspect for vulnerabilities, seal cracks promptly, and ensure proper drainage to protect your roof from harsh conditions and extend its lifespan.
Are There Specific Signs of Serious Damage I Should Look For?
If you’re on a treasure hunt for roof damage, look for water stains, sagging areas, or cracks. Don’t ignore leak detection; it could compromise your roof’s structural integrity, leaving you with more than just a leaky bucket!
Recap
After a storm, acting quickly can save you from costly repairs. Did you know that a lot of roof damage occurs due to leaks that go unnoticed for too long? By ensuring your safety, documenting the damage, and implementing temporary fixes, you can effectively mitigate further issues. Don’t hesitate to contact professional roofing services to assess structural integrity and plan for long-term repairs. Staying proactive now will help you maintain a resilient roof for the future.