Storm Damage Recovery starts with a thorough assessment of your roof immediately after harsh weather hits. Prioritize your safety by using the proper gear and tools before getting close to any damaged areas. Inspect carefully for missing shingles, hail impacts, lifted flashing, or granule buildup in the gutters. These small details matter—especially when preparing documentation for an insurance claim. Knowing what to look for and how to record it accurately can significantly impact your recovery timeline. Let’s walk through the key steps you should take next.
Key Takeaways
- Prioritize safety by wearing a hard hat, non-slip shoes, and using a safety harness when inspecting steep roofs.
- Inspect for missing or damaged shingles, focusing on edges, ridges, and areas prone to wind damage.
- Look for signs of hail damage, such as dents or cracks in shingles, and irregular surface textures.
- Examine gutters and downspouts for granules from asphalt shingles, indicating potential damage.
- Document all findings with clear photographs and written descriptions to support insurance claims effectively.
Understanding Common Types of Storm Damage
When storms strike, understanding the common types of damage to your roof can help you assess the situation more effectively.
Hail damage often manifests as round, pockmarked dents on shingles, exposing underlayment to further moisture issues. The size and intensity of the hail can determine the severity of this damage, making it essential to inspect your roof promptly.
Wind damage, on the other hand, can tear shingles away or even lift entire sections of roofing material. Look for curled or missing shingles, as well as debris scattered around your property, indicating potential wind-related issues.
Both hail and wind damage can compromise your roof’s integrity, leading to leaks and structural concerns. By identifying these specific types of damage early, you can take the necessary steps to protect your home and ensure its longevity.
Safety Precautions Before Inspecting Your Roof
Before you head up to inspect your roof, it’s important to take safety precautions that minimize risks. Start by gathering the right safety gear, including a hard hat, non-slip shoes, and a safety harness if you’re working on a steep pitch. Verify ladder stability by placing it on a flat, even surface and securing it at the top.
| Precaution | Description |
|---|---|
| Safety Gear | Use hard hats and non-slip footwear. |
| Ladder Inspection | Check for damage and confirm it’s stable. |
| Harness Use | Wear a harness for steep roofs. |
| Ground Conditions | Make sure the ground is clear and stable. |
These steps protect you and ensure your inspection goes smoothly. Always prioritize your safety and never hesitate to seek help if you feel unsure. Your well-being is vital.
Tools Needed for a Thorough Roof Inspection
Having the right tools on hand is essential for conducting a thorough roof inspection.
Using the appropriate inspection tools enhances your ability to identify issues and fosters a sense of belonging to a community that values safety and diligence.
Here are three must-have tools for your inspection:
- Safety Harness: Protect yourself while working on the roof. A harness ensures you stay secure if you slip or lose your balance.
- Ladder: A sturdy, extendable ladder allows you to access various roof areas safely. Make sure it’s stable and positioned correctly.
- Flashlight: A high-powered flashlight helps you inspect dark areas, such as attics or under eaves, where damage might be hiding.
With these inspection tools, you’ll be well-equipped to perform a detailed roof inspection, paving the way for effective storm damage recovery.
Signs of Damage to Look For After a Storm
After a storm, it’s crucial to inspect your roof for signs of damage that could compromise its integrity.
Start by looking for missing or damaged shingles, as wind damage can easily dislodge them. Pay close attention to the edges and ridges, where the wind’s force is strongest.
Next, examine the gutters and downspouts for granules from asphalt shingles; this indicates wear and potential leaks.
Hail impact can leave dents or cracks in shingles, which may not be immediately visible. Look for any irregularities in the surface texture, as this can signify underlying damage.
Additionally, check for water stains on your ceilings, as they can indicate leaks that started during the storm.
Inspecting Different Roof Materials for Damage
How can you effectively assess various roof materials for damage post-storm? Here’s how to inspect common roof materials to ensure you catch any issues early.
- Asphalt Shingles: Check for missing, cracked, or curled shingles. Look for granule loss, which can indicate wear and tear.
Pay attention to areas around vents and chimneys, as these are vulnerable spots.
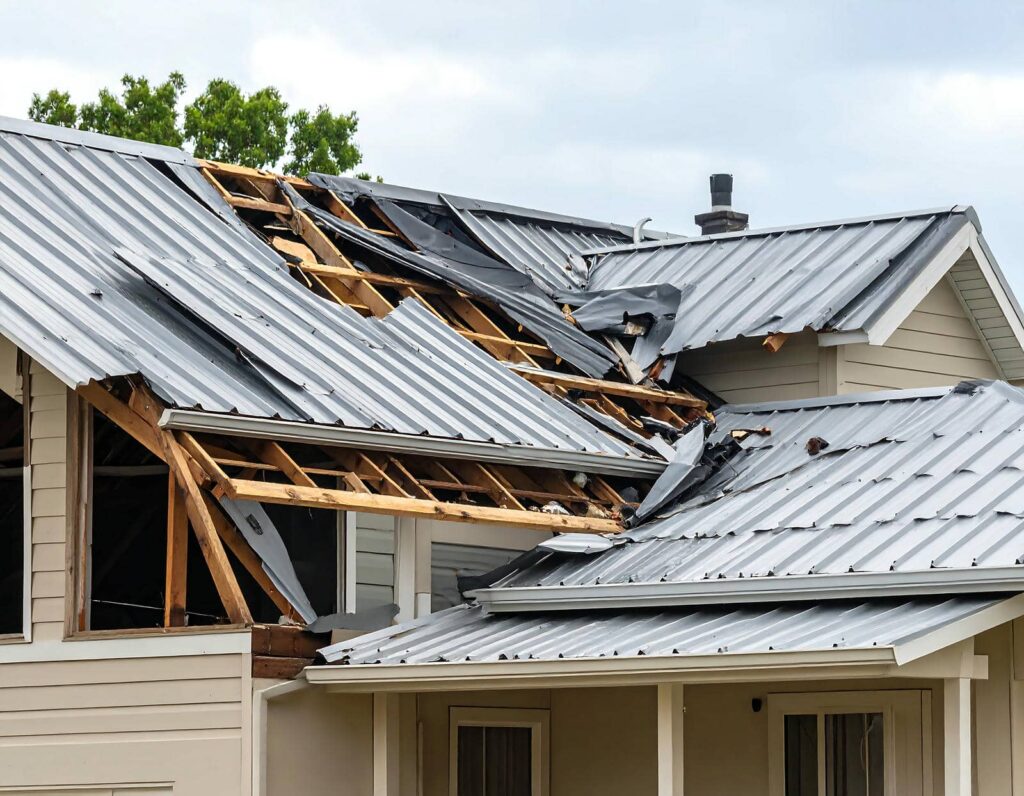
- Metal Roofing: Inspect for dents or scratches that may have resulted from hail or debris. Verify seams and fasteners are intact, as loose components can lead to leaks.
Look for rust, especially at joints, which can compromise durability.
- Overall Condition: Evaluate the roof’s overall alignment and drainage.
Sagging or pooling water can signal deeper issues, affecting all roof types.
Documenting Damage for Insurance Claims
As you assess your roof for storm damage, it’s important to document your findings meticulously for insurance claims. Start by taking clear, detailed photographs of any visible damage, including missing shingles, leaks, or structural issues. Note the specific locations and types of damage, as this information is significant for a thorough damage assessment.
Create a written record that includes dates, descriptions, and any relevant weather conditions that contributed to the damage. If possible, gather any previous inspection reports or maintenance records, as these can substantiate your claim.
This documentation will be fundamental in streamlining the claim process with your insurance company, ensuring they’ve all the necessary information to evaluate your case. Being organized and precise in your documentation strengthens your position, helping you navigate the often complex landscape of insurance claims effectively.
When to Call in a Professional Roofer
When should you consider calling in a professional roofer? If you notice significant storm damage, it’s vital to act quickly. Here are three scenarios where a pro is indispensable:
- Visible Damage: If you see missing shingles, sagging areas, or leaks, a professional can assess the structural integrity and provide necessary repairs.
- Inspection Timelines: After a severe storm, follow your insurance company’s inspection timelines. A roofer can ensure you meet these deadlines for your roofing contracts.
- Safety Concerns: If climbing onto your roof poses a risk, let an expert handle it. They’ve the training and equipment to perform a thorough inspection safely.
Calling in a professional protects your investment and offers peace of mind, ensuring your home remains safe and secure after storm damage.
Preventative Measures to Protect Your Roof in Future Storms
Taking proactive steps to protect your roof can greatly reduce the risk of damage during future storms. Regular roof maintenance is essential; inspect your roof for missing shingles, cracks, or debris that can accumulate and cause leaks.
Clean your gutters frequently to ensure proper water drainage, preventing excess weight and potential collapse. Consider upgrading to weatherproof materials, such as impact-resistant shingles or metal roofing, which offer superior protection against harsh elements.
Additionally, reinforce flashing around vents and chimneys to block water entry. Planting trees away from your roofline can minimize falling branches during storms.
Finally, invest in a thorough roof inspection before storm season; this can identify vulnerabilities early, allowing you to take corrective action.
Frequently Asked Questions
How Often Should I Inspect My Roof for Damage?
You should inspect your roof at least twice a year, considering seasonal changes. After heavy storms, conduct an immediate inspection. This frequency helps catch potential issues early, ensuring your roof remains in top condition.
What Weather Conditions Are Best for Roof Inspections?
The ideal conditions for roof inspections are clear, dry days with mild temperatures. Using precise inspection techniques, you’ll spot potential issues effectively, ensuring your roof remains safe and secure against future weather challenges.
Can I Inspect My Roof From the Ground?
You can inspect your roof from the ground, but it’s like reading a book with blurry pages. A ground inspection offers some insights, but for a thorough damage assessment, a closer look is often necessary.
How Do I Find a Reputable Roofing Contractor?
To find a reputable roofing contractor, check their credentials and read roofing reviews. Verify licenses and insurance, and seek recommendations from friends or family. A trustworthy contractor will ensure you feel secure and satisfied with your choice.
What Should I Do if I Find Hidden Damage?
If you find hidden damage, assess the leaks immediately. Document them for your contractor, then explore repair options like patching or full replacements. Your proactive approach ensures safety and integrity for your home and family.
Review
Inspecting your roof after a storm is as essential as a doctor’s check-up after an illness. By following the outlined tips, you can effectively identify damage and document it for insurance claims. Prioritizing safety and using the right tools will streamline the process, ensuring you catch every issue. If the damage seems extensive, don’t hesitate to call a professional. Taking these steps now can safeguard your home against future storms and preserve its integrity.